Valentine Mini Books Tutorial *Contains affiliate links
Do you remember Valentine's Day as a kid? The biggest part was the box that we would set on our desks at school for all the other kids to put Valentine's in. I would always plan something really elaborate and cool, trying to be as unique as possible. One year it was a treasure chest. Another year, it was a castle. When my kids were old enough, we made even more elaborate boxes. One was a real, working clock! Another was made entirely out of chocolate.
Then, of course, there were the Valentines themselves. Most kids just bought them at the store, but I liked to make my own.
Things haven't changed much. I still enjoy creating pretty Valentine designs... like these mini books! Here is a quick tutorial. As you can see, they are easy to assemble.
You can purchase these
Valentine Mini Books in my Etsy shop.
Cut Out the Covers & Pages
Begin by printing & cutting out your covers. I like to print the covers on
cardstock.
Print the pages on
regular paper and cut into strips as shown.
Fold the Cover
Fold the covers to create a book shape. A
ruler helps to keep them straight.
Glue the Cover
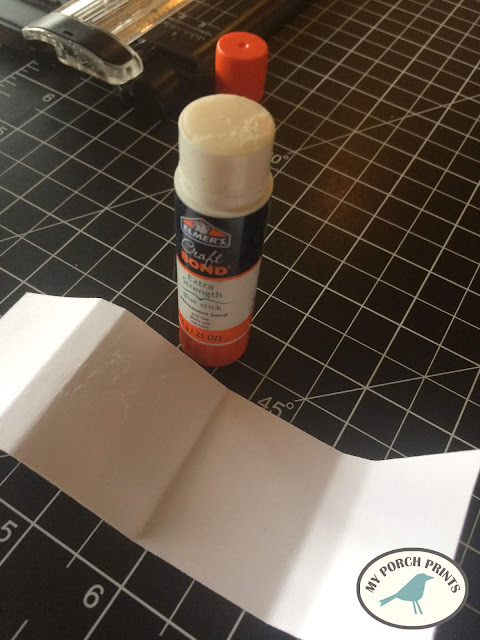
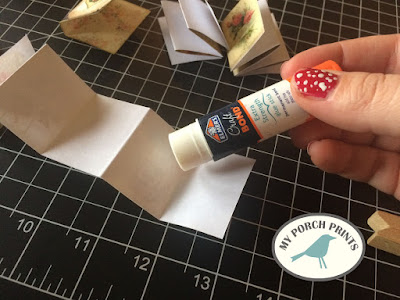
Fold and glue the inside cover as shown. I use
craft glue sticks.
Ink the Edges (optional)
I like to use
Distress Ink to cover the edges where the paper shows and also to give the book cover an aged, finished look.
Fold the Pages
Fold the pages accordion-style as shown. Then glue them together. Glue the first page to the second, second to the third, etc. You will end up with THREE sets of three pages each.
Glue Pages Into Book
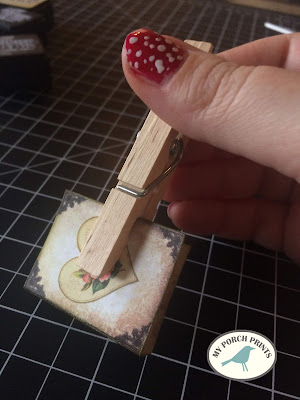
Gather your three sets of pages together & clamp. A
clothespin works well for this. Add
clear glue to the "raw" edges of your pages and place them inside your book cover, against the spine.
Clamp to Dry
Remove the clothespin and use it to clamp the entire book together while it dries. Repeat the process, printing more book pages as desired.


