Showing posts with label Etsy. Show all posts

Sunday, June 16, 2019

Beekeeper's Journal by Emmephemera's Treasures: A My Porch Prints DT Project

My Porch Prints Design Team Project
Beekeeper's Journal by Emmephemera's Treasures
This bee-youtiful journal was created by Emily from Emmephemera's Treasures as part of a Design Team Project with My Porch Prints.

A Little About Emily
"I am the mother of 2 boys. Well, I say boys, but they are 20 and (almost) 19 years old. I've been married to my husband for almost 22 years. My dream is to live on a small farm where we can raise more chickens, some goats, alpacas, and maybe even a horse or two.

My favorite projects to make are junk journals and all of the ephemera and embellishments that go with them. I have a hard time using the word "junk" to describe them because I feel like I put a part of myself into each one. I love the endless possibilities with decorating them. I also enjoy making glue books out of vintage children's books that I find at antique stores and thrift stores."

Bee inspired by Emily's awesome creativity! And see a video flip-thru on her YouTube channel.

Visit Emily's Etsy shop: Emmephemera's Treasures
And follow her on Facebook

Printables
Here is a list of the printables from My Porch Prints that were used in this gorgeous project:

Busy Bee Ephemera Pack
Beekeeper's Journal Kit
Busy Bee Clutch Bag Envelope
Mini Junk Journal Kit


Below is the mini junk journal Emily created from the Mini Junk Journal Kit from My Porch Prints.


Thursday, January 10, 2019

Summer Garden Journal Cover Tutorial


Summer Garden Junk Journal Cover Tutorial from My Porch Prints

Ah summer! The warm breezes, the smell of green growing things, the lazy buzz of insects. Capture your own little slice of summer in this Summer Garden Journal Kit!

Here is a quick tutorial on how to make the cover of this journal.

You will need:

Cut Your Box
The journal pages in this kit are 5x7 inches. So I cut my box slightly larger than the pages and added a 2-inch spine as shown.


Summer Garden Junk Journal Cover Tutorial from My Porch Prints

Print Papers
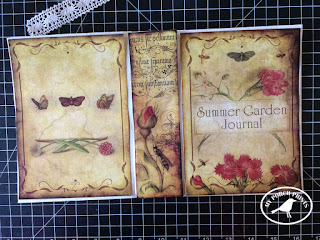
To cover the outside of the journal, you'll need to print 2 sheets (8.5x11) of the printable papers that come in this journal kit. You could also use your own paper if you like. Cut off the white edges and overlap the papers slightly, then adhere them together with glue, using a brush to smooth the glue before attaching.


Glue the paper to the outside of your journal cover using glue & a paintbrush to smooth it.


Smooth the paper, working from the center of your spine to the outside edges of your cover, pushing the air bubbles out. Don't worry if it's a little wrinkly. These will usually work themselves out as it dries.


Flip your cover over and cut off excess paper and the corners as shown. Leave a border of 1/2 to 1 inch as shown.


Also, cut triangular notches on either side of your spine.


Apply glue, using a brush to smooth, and fold the flaps over as shown.


Summer Garden Junk Journal Cover Tutorial from My Porch Prints

Once all the flaps are folded, print 2 more sheets of printable papers and glue them together like before.


Place the seam in the center of your journal inside the spine. This will help to hide it.


Fold the paper at the edges of your journal and then cut where the folds are.


Again, smooth your glue with a brush on the inside of your journal cover and then place your paper over the glue, smoothing from the spine outward toward the journal edges.


When glue is dry, gently fold up the sides of your journal, working slowly to stretch the papers and create creases.

Your Journal Cover
Next, cut out your journal covers & spine. Attach them as before, using a brush to smooth out the glue and then gluing the papers to the front & back covers and spine as shown.

Summer Garden Junk Journal Cover Tutorial from My Porch Prints

If desired, use lace to cover the spine. Attach with glue.

Summer Garden Junk Journal Cover Tutorial from My Porch Prints

Summer Garden Junk Journal Cover Tutorial from My Porch Prints

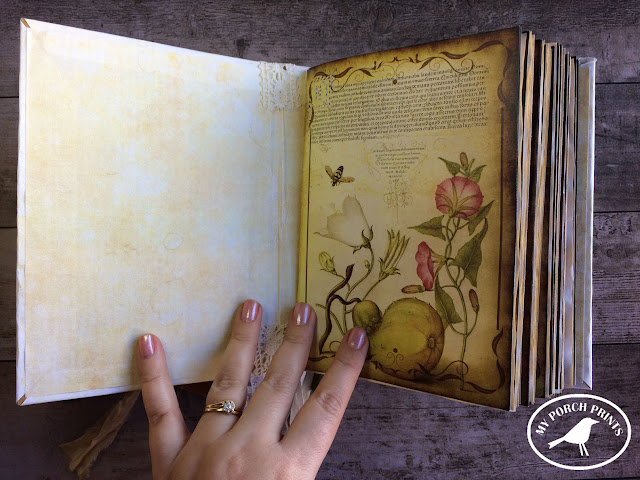
And that's it! You have a completed journal cover. Now you can add your pages & embellishments.

Summer Garden Junk Journal Cover Tutorial from My Porch Prints

Summer Garden Junk Journal Cover Tutorial from My Porch Prints
Get this Garden Mini Book in my Etsy shop. 


Summer Garden Junk Journal Cover Tutorial from My Porch Prints

Summer Garden Junk Journal Cover Tutorial from My Porch Prints

Summer Garden Junk Journal Cover Tutorial from My Porch Prints

Summer Garden Junk Journal Cover Tutorial from My Porch Prints

Summer Garden Junk Journal Cover Tutorial from My Porch Prints

Summer Garden Junk Journal Cover Tutorial from My Porch Prints

Want to make a tassel like this one? Here is a video tutorial to show you how.
And here is a video tutorial for how to make this garden journal.


Tuesday, January 1, 2019

French Rose Junk Journal Tutorial - Part 2: Adding Pages


French Rose Junk Journal Tutorial : My Porch Prints

French Rose Journal Tutorial *Contains affiliate links
Part 2: Adding Pages

In Part 1 of this tutorial, I showed you how to create a journal cover using a cardboard box and the French Roses Journal Pages from My Porch Prints on Etsy.

In Part 2, I will show you a quick & easy way to add the pages to your journal.

Making Pages
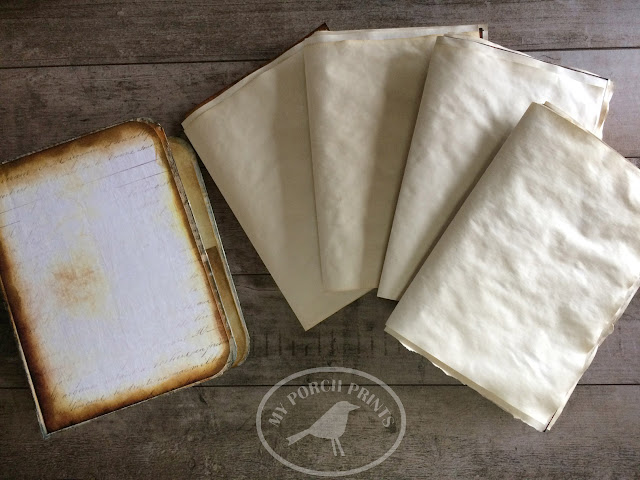
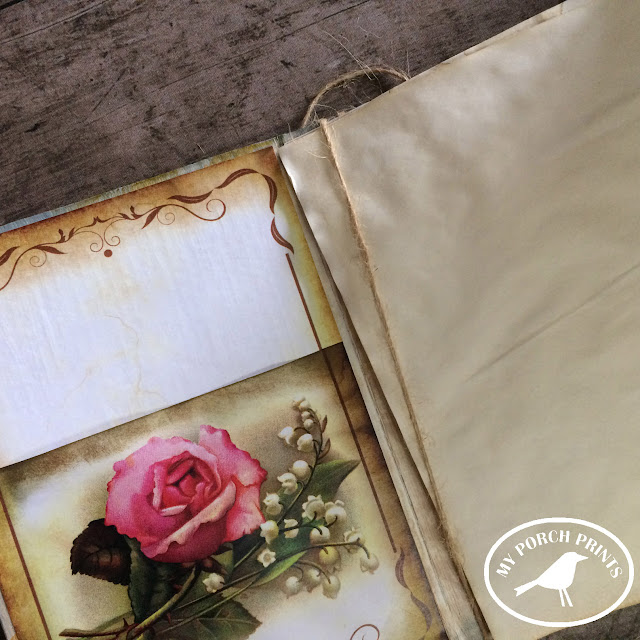
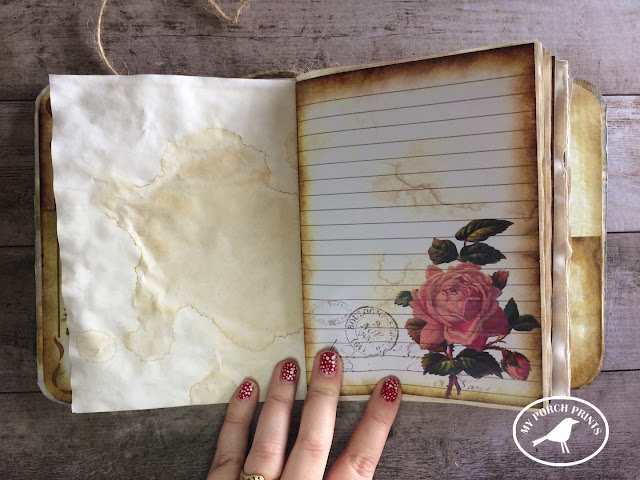
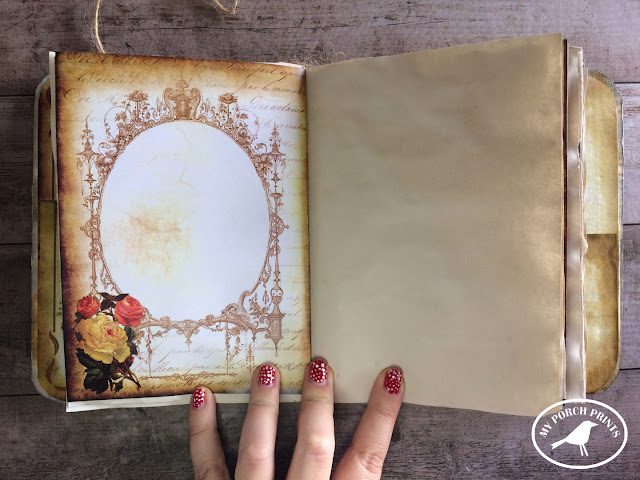
First, you'll need pages. These can be anything really: old scraps of papers, receipts, envelopes. These are part of the "junk" for your journal. But to make it simple, I'm using the French Roses Journal Pages and coffee-dyed paper cut to 7x10 inches (which makes 5x7 when folded). To coffee dye the pages, I filled a cookie pan with coffee, dipped regular copy paper and then put them on cookie sheets to bake for a few minutes at 275 F degrees.

TIP: After they're baked, splash a little coffee randomly on the pages and put them back in to bake for a few more minutes. This will give give them more interesting stains.

How many pages you want depends entirely on you and how big your journal spine is.

French Rose Junk Journal Tutorial : My Porch Prints

Create Signatures
Once you have all your pages ready, you can fold them to create signatures (a collection of folded pages). My journal has 4 signatures made up of about 6 folded pages each.

French Rose Junk Journal Tutorial : My Porch Prints

Easy Twine Binding
Now it's time to bind the signatures into your journal. There are lots of ways to bind a junk journal. Some are complex or require special tools. This method, sometimes called "Easy Twine Binding", is simple and also works in a way that leaves the pages loose & removable if desired.

Begin by using a piece of twine or other sturdy string.

French Rose Junk Journal Tutorial : My Porch Prints

Wrap your twine around your journal spine. Begin on the outside as shown. Then wrap as many times as you have signatures. I have 4 signatures, so I wrapped four times. End with both ends of your string on the outside of your journal spine and tie them off as shown in the photos. Space out the strings. You can also look up video tutorials for "easy twine binding".

French Rose Junk Journal Tutorial : My Porch Prints

Once you have tied off your twine binding, leave the loose ends (don't cut them). We will use them later to attach embellishments to the spine.

Adding Your Pages
Open your journal. Starting with your first signature of pages, slide one corner under the first string, then ease the rest of the pages under it. This takes some care so as not to rip your pages.


French Rose Junk Journal Tutorial : My Porch Prints

After your first pages are in, flip them over and add the next signature to the next string. Continue until all your signatures are inside your journal.

French Rose Junk Journal Tutorial : My Porch Prints

French Rose Junk Journal Tutorial : My Porch Prints

French Rose Junk Journal Tutorial : My Porch Prints

French Rose Junk Journal Tutorial : My Porch Prints

French Rose Junk Journal Tutorial : My Porch Prints

French Rose Junk Journal Tutorial : My Porch Prints

French Rose Junk Journal Tutorial : My Porch Prints

And there you go! You've added pages to your junk journal!
In Part 3, I will show you how to create a tassel and embellish your journal.