


Steampunk Clock Cabochon Mini Book from My Porch Prints*
*Not a real clock
This cute little Clock Mini Book is easy to make!
All you need are:
- Crafting Supplies (glue, scissors, ruler, etc)
- Make-Up Sponges or Distress Ink (optional)
- Glass Cabochons (25 mm/1-inch circles)
- Da Vinci Mini Book Printable
- Clock Circles printable from My Porch Prints on Etsy


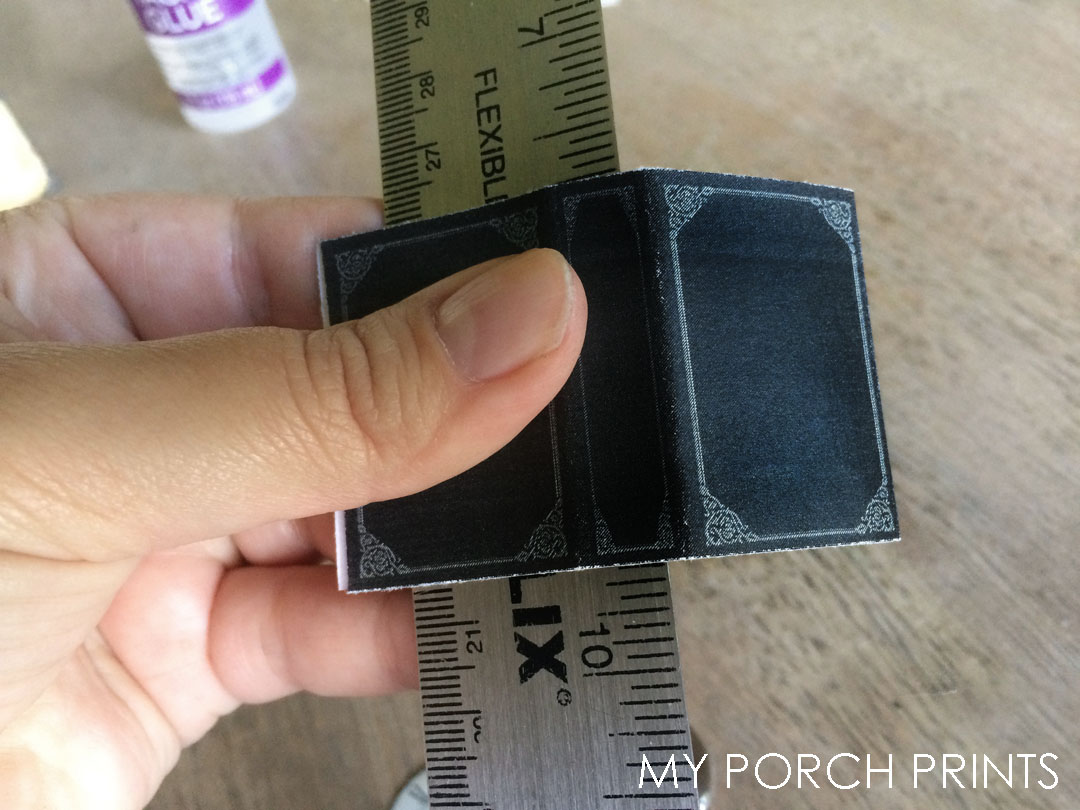
Book Cover
To begin, print & cut your book cover, pages, & chosen clock circle. Next, fold the cover as shown (cutting off any extra) and glue the inside cover to the outside cover. If desired, use a black marker to color on a make-up sponge. Then lightly rub this along the edges of your book to cover any white edges and add a vintage effect. You can also use Distress Ink for this.


Adding the Pages
Cut your pages into three strips and fold them accordion style. Glue the pages together to create three sets of three pages each. Clamp the pages together. I used a clothespin for this. Then apply glue to the edge of your clamped pages and insert them into the cover, pushing them inside the spine as shown. Hold for 30 seconds or so until the glue sets a bit, then clamp the book closed and set aside to dry.


Clock & Cabochon Cover
Once your book pages are dry, cut out your clock face (or whichever design you choose) and glue it to your book cover. Use a drop of clear glue to attach your glass circle cabochon to your clock face. Rub the glass circle around a bit and press down hard to get out any air bubbles. Allow to dry.


All done!
Now you have a cute little Steampunk Clock Mini Book! Use it on its own or as an embellishment for a junk journal. Could also become a cute necklace, charm or ornament.


