Showing posts with label clock. Show all posts

Monday, September 24, 2018

Make This Steampunk Clock Mini Book


Steampunk Clock Cabochon Mini Book from My Porch Prints

Steampunk Clock Cabochon Mini Book from My Porch Prints*
*Not a real clock
This cute little Clock Mini Book is easy to make!
All you need are: 


Book Cover
To begin, print & cut your book cover, pages, & chosen clock circle. Next, fold the cover as shown (cutting off any extra) and glue the inside cover to the outside cover. If desired, use a black marker to color on a make-up sponge. Then lightly rub this along the edges of your book to cover any white edges and add a vintage effect. You can also use Distress Ink for this.


Adding the Pages
Cut your pages into three strips and fold them accordion style. Glue the pages together to create three sets of three pages each. Clamp the pages together. I used a clothespin for this. Then apply glue to the edge of your clamped pages and insert them into the cover, pushing them inside the spine as shown. Hold for 30 seconds or so until the glue sets a bit, then clamp the book closed and set aside to dry.


Steampunk Clock Cabochon Mini Book from My Porch Prints


Clock & Cabochon Cover
Once your book pages are dry, cut out your clock face (or whichever design you choose) and glue it to your book cover. Use a drop of clear glue to attach your glass circle cabochon to your clock face. Rub the glass circle around a bit and press down hard to get out any air bubbles. Allow to dry.

Steampunk Clock Cabochon Mini Book from My Porch Prints

Steampunk Clock Cabochon Mini Book from My Porch Prints


All done!
Now you have a cute little Steampunk Clock Mini Book! Use it on its own or as an embellishment for a junk journal. Could also become a cute necklace, charm or ornament.

Steampunk Clock Cabochon Mini Book from My Porch Prints

Steampunk Clock Cabochon Mini Book from My Porch Prints

Get the Mini Book Printable & Clock Circles from My Porch Prints on Etsy.


Saturday, September 22, 2018

Writer-Themed Tim Holtz Clock

Writer Themed Tim Holtz Clock by My Porch Prints

Writer-Themed Tim Holtz Clock
Have you seen the Idea-Ology Assemblage Clock from Tim Holtz? I've actually gutted vintage clocks to make them over... and I can tell you this clock is waaaaay easier! The back just pops right off, no screws. And it's basically a blank canvas waiting to be personalized. The hardest part is choosing a theme.

I thought about doing a Christmas theme (and I still might!), but I wanted a clock I could display year-round, something that was... me. So, I chose a writer theme. I loooove a good book. I'm also a children's author (check out the Villain School Books).

Here's a quick tutorial on how you can make this writer-themed clock.

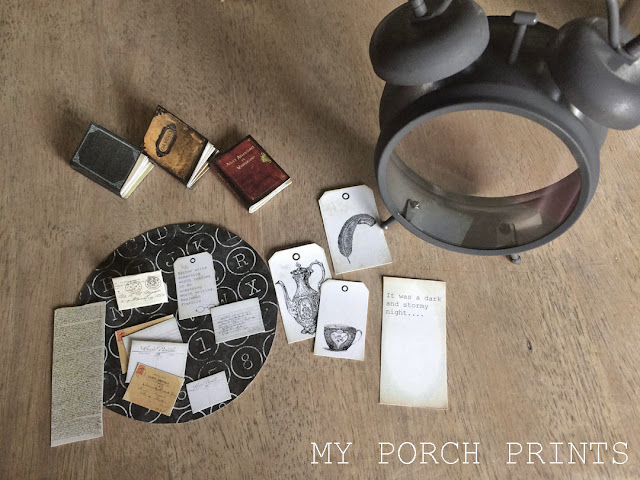
Most of the elements (the background and little pile of mail, scroll, tiny books, etc.) came from my Romance Writer Scrap Pack. I actually had to resize the elements to fit the clock and have the "mini elements" file available to anyone who purchases the scrap pack from my Etsy shop.

Remove Glass Front
The first thing I did was remove the glass front piece to prep the clock for spray-painting. It comes in a shiny silver, which is attractive, but I wanted a more "vintage" feel. A pair of pliers helped to loosen the little nuts so I could turn the metal pieces enough to slip the glass out. Be careful, some pieces of this are sharp and could potentially cut you.


Spray Paint
Set the glass aside. I found a piece of old cardboard to lay my clock on and went outside to spray paint. I did not want a black clock, but rather a vintage silver. So, I did a very LIGHT coat of spray paint, standing a couple feet away and just misting it over the clock. I repeated it until I got the look I wanted.


Paper Backing
Next, I traced the back onto some paper from my Romance Writer Scrap Pack on Etsy. It has the look of old typewriter keys and made a nice backdrop for my decorative elements. I glued it to the clock-back.


Writer Themed Tim Holtz Clock


Assembling Mini Elements
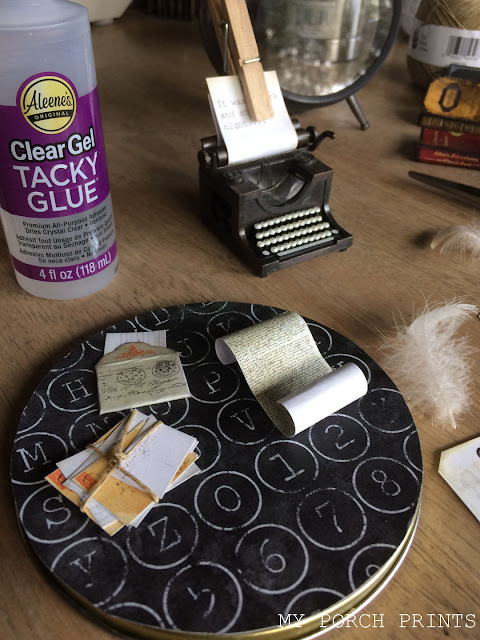
Now it was time to assemble my writer-themed elements! I printed out a few items from my Romance Writer Scrap Pack and also my Da Vinci Mini Book & Alice In Wonderland Mini Book. Re-sizing the items, I created a mini pile of envelopes & postcards, tying them together with hemp twine (find a similar twine here). I used a pencil to roll up my "scroll" and added a goose down feather I found outside as a "quill".

Writer Themed Tim Holtz Clock

Mini Mail tied with hemp twine


Arranging The Layout
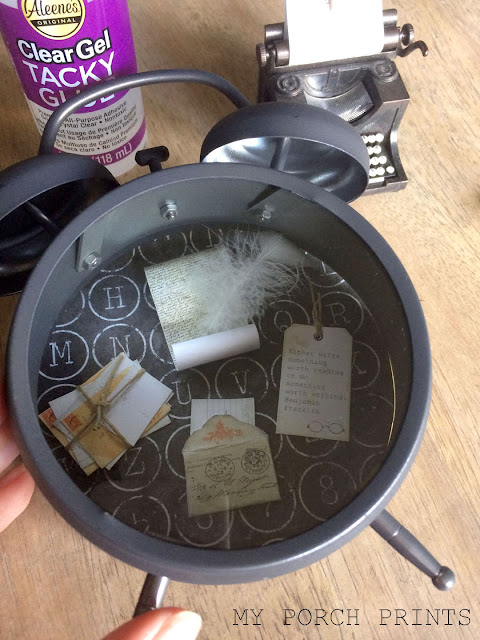
I played around with the layout, placing my clock over the back piece to see how things would fit.

Writer Themed Tim Holtz Clock

Writer Themed Tim Holtz Clock by My Porch Prints

Finishing Touches
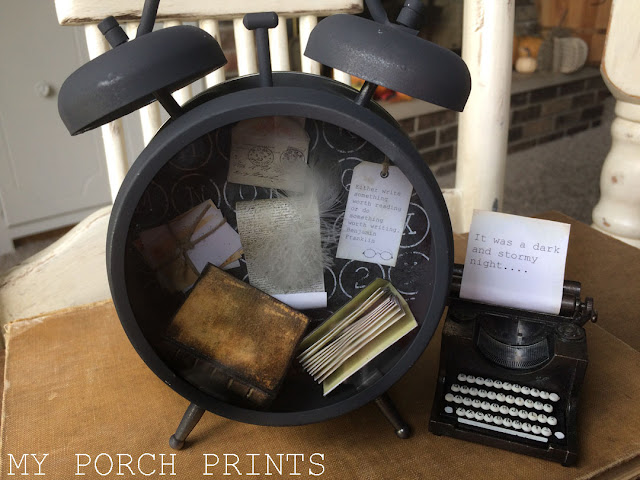
Once I had the items arranged as desired, I glued them into place. The mini books I simply tossed in the bottom, then I pushed the back onto the clock, with the elements glued to it. A tiny vintage typewriter pencil sharpener (found on eBay, you can find a similar one here) with some typed words displayed on top finished the look.

Will you do a clock makeover now? What will your theme be?
Share on my Facebook page.

Writer Themed Tim Holtz Clock by My Porch Prints

Writer Themed Tim Holtz Clock by My Porch Prints


Saturday, February 17, 2018

How To Style Industrial Farmhouse Bookshelves

How To Style Industrial Farmhouse Bookshelves

I'm a sucker for what many people call "junk." Give me something old and rusty, and I swoon. So, it's no surprise that I would use it to decorate my bookshelves. Here's a little look at some of my found items.
How To Style Industrial Farmhouse Bookshelves

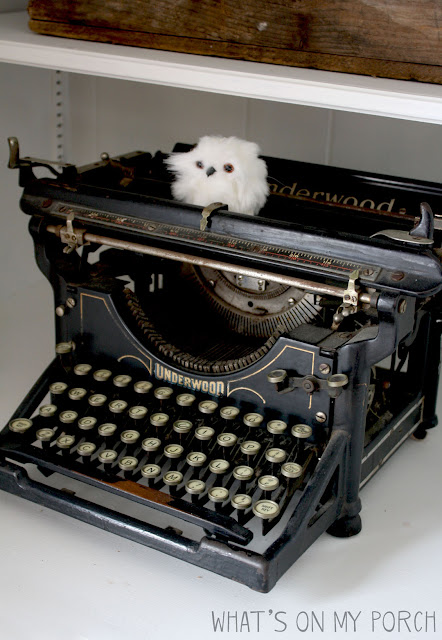
One of my favorite finds, my vintage Underwood typewriter was all but buried in the basement of an antique store. I couldn't pass it up. As a children's author (check out the Villain School Books), typewriters are near and dear to my heart. This one had so much character, too!

How To Style Industrial Farmhouse Bookshelves

The roller skates came from a thrift store, as did the antique books, tackle box and clocks. The wooden crates were junk-day finds... people left them on their curbs with the trash.

How To Style Industrial Farmhouse Bookshelves

The "Cooper" street sign came from a town we lived in for a while. The city was replacing old street signs and had a huge pile! I talked one of the street department employees into giving me one. I asked for the whole pile, but they said it was already promised somewhere else. Bummer!

How To Style Industrial Farmhouse Bookshelves


How To Style Industrial Farmhouse Bookshelves


Do you collect vintage items? What's your favorite "junk" piece?

Thursday, January 18, 2018

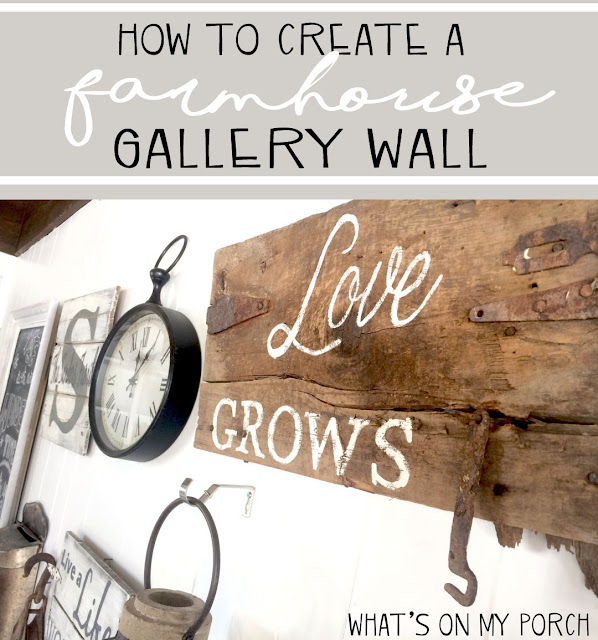
How to Create A Farmhouse Gallery Wall of Your Very Own


farmhouse gallery wall signs

Farmhouse Gallery Wall
Have you ever looked at Pinterest and seen those tidy walls of collected items that just look so perfect they're almost too good to be true? Well, they're totally doable! You  just need the right spot. For years, I've wanted a gallery wall. But we lived in an old house that was all windows and doors. There was literally not one wall that was just a plain, flat space. Then, about a year ago, we moved into our lake house.... and it was the same problem. Only it wasn't just windows and doors--but built-in bookshelves--taking up precious wall space. Not that I'm complaining about awesome built-ins, but sometimes a girl just wants a blank canvas.


farmhouse gallery wall and daybed

 
I managed to find one wall in the living room between the bookshelves and a door. It was big and blank and just perfect for a gallery wall! So, I got to work!

When deciding what pieces to include, I knew I wanted to keep it simple and clean. With a little trial and error, I think I managed it! And you can, too!

Here are some things to keep in mind when creating a gallery wall:


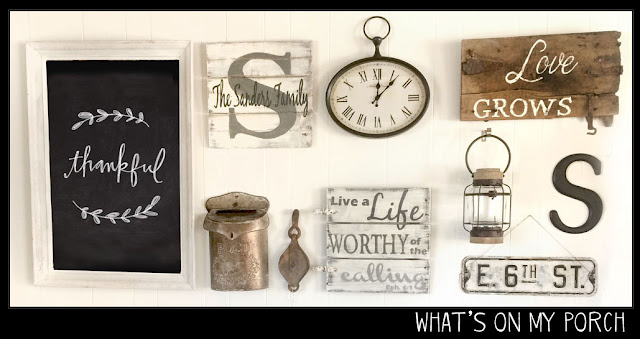
1. Space. You need to understand the dimensions of the space you're working with. Try laying out your chosen pieces on the floor next to the wall. It will help you understand how the pieces fit together. Try to keep the top and bottom even to create a "rectangle" shape (see picture). I only included pieces that fit well, using the largest piece (the chalkboard) to define the edge of my rectangle shape.

gallery wall in rectangle shape with chalkboard, signs, monogram, clock, lantern


2. Color. Modern farmhouse calls for a neutral color scheme. If that's the look you're going for, then I recommend pieces that are black, white, and gray with perhaps one other color. I chose brown for mine. It made sense because I had wood pieces in my gallery. Too many colors can make a space look cluttered and messy.

3. Materials. Choose materials in keeping with your theme. Most of the items in this gallery are wood and metal, which add to the farmhouse style. The lantern is BOTH metal and wood and ties in nicely with the other pieces.


gallery wall with lantern and street sign in black, white, gray


4. Function. While a gallery wall's primary function is aesthetic, it can also serve other purposes. Does your room need a clock? A gallery wall is a good place for one! Also, consider a chalkboard. Gallery walls can get stale if they aren't somewhat changeable. I enjoy decorating my chalkboard with seasonal messages. It also gives me a place to display collected, handmade and sentimental pieces. The "Love Grows" wood sign is made of wood from my dad's barn and has our family tree on the back.

You can see more photos of this "Love Grows" sign HERE.

gallery wall with love grows wood sign, monogram letter, street sign and lantern


gallery wall with farmhouse clock, wood sign, pulley
 

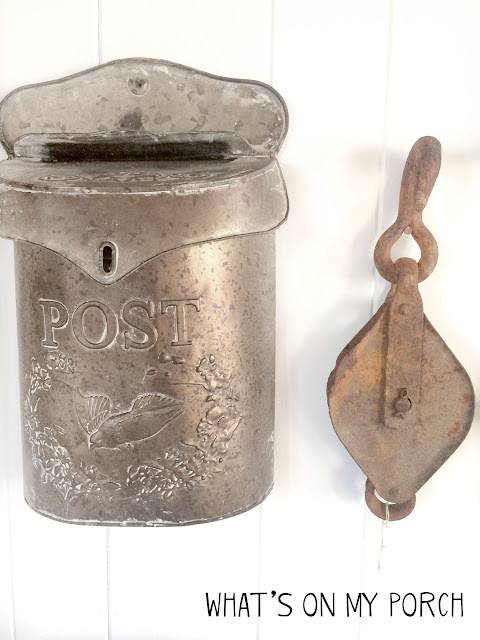
Farmhouse gallery wall with metal mail box, post box, vintage pulley

5. Balance. Make sure you get a good mix of large and small pieces. Don't put all your heavy, square pieces on one side, spread them out. Likewise, don't put all items of one color on one side. I tried to create balance by putting my heaviest pieces (the chalkboard and Love Grows sign) on opposite sides. Also the "S" and "The Sanders Family" sign both have large letter S's, so I separated them, too. I filled in the gaps with smaller pieces.

Read about how to make your own Family Name Sign HERE.

Farmhouse gallery wall with chalkboard, daybed, pillows, wood sign, clock


I'm so excited to finally have a gallery wall! Do YOU have a gallery wall in your house? What pieces did you include?

Share in the comments and follow me on Facebook and Pinterest.

Tuesday, January 9, 2018

Farmhouse Finds From Amazon


Farmhouse products you can find on Amazon!
Farmhouse Finds From Amazon
If you can't tell, I'm pretty much in love with farmhouse style. We're running away together. There are so many choices now for that vintage farm look. And you don't have to go to a specialty store or website to get it. You can find amazing farmhouse décor on Amazon. Take a look at these affordable farmhouse finds!


Galvanized Metal Desk Organizer


Candle Lantern


White Wall Sconce


Metal Chairs


Kitchen Utensil Holder


Architectural Corbel


Barn Door Console


Clock