Showing posts with label writer. Show all posts

Saturday, September 22, 2018

Writer-Themed Tim Holtz Clock

Writer Themed Tim Holtz Clock by My Porch Prints

Writer-Themed Tim Holtz Clock
Have you seen the Idea-Ology Assemblage Clock from Tim Holtz? I've actually gutted vintage clocks to make them over... and I can tell you this clock is waaaaay easier! The back just pops right off, no screws. And it's basically a blank canvas waiting to be personalized. The hardest part is choosing a theme.

I thought about doing a Christmas theme (and I still might!), but I wanted a clock I could display year-round, something that was... me. So, I chose a writer theme. I loooove a good book. I'm also a children's author (check out the Villain School Books).

Here's a quick tutorial on how you can make this writer-themed clock.

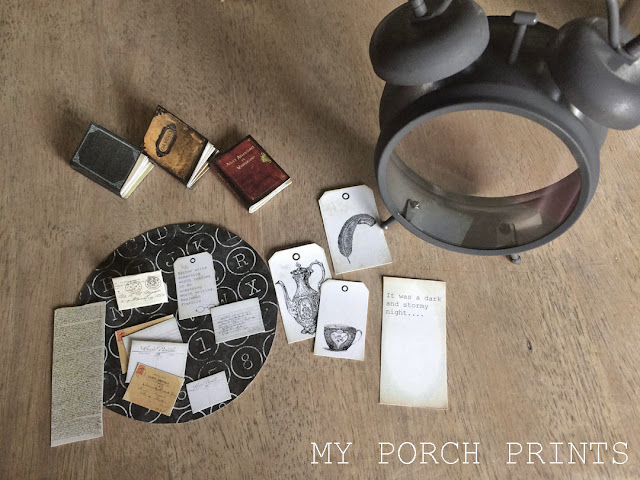
Most of the elements (the background and little pile of mail, scroll, tiny books, etc.) came from my Romance Writer Scrap Pack. I actually had to resize the elements to fit the clock and have the "mini elements" file available to anyone who purchases the scrap pack from my Etsy shop.

Remove Glass Front
The first thing I did was remove the glass front piece to prep the clock for spray-painting. It comes in a shiny silver, which is attractive, but I wanted a more "vintage" feel. A pair of pliers helped to loosen the little nuts so I could turn the metal pieces enough to slip the glass out. Be careful, some pieces of this are sharp and could potentially cut you.


Spray Paint
Set the glass aside. I found a piece of old cardboard to lay my clock on and went outside to spray paint. I did not want a black clock, but rather a vintage silver. So, I did a very LIGHT coat of spray paint, standing a couple feet away and just misting it over the clock. I repeated it until I got the look I wanted.


Paper Backing
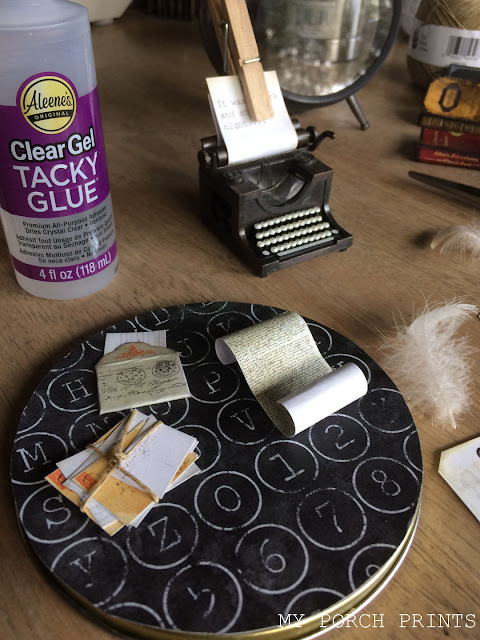
Next, I traced the back onto some paper from my Romance Writer Scrap Pack on Etsy. It has the look of old typewriter keys and made a nice backdrop for my decorative elements. I glued it to the clock-back.


Writer Themed Tim Holtz Clock


Assembling Mini Elements
Now it was time to assemble my writer-themed elements! I printed out a few items from my Romance Writer Scrap Pack and also my Da Vinci Mini Book & Alice In Wonderland Mini Book. Re-sizing the items, I created a mini pile of envelopes & postcards, tying them together with hemp twine (find a similar twine here). I used a pencil to roll up my "scroll" and added a goose down feather I found outside as a "quill".

Writer Themed Tim Holtz Clock

Mini Mail tied with hemp twine


Arranging The Layout
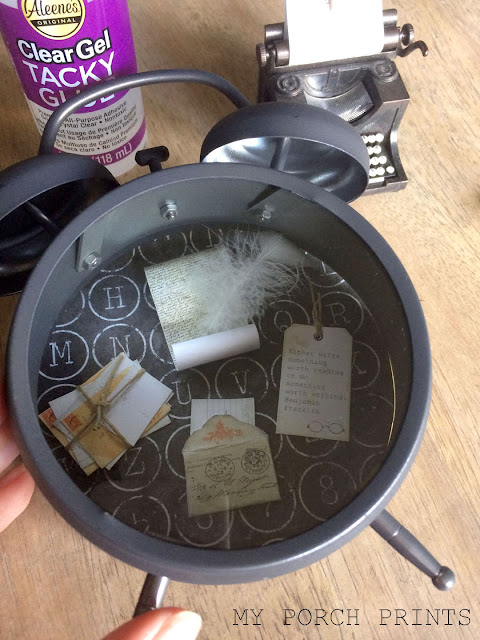
I played around with the layout, placing my clock over the back piece to see how things would fit.

Writer Themed Tim Holtz Clock

Writer Themed Tim Holtz Clock by My Porch Prints

Finishing Touches
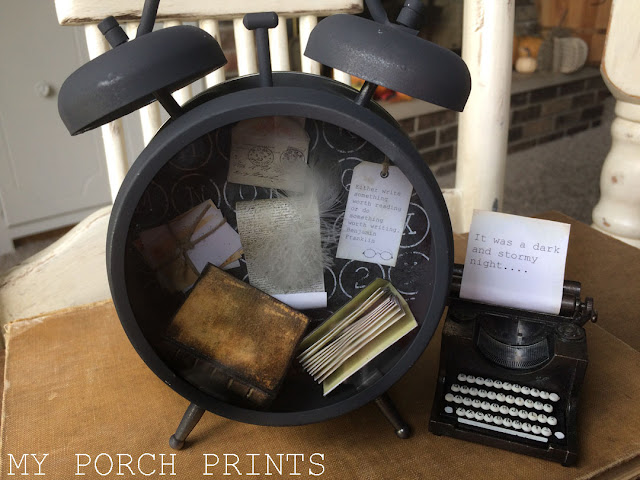
Once I had the items arranged as desired, I glued them into place. The mini books I simply tossed in the bottom, then I pushed the back onto the clock, with the elements glued to it. A tiny vintage typewriter pencil sharpener (found on eBay, you can find a similar one here) with some typed words displayed on top finished the look.

Will you do a clock makeover now? What will your theme be?
Share on my Facebook page.

Writer Themed Tim Holtz Clock by My Porch Prints

Writer Themed Tim Holtz Clock by My Porch Prints


Saturday, January 12, 2013

I Punk My Chucks

Winter brings a lot of challenges. Shoveling snow, scraping windshields... and figuring out how to do fun projects when my porch is knee-deep in snow.

Since I can't go outside and sand a hutch or paint a table, I'm forced to turn to smaller projects to release all this pent-up creative energy. And that is why I decided to paint my shoes.

The project started when my daughter asked for Converse shoes for Christmas. I started looking online for good deals. In the midst of searching, I discovered an entire culture of shoe-art. People, I realized, actually paint their canvas shoes. Being, well... me, I thought, "I could do that!"

So, when I found a decent deal on some high-top Chucks for my daughter, I went ahead and bought an extra pair for myself.

Turning to Photoshop, I worked up a design that incorporated my love for writing and books with my love for God. I also looked online for ideas and inspiration. One shoe design was a red and blue Red Riding Hood theme. I loved the colors and decided to go ahead and use red and blue in my own design.

My Converse shoes painted white. I know. It's hard to tell.
After working up the Photoshop version, it was time to take the plunge and do something that goes against mom-instinct: write on my shoes.

I read up a bit on the process. Even though I'm using the wrong paint and the wrong method, I thought I could at least take a LITTLE advice from the pros. They suggested I paint my white shoes white before beginning. I know. It sounds redundant. But apparently it helps with cracking, so I began by painting my shoes white. 

Design drawn in pencil.
Next, I used a pencil to free-hand the design, referring frequently to the Photoshop version. My reasoning was that I could erase my mistakes. FYI, pencil does NOT erase off canvas shoes. Maybe some kind does if you have special know-how, but good old mechanical pencils do not.

Me and my Sharpie paint pen (thanks, hubby!).
After penciling the entire design on the shoe, I realized that it would have been smarter to outline the background, paint it, THEN pencil the rest of the design on top, but I'm not exactly the think-ahead type. So, since I had the whole design on there, I went ahead and outlined in black with a paint pen. You can use whatever paint pen you like. Mine happened to be a Christmas present from the hubby: a Sharpie oil-based fine tip black paint pen. I wasn't sure how the oil-based pen would work on canvas or how it would work with the acrylic paints I would be using, but it seemed to hold up fine. The tip did get a little fuzzier by the end, but I worked with it.

Nearly finished...!
After outlining in black, I filled in the design with acrylic paint and a small brush. I decided to paint over the rivets where the shoelaces go. We'll see how that holds up over time. I'm not the most graceful painter, so after painting, I went back and re-traced my black lines. Then I did a finishing black outline around the shoes' edges.

The final product looked almost exactly like I'd envisioned it! I'm still deciding whether I want to add some shading or not. And I'll probably either spray or brush on a clear sealant of some kind. Still, I punked my Chucks with my own style, and I'm pretty happy with them. Now I need some blue and red laces, and I'll be ready to show my creation to the world.

The finished product! Well, maybe.