Showing posts with label farm. Show all posts

Sunday, April 12, 2015

Duncan Phyfe Table Makeover


So, we are getting ready to put our house on the market. That means we need to do some major cleaning, repairing and PRAYING. It also means the Porch, the place where I paint, hammer, sand, and generally make a big ole mess, needs to be pretty and pristine! So, I told Hubby I was swearing off any more projects until after we move.

Enter Duncan Phyfe table.

So, I'm at a thrift store with my kiddo when I spot it! A gorgeous (and by "gorgeous" I mean scratched up and heaped in a corner) antique table with four chairs. It's a bit pricey, but still a good deal. But then I remember my promise! No more Porch projects! So, I resist. I am so proud of myself. I get a cookie.

Then a week later, I'm at the same thrift store. This time, with Hubby. There's that pretty table and chairs. I wander innocently over and check out the price tag and... holy moly! It's dropped by 20 bucks! I start gesticulating wildly to get Hubby's attention. I'm pretty sure he pretended not to see me. But when I let out a high-pitched squeal he (and everyone else in the store) was forced to look. I did a little happy hop while pointing madly with both hands. Poor hubby. He didn't stand a chance.

"Last one! Promise!" I said as we stuffed the table with its four chairs and four extra leaves into the back of our van.

Deciding how to refinish this bad boy was a real challenge. I gave about five second's thought to sanding it and giving it a drift wood finish (like my OWN dining set). Then I remembered I HATE sanding, and it takes forever, and paint is SOOOOO much easier. So, painting it was!

Next, I thought, "What color? What kind of technique? Do I add words? Do I do some kind of fancy grain sack stripe down the middle?" Then I remembered all that stuff takes TIME. And I needed to get this done double quick if I ever wanted to list our house for sale.

So, I did a layer of Zinsser primer. Then a layer of paint. I don't know what to call this color... so let's call it "antique linen" because that sounds better than "sorta beige." It was leftover from painting some room or other. It's not quite white, but definitely not beige. I hate the sound of that word!

After the coat of antique linen latex paint was dry, I grabbed my sanding block and some fine sandpaper and went over the whole, MASSIVE 8 feet of table. All four leaves. Yep. That puppy got some serious chippy goin on! It's nice because I get the distressed effect, plus the added bonus of the white primer showing through just a bit--gives it dimension.

The chairs got the same treatment along with a new dress to boot! They were an ugly green-rug-from-grandma's-kitchen kind of fabric, and needed something new. This was an ORDEAL. I could NOT decide on fabric. At all. I had a bolt of green with pink flowers in my HAND. Then I spied a pretty patterned fabric in a robins egg blue. The other fabric was a quick-the-fabric-guy-at-Walmart-is-leaving-so-hurry-up-and-choose kind of decision. I bought three fabrics and used two of them. I guess the other one will be a pillow in some future blog post.

All-in-all this was a relatively quick redo--mainly because of necessity and partly because my wrist was giving out and I needed these DONE. Now.
I do LOVE how it all turned out, though.

I'd do it again.

Just don't tell Hubby. ;)


Sunday, March 22, 2015

Easy Spring Flowering Branches


Easy Spring Flowering Branches
If you're like me, you LOVE the look of flowering trees... those bare branches with the tiny, perfect flowers--no leaves to get in the way, just pretty perfection! However, I've tried cutting a few to bring into the house. Sometimes they are perfect and wonderful and last for days. Most times, though, they die quickly, are hard to work with and usually come with little "residents" in the form of spiders and other nasty visitors.


Solution? Make your own! It wasn't hard to find a few broken branches in our yard after a long, snowy winter. I went to the thrift store and bought a couple old bouquets of white flowers. They even came with some mossy grass that made a very nice faux bird nest! Some hot glue and voila! Spring has sprung!


Saturday, June 14, 2014

Shabby Breadbox Makeover

Have you ever had an epiphany? One of those ah-ha! moments? That was me a few days ago. I have been thinking long and hard about selling our house. This has led me to evaluate every room, trying to understand my design style and weeding out anything that doesn't go with that style so if/when we move, I won't take a bunch of unwanted junk with us.

I'm transitioning from a traditional style (dark woods & fabrics) to a more vintage/shabby/French Farmhouse style (shades of white and gray, worn & weathered woods). So, in my quest to weed out the uglies, I found myself in the kitchen cleaning out a corner cabinet. When I was finished, the cabinet was organized, and the counter that had once held cleaning supplies, a toaster, a blender, a mixer, a fruit basket, a bread box, and two knife blocks now had one knife block, a bread basket, and cleaning supplies. I felt SO cool.

But then I took another look. Eeek! That breadbasket is a blonde wood. I hate blonde wood. And Eeek! again! That knife block is covered in 18 years of grossness dripping down the sides. What to do? If only they were a shabby, distressed white with some cute little gray graphics on them.

Enter EPIPHANY! I can paint ginormous hutches and dining tables. Why not paint the most basic wood items in my kitchen, too?

So, I did. 

I love, love, love how they turned out. I just did a coat of Zinsser primer (no sanding! yay!). Then a coat of satin country white Walmart brand interior paint. After they were dry, I sanded here and there for a lovely distressed look. Then I found a graphic I wanted for the breadbox. (I just free-handed the graphic on the knife block.) I sized the graphic and printed it, colored on the back with willow charcoal (Walmart art supply section) and then traced it onto the breadbox using a dull pencil. Finally, I filled it in with gray paint and when it was dry, sanded the words for a shabby look.

Now my breadbox and knife block match my style. I guess they can come along to the new house. Unless my style changes again between now and the move. :)


Friday, February 28, 2014

Love Grows on Grandpa's Farm: Barnboard Sign

I've mentioned a few times that my dad lives on a farm. And I've also mentioned a few of the items I found while snooping around one day: wire baskets, galvanized buckets, old rusty chains. But my favorite item was this amazing piece of wood. 

It still had the remnants of rusty hinges and a lock attached. The wood was weathered, but tough. It just really reminded me of my dad. So I decided to keep it and make it into a kind of family heirloom that I hope will be passed down from generation to generation.


I decided to make it into a kind of family tree. On the back, I wrote the names of our family, starting with my Great-Grandma Rose whose parents came to America from Germany. She had lots of children, but I only wrote my grandmother's name: Dorothy. Dorothy, too, had many children--all my aunts and uncles, but I only listed my dad, Dave, and my mom, Audrey. After that I listed my husband and I and then our kiddos. I hope the tradition continues and names get added.


On the front I simply painted "Love Grows" which I thought was fitting in keeping with both the farm and family tree themes. 

Now, it just needs Hubby to add a chain to the back so I can hang it on the wall. I know this will be a cherished memory for my kiddos--one of which graduates from high school this year and the other turns sixteen. They have many years of fond memories on Grandpa's Farm, and I think this will be a beloved reminder of that as they grow up and begin families and memories of their own.


My girls are grown up now, but when they were little they enjoyed riding with Grandpa Dave on his tractor (and giving mom a heart attack for fear they would fall).
 
The girls loved the baby kittens.
 
Sisters could always find an adventure exploring grandpa's farm.
 
Our family at Grandpa Dave's farm along with Maggie the border collie.

Tuesday, January 7, 2014

Basket Liner: From Grandpa's Farm

Last summer, our family went to visit my dad on his farm--something we don't get to do nearly often enough. It's always enjoyable with the views of surrounding trees and fields, walks down to the bridge over Indian Creek, Maggie--the border collie--chasing after us, looking for a good head-scratch and best of all, Grandpa Dave telling his stories.


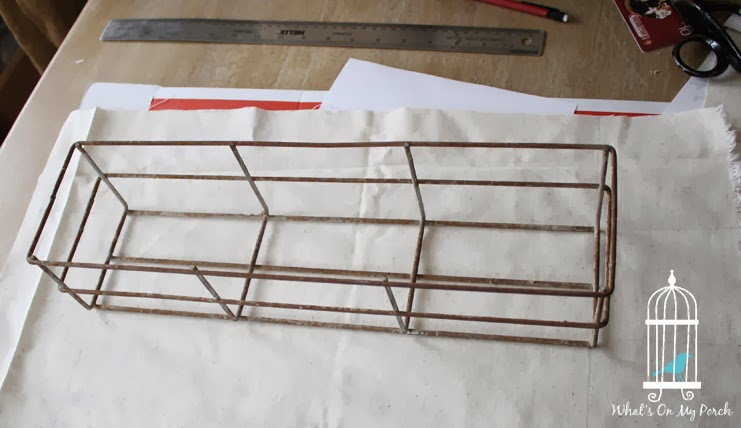
During our visit, I decided to brave the barn with all its inhabitants. I don't mean cows or pigs, I mean wasps and spiders and heaven knows what else. With my hubby's help, I managed to unearth all manner of amazing vintage farmhouse finds, including two metal baskets. They were primitive, rusty, not much to look at but bursting with potential, so I snagged them (along with several galvanized buckets, barnboards and other amazing junk).

They've been sitting in my house just waiting for a makeover, and today they finally got it! I decided what these little charmers needed to make them perfect were fabric liners. I've never sewn fabric liners before, but I figured it couldn't be that hard. Right?


Well, it wasn't, but it did take some trial-and-error. I'm not exactly a pro with the sewing machine. I usually limit myself to straight lines, like pillows. In the end, though, I managed to sew two dainty little liners that would make any blogger proud! (*Well, any blogger that isn't too worried about straight lines or the rules of sewing.)

Here's how I did it:

 
 I began with the basket, setting it onto my fabric and eye-balling the measurements.


 Next, I drew lines from the corners of each basket to show where I would need to cut the fabric. Once all four corners are cut, it makes a kind of cross shape.


 My first oops... I realized after making a small cut that I would need about 1/2 inch extra when I sewed the corners. So, I drew double lines to give me that extra little bit.


 I cut a small slit in the corner on a diagonal (where the lines meet). Then I sewed, good side to good side.


 I decided this needed a little embellishment, so I added a bow and a button and sewed a button hole, too. It's pretty primitive as far as buttonholes go. I'm sure Hubby is thankful I don't sew button up shirts. But it got the job done.


Ta-da! That's it! Perfect! Okay, not so much. Here's a little look into what went wrong and how I could improve:

  • I should probably learn math and measure all this instead of eye-balling it. But I'm lazy and bad at math.
  • Next time, I would draw my lines from the outside of the basket. I was oh-so-clever, thinking if I measured from the inside, the liner would be the perfect size. I was wrong. The liner is too small, and I can barely stretch it over the basket. But, like Cinderella's ugly stepsisters, I MADE it fit!
  • I was going to add a lace ruffle to the top, but I got lazy. I think I should have added it. Maybe I still will. But probably not.
  • Sewing the bow behind the button seemed like a good idea until I had to fish the ribbon through the button hole. It wasn't impossible but did make me a bit grouchy.

Other than those few items, I'm pretty happy with my handiwork. If you're thinking of making a basket liner, I say give it a go! If I can do it, anybody can.


Thursday, August 22, 2013

A Day on Dad's Farm

We spent last weekend with family: first with hubby's side at a reunion/picnic, then a couple days on my dad's farm. I got to visit my aunt and uncle and just enjoy the peace and quiet. Plus, Dad let me pick over the junk in his barn. Bonus! Here's a photo adventure of my favorite finds and a few family pics, too. Enjoy!


Old dented/rusty buckets. Dad: "They have holes!" Me: "Perfect! I'll take them."

Another bucket with a hole, this time intentional. :)

Love this tall bucket with the wood handle grip. Another planter for my impatiens!

I am a hardware JUNKIE. And this rusty strap hinge is huge and AWESOME.

Cool rusty chain.

Cool rusty hook.

I don't even want to KNOW what this was for, but it was just so unique, I had to take it, despite dad's jokes and concerned glances. :)

Dad was so excited about this. He'd actually SAVED it for me.
It's an old dustpan that flattens so you can sweep in it, then straightens when you lift.
Handy! And it has "Cedar Falls Iowa" on the tag. Very cool. :)

I found this thing in the barn playing with wild kittens. I guess I'll keep her.

Dad, looking the part. :)

Hollyhocks blooming.

My daughter and Dad's border collie, Maggie.

Maggie hiding from my kids' attentions.

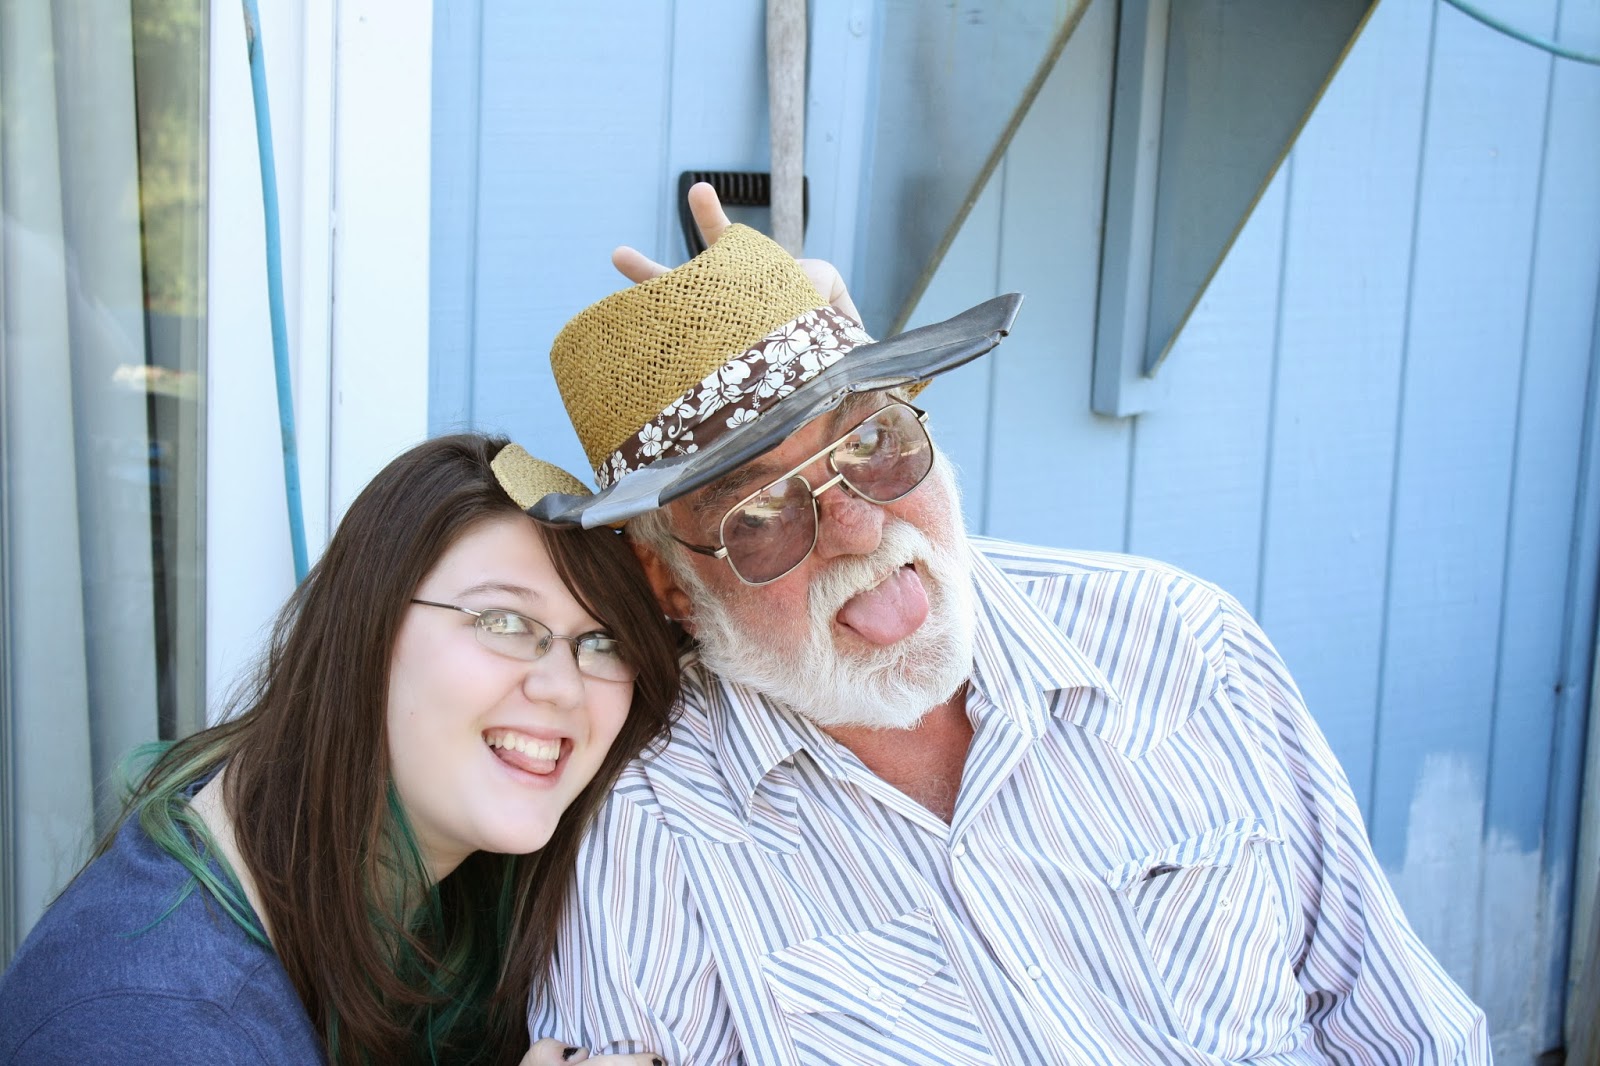
Grandpa & Granddaughter: two peas in a pod.

A kiss for my daddy.

The whole gang. You have no idea how many tries it takes to get everybody to look straight and smile. :)

Overall, a great time on the farm! Can't wait to go back when the wasps are sleeping and REALLY clean out Dad's barn!