Showing posts with label French. Show all posts

Tuesday, January 1, 2019

French Rose Junk Journal Tutorial - Part 2: Adding Pages


French Rose Junk Journal Tutorial : My Porch Prints

French Rose Journal Tutorial *Contains affiliate links
Part 2: Adding Pages

In Part 1 of this tutorial, I showed you how to create a journal cover using a cardboard box and the French Roses Journal Pages from My Porch Prints on Etsy.

In Part 2, I will show you a quick & easy way to add the pages to your journal.

Making Pages
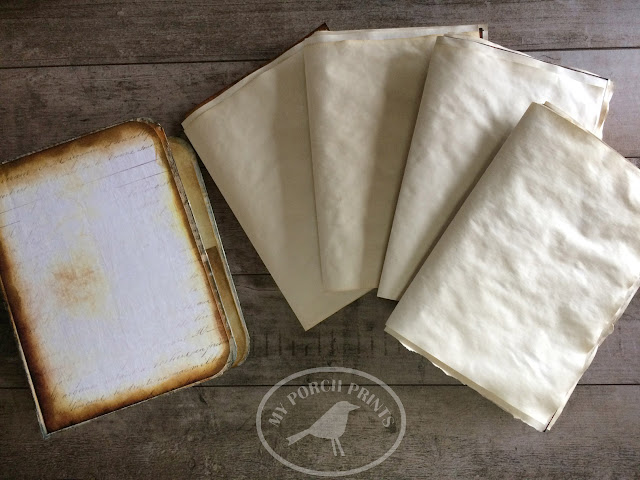
First, you'll need pages. These can be anything really: old scraps of papers, receipts, envelopes. These are part of the "junk" for your journal. But to make it simple, I'm using the French Roses Journal Pages and coffee-dyed paper cut to 7x10 inches (which makes 5x7 when folded). To coffee dye the pages, I filled a cookie pan with coffee, dipped regular copy paper and then put them on cookie sheets to bake for a few minutes at 275 F degrees.

TIP: After they're baked, splash a little coffee randomly on the pages and put them back in to bake for a few more minutes. This will give give them more interesting stains.

How many pages you want depends entirely on you and how big your journal spine is.

French Rose Junk Journal Tutorial : My Porch Prints

Create Signatures
Once you have all your pages ready, you can fold them to create signatures (a collection of folded pages). My journal has 4 signatures made up of about 6 folded pages each.

French Rose Junk Journal Tutorial : My Porch Prints

Easy Twine Binding
Now it's time to bind the signatures into your journal. There are lots of ways to bind a junk journal. Some are complex or require special tools. This method, sometimes called "Easy Twine Binding", is simple and also works in a way that leaves the pages loose & removable if desired.

Begin by using a piece of twine or other sturdy string.

French Rose Junk Journal Tutorial : My Porch Prints

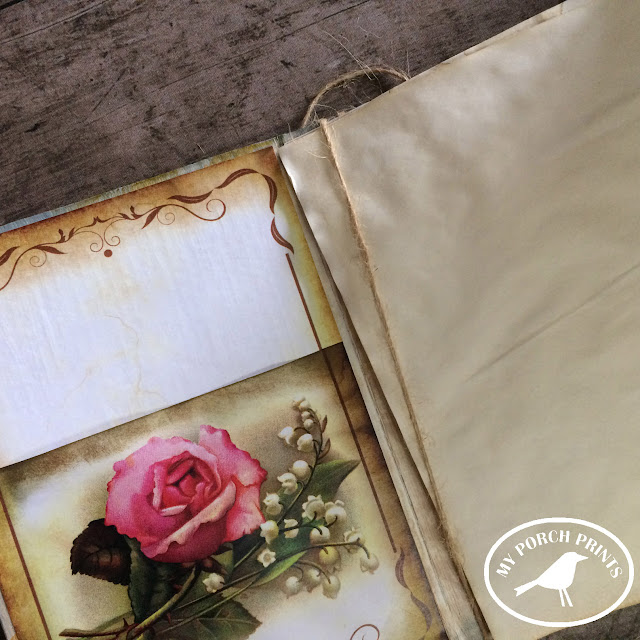
Wrap your twine around your journal spine. Begin on the outside as shown. Then wrap as many times as you have signatures. I have 4 signatures, so I wrapped four times. End with both ends of your string on the outside of your journal spine and tie them off as shown in the photos. Space out the strings. You can also look up video tutorials for "easy twine binding".

French Rose Junk Journal Tutorial : My Porch Prints

Once you have tied off your twine binding, leave the loose ends (don't cut them). We will use them later to attach embellishments to the spine.

Adding Your Pages
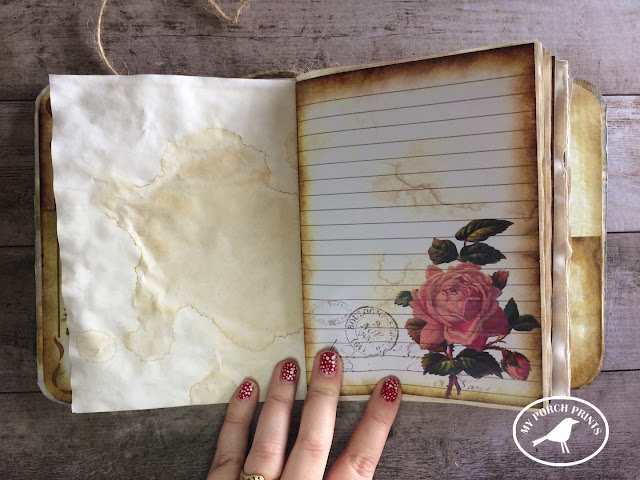
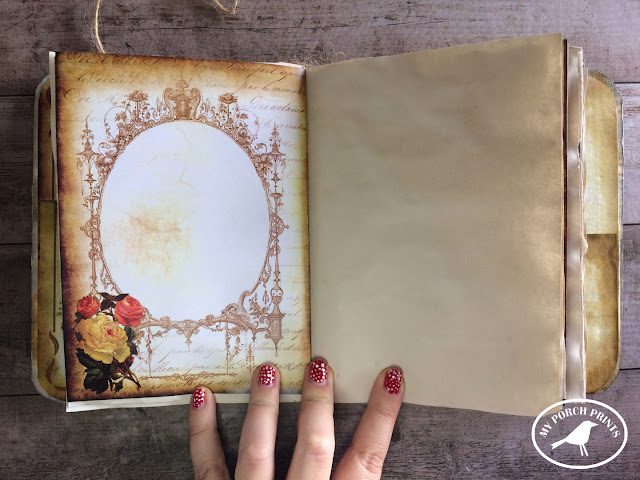
Open your journal. Starting with your first signature of pages, slide one corner under the first string, then ease the rest of the pages under it. This takes some care so as not to rip your pages.


French Rose Junk Journal Tutorial : My Porch Prints

After your first pages are in, flip them over and add the next signature to the next string. Continue until all your signatures are inside your journal.

French Rose Junk Journal Tutorial : My Porch Prints

French Rose Junk Journal Tutorial : My Porch Prints

French Rose Junk Journal Tutorial : My Porch Prints

French Rose Junk Journal Tutorial : My Porch Prints

French Rose Junk Journal Tutorial : My Porch Prints

French Rose Junk Journal Tutorial : My Porch Prints

French Rose Junk Journal Tutorial : My Porch Prints

And there you go! You've added pages to your junk journal!
In Part 3, I will show you how to create a tassel and embellish your journal.

Friday, December 28, 2018

"French Rose" Junk Journal Tutorial : Part 1

French Rose Junk Journal Tutorial : My Porch Prints

*Contains Affiliate Links
French Rose Junk Journal Tutorial
Part 1: Making A Cover
Hello Crafters! Today we're making a journal from a cardboard box and the French Roses Journal Pages from My Porch Prints on Etsy. In this first part, I'll show you how to make the cover. The pages & assembly will come in Part 2.

Find A Box
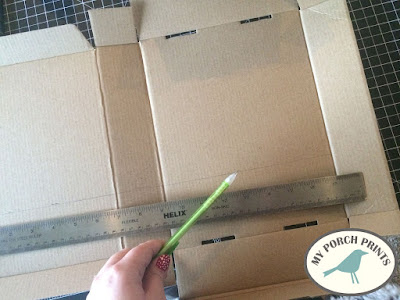
Start by finding a box. A really easy solution is to use a cereal or cracker box. They tend to already have a journal shape. I used a leftover Christmas box. It was already close the size I wanted and was just begging to be transformed into a junk journal. I opened my box and cut it to the dimensions that would work best with my journal pages: 5x7 inches. I actually cut the box just a smidge larger so that my cover would extend over my pages a bit.

French Rose Junk Journal Tutorial : My Porch Prints
Cut Your Box
Next, I opened up my box and cut it to the size I wanted using a craft knife.

French Rose Junk Journal Tutorial : My Porch Prints

French Rose Junk Journal Tutorial : My Porch Prints

French Rose Junk Journal Tutorial : My Porch Prints
Paint Box 
I decided to paint my box white. This is not necessary. There are LOTS of options here. You could cover your box with paper or fabric. Or leave it plain brown if it has no printing or stickers on it. But I opted to paint mine white.

French Rose Junk Journal Tutorial : My Porch Prints

French Rose Junk Journal Tutorial : My Porch Prints

Round The Corners
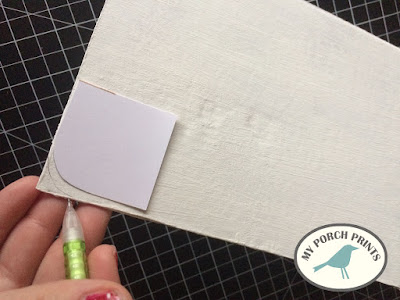
Another optional choice is to cut your corners and round them off. I like the way this looks, but again totally optional. If you want consistent corners, make a template from a piece of paper or cardstock and trace.
French Rose Junk Journal Tutorial : My Porch Prints

Front Cover
I decided to use one of my printable journal pages as a cover: plain with some coffee stain markings and script around the edges. I liked the simple look and it leaves me lots of room for decorating options. I cut the corner in a curve to match my cover.

French Rose Junk Journal Tutorial : My Porch Prints
Spine & Back Cover
I also cut pieces of journal pages to fit my spine & back cover, leaving a bit of border around the edges. This left the spine with an unfinished look, so I inked the edges with Distress Ink and a make-up sponge to give the paper a more finished look.

French Rose Junk Journal Tutorial : My Porch Prints

French Rose Junk Journal Tutorial : My Porch Prints

Glue The Cover
To attach the paper to my cover, I applied glue on the journal cover and spread it using a paint brush. This helps keep the paper from bubbling too much.

French Rose Junk Journal Tutorial : My Porch Prints

French Rose Junk Journal Tutorial : My Porch Prints

TIP: If your craft glue is running low, use a cup to hold it upside down. This will keep the glue ready at the tip!

French Rose Junk Journal Tutorial : My Porch Prints

French Rose Junk Journal Tutorial : My Porch Prints

Ink Journal Edges 
Once my papers were applied to the outside cover, I opted to ink the white edges. I thought it gave it more of an antique feel. I also applied ink to the edges of the INSIDE cover.

French Rose Junk Journal Tutorial : My Porch Prints

Inside Cover Pocket
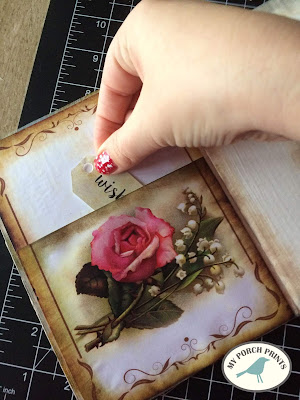
Now it was time to do the inside cover. I wasn't sure exactly what to do for this. Finally, I decided just to use more journal pages and create pockets for holding tags, etc. I rounded the corners to match. After gluing a page inside the cover, I cut a second piece to cut and form a pocket.

French Rose Junk Journal Tutorial : My Porch Prints

French Rose Junk Journal Tutorial : My Porch Prints


Gluing Pockets
I only applied glue to three sides of my pocket, leaving the top open. Then I spread it with a brush.

French Rose Junk Journal Tutorial : My Porch Prints

French Rose Junk Journal Tutorial : My Porch Prints

French Rose Junk Journal Tutorial : My Porch Prints

French Rose Junk Journal Tutorial : My Porch Prints

Cover & Bookplate
For the cover, I decided to use a Tim Holtz Ornate Plate and the word "Create". The words come from a free printable. I started by cutting out my word & gluing it with a craft glue stick to my journal.
French Rose Junk Journal Tutorial : My Porch Prints

Next, I placed the book plate over the word and marked the holes with an awl from a bookbinding kit. This requires a light hand. Be careful not to damage your pages on the other side.

French Rose Junk Journal Tutorial : My Porch Prints

French Rose Junk Journal Tutorial : My Porch Prints

Finally, I added the fasteners. They show on the opposite side, but I'm planning to use some embellishments to cover them later.

French Rose Junk Journal Tutorial : My Porch Prints


In Part 2, I will talk about adding pages & binding to your journal.


Saturday, June 14, 2014

Shabby Breadbox Makeover

Have you ever had an epiphany? One of those ah-ha! moments? That was me a few days ago. I have been thinking long and hard about selling our house. This has led me to evaluate every room, trying to understand my design style and weeding out anything that doesn't go with that style so if/when we move, I won't take a bunch of unwanted junk with us.

I'm transitioning from a traditional style (dark woods & fabrics) to a more vintage/shabby/French Farmhouse style (shades of white and gray, worn & weathered woods). So, in my quest to weed out the uglies, I found myself in the kitchen cleaning out a corner cabinet. When I was finished, the cabinet was organized, and the counter that had once held cleaning supplies, a toaster, a blender, a mixer, a fruit basket, a bread box, and two knife blocks now had one knife block, a bread basket, and cleaning supplies. I felt SO cool.

But then I took another look. Eeek! That breadbasket is a blonde wood. I hate blonde wood. And Eeek! again! That knife block is covered in 18 years of grossness dripping down the sides. What to do? If only they were a shabby, distressed white with some cute little gray graphics on them.

Enter EPIPHANY! I can paint ginormous hutches and dining tables. Why not paint the most basic wood items in my kitchen, too?

So, I did. 

I love, love, love how they turned out. I just did a coat of Zinsser primer (no sanding! yay!). Then a coat of satin country white Walmart brand interior paint. After they were dry, I sanded here and there for a lovely distressed look. Then I found a graphic I wanted for the breadbox. (I just free-handed the graphic on the knife block.) I sized the graphic and printed it, colored on the back with willow charcoal (Walmart art supply section) and then traced it onto the breadbox using a dull pencil. Finally, I filled it in with gray paint and when it was dry, sanded the words for a shabby look.

Now my breadbox and knife block match my style. I guess they can come along to the new house. Unless my style changes again between now and the move. :)


Monday, April 28, 2014

Apple Basket, Table, Bins

Here are a few projects I've been working on lately.

First up, is an apple basket. I decided to spruce up this vintage basket with a cute little French graphic from the Graphics Fairy (see link in sidebar).


Next, was a drop leaf table. I had already given it a makeover, but wanted to add just a little something more. So, using another Graphics Fairy graphic, I painted the image in a light, subtle buttery yellow, then sanded it away to give it a faded, shabby look.


Finally, during our town spring clean-up day, hubby and I found a bunch of old drawers. Hubby used a few to build me these fabulous junk bins. I LOVE them!