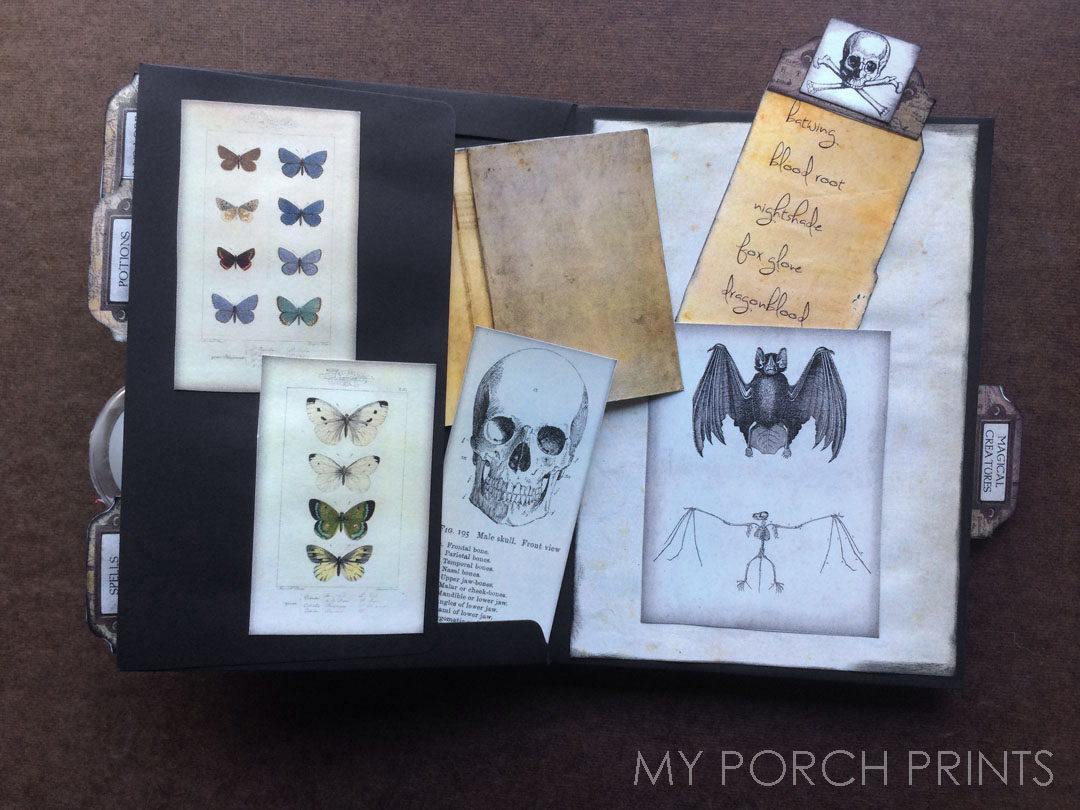
Wizard Themed Envelope Journal
Make this magical envelope journal. All you need are a few envelopes, some basic craft supplies and the Wizard Journal Scrap Pack from My Porch Prints on Etsy.
To Start: Make A Quick & Easy Envelope Journal
*Also see video at the bottom of this post
You can use any color or shape of envelope you like. I chose these black envelopes because black goes nicely with the wizard theme.
 1. Choose an envelope as your "cover", open the flap and set it down. Choose another envelope & fold the flap backwards.
2. Remove the adhesive strip.
3. Slide the flap into your "cover" envelope until it is flush. Press down to attach it. Flip envelope like a book page. Take a new envelope, bend the flap backwards and insert it into the previous one. Flip it like a page and repeat the process. Keep doing this until you have the desired number of pages.
4. Once you have the journal finished. Use the flap from the very first "cover" envelope--fold it around to the back of your journal and remove the adhesive strip. This becomes your spine cover!
5. If desired, crease the "spine" to look more like a book.
6. That's it! So easy and cute! Now you have a journal with built-in tuck spots!
Page Background Papers
Now you can begin preparing your pages for decorating. I printed & cut printable pages from the Wizard Journal Scrap Pack into a size slightly smaller than my envelopes (about 5x7 inches) leaving about a 1/4 inch gap all around when I placed them on my envelopes.
To prepare the papers, I colored on a make-up sponge with a black marker and used it to distress the edges. You can also do this with Distress Ink.

For the cover, I used craft glue to attach a cut & distressed paper. Then I tied a piece of hemp rope around the cover page and placed a "wax seal" (also from the Wizard Journal Scrap Pack) over the knot. I used a metal file plate (find similar ones here) to highlight the title, attaching it with Gorilla Super Glue.

Next, I decorated my pages. This is where you can really get creative. I made some flaps & envelopes that open to reveal pictures and more writing spaces. To create the "Book Of Magic" flap, I used to small pieces of paper to make hinges and glued them to the back as shown. Then I hid a small picture of a black bird beneath it.
I also used a printed envelope from the scrap pack and one of the "wax" seals. I only glued down part of the seal so that the envelope flap could tuck beneath it.
Scroll to see all my Wizard Journal pages!