By Stephanie S. Sanders
I realized my old blog was getting clogged up with DIY projects, so I decided to make a brand-spanking-new blog devoted to....... you guessed it: DIY projects. These could be anything from furniture makeovers to party invitations. They will usually involve my cheapskate tudy-tude and my anything-you-can-do-I-can-do-better-or-at-least-cheaper spirit. So, to kick-off this new blog, I will post the latest project On My Porch: a French graphic table.
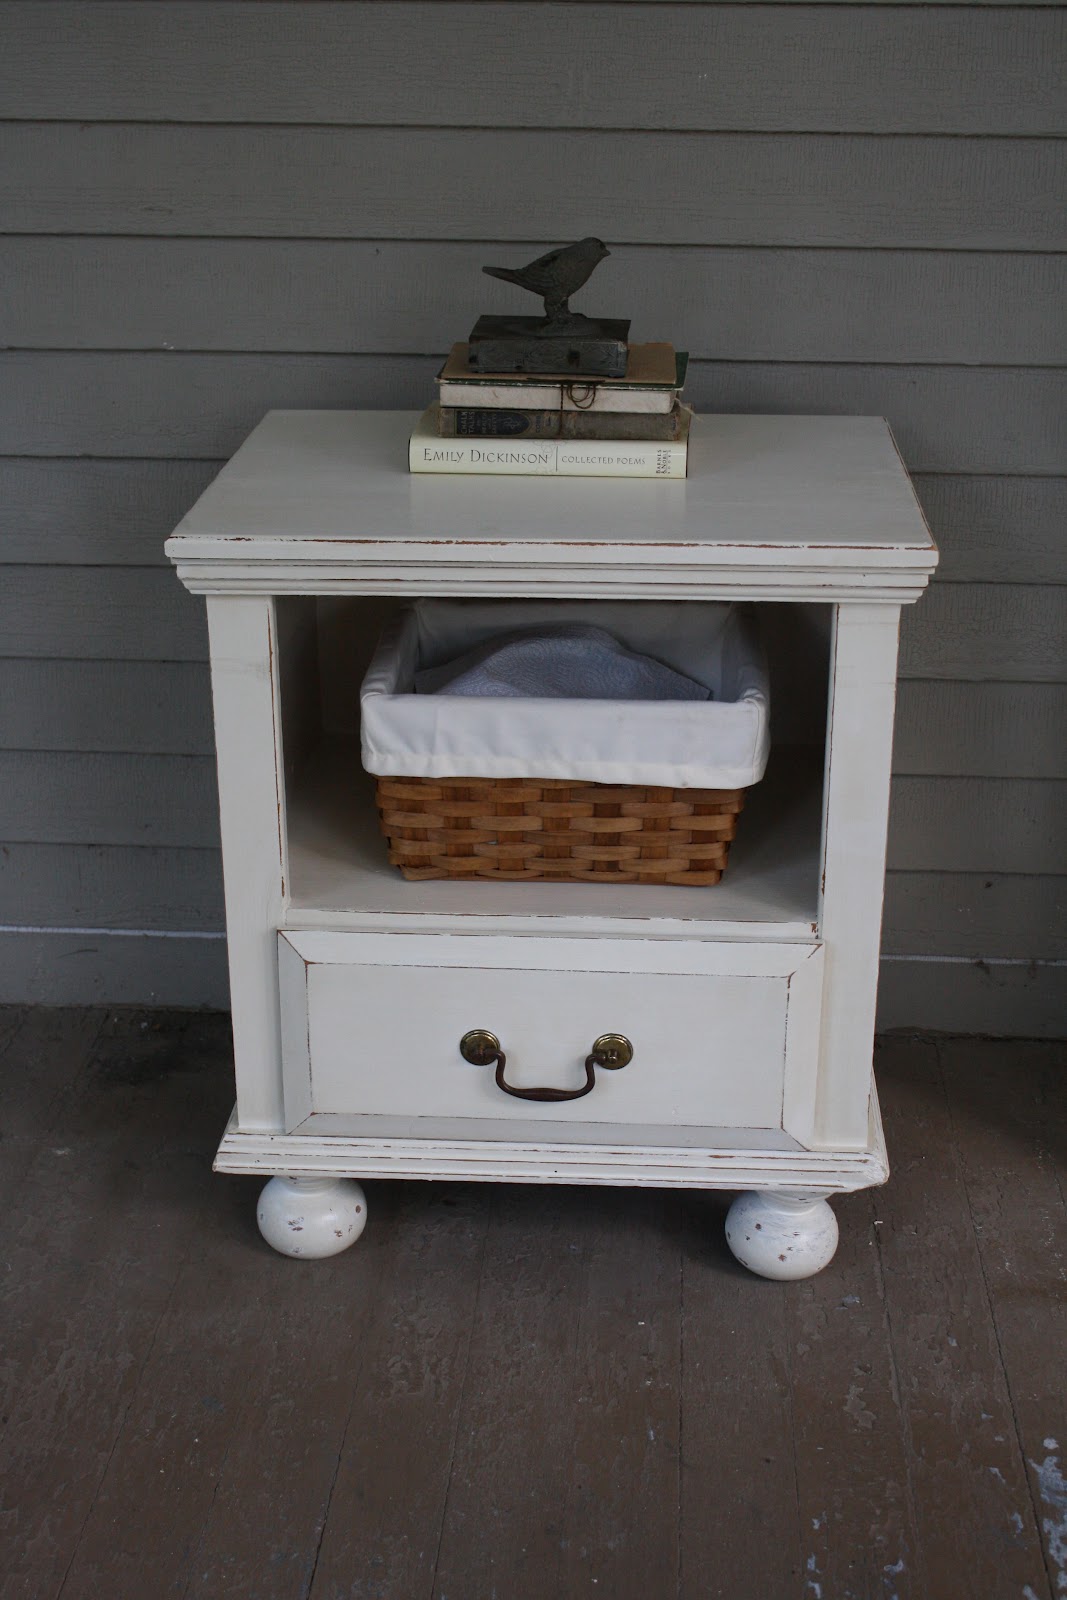
I bought this little beauty at Salvation Army thrift store for six bucks. Actually, I think it was $5.98. It was a little wobbly and the drawer was a bit off the alignment, but I didn't care. I figured if I couldn't fix it... my hubby could! So, I got to work.
 Paint or Stain?
My original idea was to sand and stain the top, then add a graphic in black paint. I broke out the good old orbital sander which did a fine job removing the old stain. However, this table was made of some kind of soft, textured wood that did not at all like being sanded smooth. The lovely, hateful ripples kept showing through, even after I stained it. It was charming and annoying. So, I decided to paint the top instead.
I mixed up some joint compound with acrylic paint (in flat, not glossy) and slathered it on. It looked great. I was going for the chalk-paint effect and it did not disappoint. However, it was EASILY scratched off. I decided to address this... later.
Adding the Ooh La La!So, I printed out a nice French graphic and realized a dilemma. See, usually I color on the back of my graphic with a black crayon, then trace over it to "transfer" it to the table. But black crayon on black table wasn't exactly working. What did work? Pressing really hard with my tracing pencil and basically imprinting the graphic into the black "chalk" paint. Then I went over it with a pencil just to be sure I could see it when it came time to paint it white.
So, up to this point I've been doing a lot of detail painting on my various projects with acrylic paint and a teensy weensy brush. It works and looks good, but my poor wrist and eyes can only take so much. So, I decided to spring for a fine paint-pen from Walmart's craft section. It worked great for tracing out the lettering of this graphic. White on black: classy!
Hob-KnobberyI hated the brass knob that came with the table, so I dug around in my hardware junk drawer to find a suitable replacement. After several failed attempts, I decided on a nice little round antique brass pull. Now, if you recall, I said I'd address the fact that the "chalk" paint scratched off the surface if I so much as sneezed at it. The fix? A layer of Modge Podge, painted on with a sponge brush. And then a final spray of clear acrylic sealer, just to be safe. I love the look of this little table and can't wait to make a hefty profit on Craigslist!