Showing posts with label fabric. Show all posts

Wednesday, May 8, 2019

Bee Transfer Junk Journal Insert Tutorial

Bee Transfer Junk Journal Insert Tutorial from My Porch Prints

My Etsy Shop:  https://www.etsy.com/shop/MyPorchPrints
My Facebook: https://www.facebook.com/myporchprints


Have you ever transferred printed images to fabric? There are lots of different methods. One quick & easy way is to use Citra Solv. Today, I'll show you how to transfer bee images (from my Bee Mini Books Printable on Etsy) to fabric and use them to create an insert for your junk journal.

Materials:


Bee Transfer Junk Journal Insert Tutorial from My Porch Prints

Step 1: Print Image BACKWARDS
I began by printing my image using a toner-based printer. Ink doesn't transfer. If you don't have a toner-based printer, you could try taking it to a printer or library and copying your image. Some copiers are toner-based. 

It's important to print your image backwards so when you transfer, the words & images will look correct. You can use an image manipulation program for this (like Photoshop). Or, if you have Word, you can insert your image into Word, size it to fit the page and then choose "Rotate/Flip Horizontal".


Step 2: Tape Image
Next, cut your printed image as desired. Also cut your fabric to size. If it needs ironed, do that NOW. Place image upside down on fabric and tape into place. CAREFUL not to cover any of the image with the tape, or it won't transfer.


Step 3: Transfer Image
Pour a small amount of Citra Solv into your glass cup (not much!) and using your brush, apply the citra solve to your taped-down image. The image will show through the paper. 


Bee Transfer Junk Journal Insert Tutorial from My Porch Prints

Step 4: Rub with Spoon
Hold your image in place with your hand, and use the back of your spoon to rub the image. This is how it will transfer to the fabric. You'll need to push pretty hard. Also, DO NOT MOVE the image or it will not transfer nicely. I like to work from the corner I'm holding with my hand all the way to the opposite edges.

Also, don't expect the image to transfer perfectly. It can be quite blurry depending on the fabric and how well it is transferred.
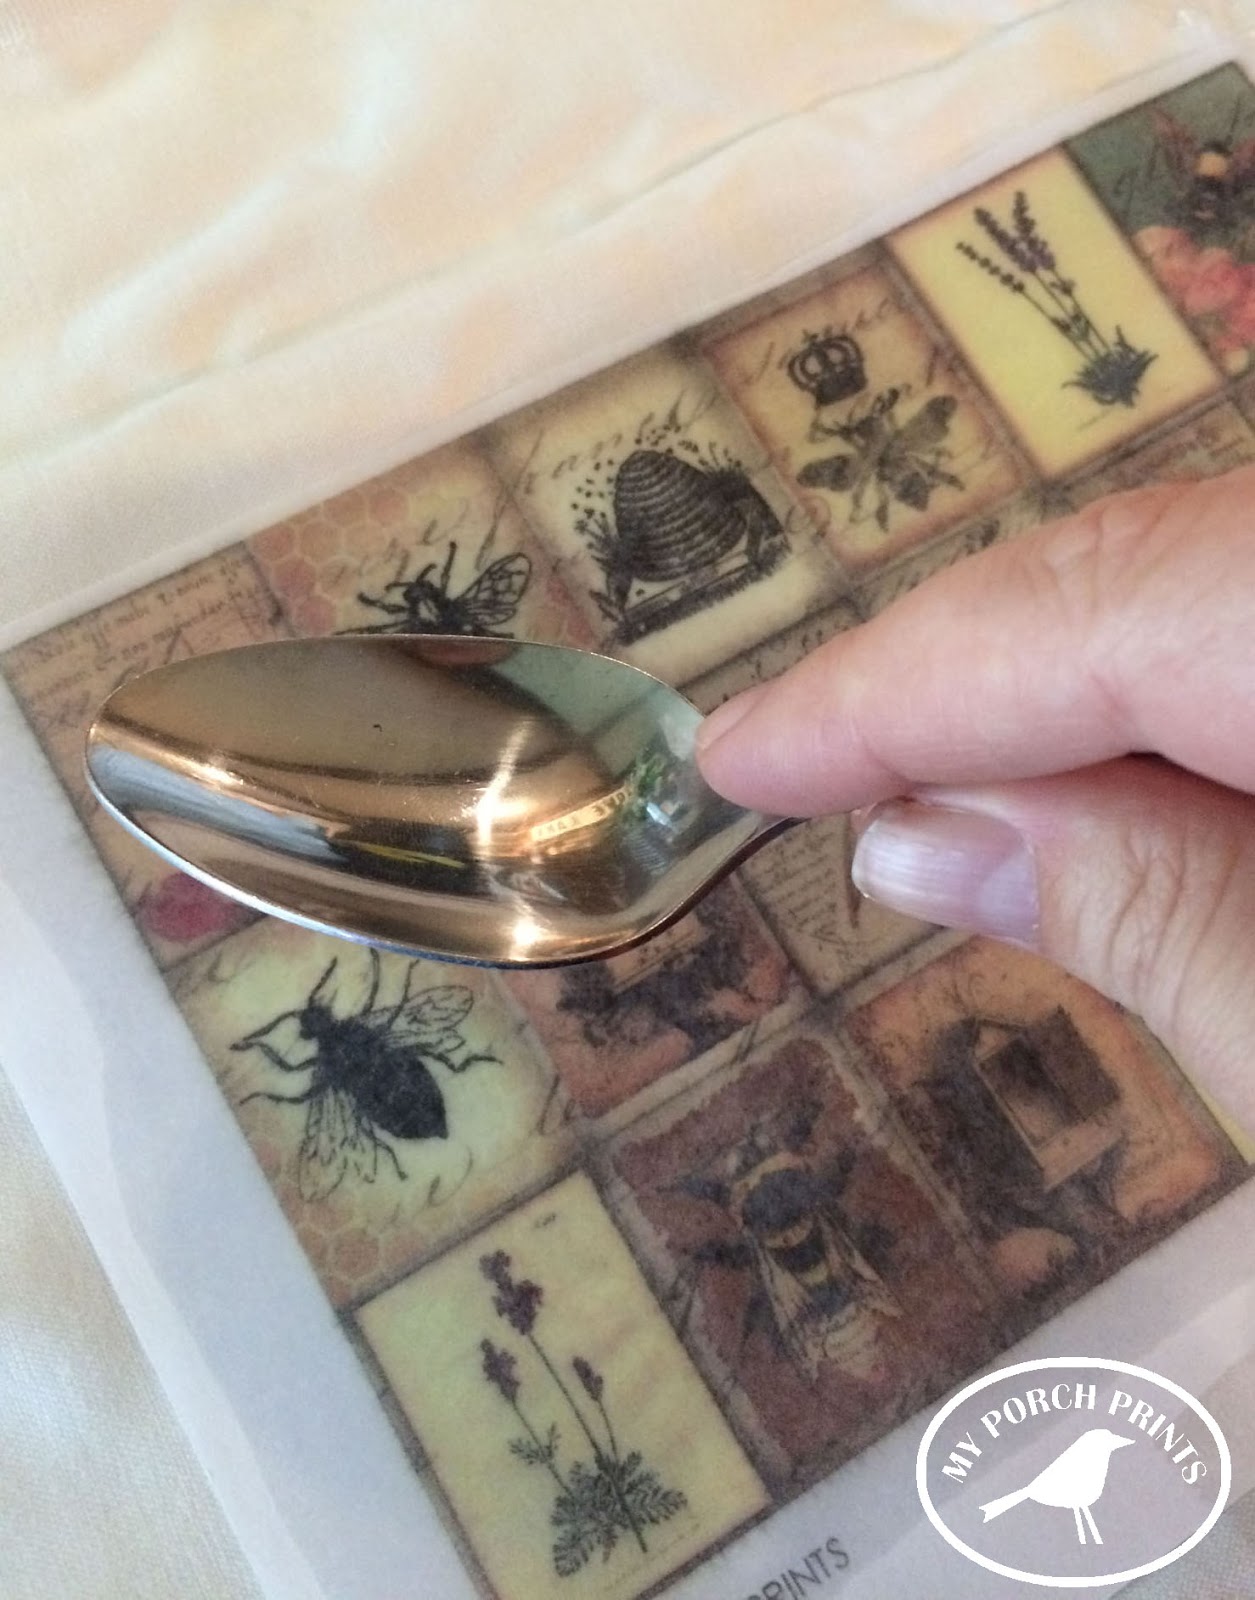
Bee Transfer Junk Journal Insert Tutorial from My Porch Prints


Bee Transfer Junk Journal Insert Tutorial from My Porch Prints

Step 5: Create Insert for Journal
Now that your image is transferred, you may want to wash your fabric. Definitely wash your hands as Citra Solv can irritate them. Once dry, you can begin cutting your images to use in your project.

Bee Transfer Junk Journal Insert Tutorial from My Porch Prints

 I like to fray my edges to give it more of a worn, vintage look.

Bee Transfer Junk Journal Insert Tutorial from My Porch Prints

Next, I tore pieces of brown paper & inked the edges using Tim Holtz Distress Ink and a makeup sponge.
Bee Transfer Junk Journal Insert Tutorial from My Porch Prints

Bee Transfer Junk Journal Insert Tutorial from My Porch Prints

I also cut pieces of cheesecloth and inked those.

Bee Transfer Junk Journal Insert Tutorial from My Porch Prints

I glued my brown paper, cheesecloth and printed bee images to a background as shown.
(Background image is from my Botanical Wildflowers Printable Kit.) You could also sew these.

Bee Transfer Junk Journal Insert Tutorial from My Porch Prints

Last, I added more of my transferred bee images to the top & bottom of my insert. All done!
Thanks for stopping by.

"Bee" sure to follow My Porch Prints on Etsy, Pinterest, YouTube & Facebook. :)

Bee Transfer Junk Journal Insert Tutorial from My Porch Prints

Bee Transfer Junk Journal Insert Tutorial from My Porch Prints

Bee Transfer Junk Journal Insert Tutorial from My Porch Prints

Bee Transfer Junk Journal Insert Tutorial from My Porch Prints


Thursday, May 22, 2014

Shabby Scrap Cloth Garland

You can make this shabby scrap cloth garland! It's easy and fun and gorgeous. I used mine to decorate a booth for a vintage market, but I might just have to re-use it as a window valance!


First, you find some scraps of fabric. You might already have some, but if you're like me, they are fairly useless and in a knot in the bottom of the sewing drawer. So, I went to a local thrift shop and bought some inexpensive lace curtains to mix in with my scraps. Then I just cut them into strips of varying lengths.


Here it is hanging up at my sale booth!
I used a pretty white rope to string them up. My scraps are spaced out, but you could really bunch these together for a fuller look!

Don't tie them in knots. Rather, use a kind of slip knot. (I'm sure it has a name, but I don't know what it is and even if I did you probably wouldn't know what it meant.) You fold the scrap in half to make a loop, then you place it over the rope and pull the two loose ends through the loop to hook it on. Repeat about seven gazillion times and voila! A pretty shabby garland for your home... or, in my case, to try to cover up the fact that you couldn't find your regular canopy for your booth and had to substitute with a bright red sports-themed canopy.

I love the way this garland turned out, don't you? :)


Tuesday, November 12, 2013

Vintage Image Stockings


We've had the same stockings for years. And while they have some charm and nostalgia for us, I would never pick them out in a store today and say, "Oh, these are beautiful!" Nope. I would say, "What a ratty, nasty old thing. Does Santa really put edibles in THAT!"

They don't match. My husband's is about eight feel long and super skinny. And green. With a pompom. My daughters' stockings were both made by their aunt. And while I love the home-sewn style, they are red and green, which sounds like it would match all things Christmas, but really doesn't because I very rarely do up the house in traditional colors. My stocking is red. I think. And made of satin. Or did I switch to white last year? In any case, it's obviously not memorable.

Plus, my style has changed. It is always changing. Right now I'm in a vintage/shabby/French country mode. I like all things chippy, shabby, burlap and grain sack and decided my stockings should reflect that style. 
So, I got to work making these awesome vintage image stockings. They have cute little vintage graphics on them, ranging from a pic of Santa, to sheet music for Silent Night, to old Christmas ads and even part of "A Visit From Saint Nicholas" by Clement Moore (often called "Twas the Night Before Christmas"). I wish I could tell you where I found them, but I often collect images as I come across them, then use them later. But any similar images would do. I transferred the images to the stockings using Citra Solv. You can read about how to transfer printed images here.

The how-to was pretty simple. I downloaded an oversized stocking pattern from online and traced it onto some excellent grain sack-style fabric. Then I just sewed around the edges. Twice for durability, leaving the top open. My brood can get pretty rough on Christmas mornings. And sometimes poor, old Santa is a bit frantic while filling those things in the dead of night, too.

Once sewn, I frayed the edges by hand. This was very time consuming. I also added burlap, lace and other frills to the top along with a handmade chalkboard tag for the names. I think they turned out pretty sweet. Merry Christmas!


https://whatsonmyporch.blogspot.com/2017/12/woodland-christmas-mantel.html
 
Want MORE Christmas ideas? Check out my blog post for a Woodland Christmas Mantel.