Showing posts with label Christmas. Show all posts

Sunday, December 16, 2018

Christmas Loaded Envelope Tutorial

Vintage Christmas Loaded Envelope Tutorial

Vintage Christmas Loaded Envelope Tutorial*May contain affiliate links.
Okay, confession time. This is my very first loaded envelope. You're probably wondering why you should take advice from me on how to make one of these. I have no answer, except to say that I've done a bit of crafting in my time, and this is the kind of project I love! And I did do a little research. I don't think there is a right and wrong way to make a loaded envelope. But there are some things I learned in the process, and that's really what I want to share with you.
Vintage Christmas Loaded Envelope Tutorial
What You'll Need
You can use almost anything to make a loaded envelope. But for this particular one, I used Christmas-themed printables from my Etsy shop. I will list the items you'll need along with shop links for the printables.

#10 Envelope (4.13 x 9.5 inches)
Craft supplies: glue stick, glue, scissors

From My Porch Prints on Etsy:
Christmas Sheet Music
Christmas Phrases Papers
Christmas Recipe Cards
Christmas Mini Folders
Red Christmas Truck Tags
Christmas Countdown Flip Cards

Choose A Theme
First, you'll need to choose a theme for your loaded envelope. I chose Vintage Christmas. But you could do anything. Some ideas: roses, holidays, colors. I even saw a rainbow one that had a package of Skittles candy in it! Decide who will be your recipient and build a theme around that person. Gift them with tags, crafts, stickers, candies, etc. Or use as part of a junk journal, December Daily or flowish journal (a journal where the pieces can be taken out and used for crafting).

Cut Papers
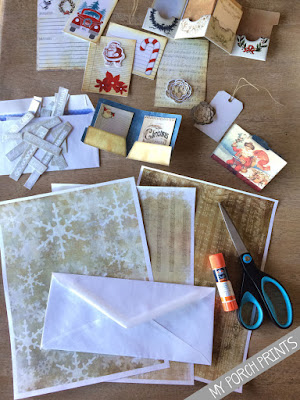
Using your envelope as a guide, trace & cut papers to fit. Cover the inside of the envelope, the flap and also the back as shown. Leave the flap open. It will become a pocket.

Vintage Christmas Loaded Envelope Tutorial

Ink Edges
After your front, back & flap are covered with paper, you can choose to ink the edges. You can use Distress Ink or a marker & make-up sponge as shown. Color on the sponge with your marker, then dab the sponge along the edges of your envelope to create an aging effect.

Vintage Christmas Loaded Envelope Tutorial

Next, fold the bottom of the envelope up over the flap to form a pocket as shown. Only glue the sides, leaving an opening to create your pocket.

Vintage Christmas Loaded Envelope Tutorial

Add Small Pocket
Next, cut a piece to use as an extra pocket on the front. I used this Christmas sheet music piece printed on cardstock. ONLY glue the sides & bottom. Leave the top open to create the pocket.

Vintage Christmas Loaded Envelope Tutorial

Cut Top Of Envelope
Cut the top off your envelope to create a pocket as shown. Ink the edge if desired.

Vintage Christmas Loaded Envelope Tutorial

Fill Your Pockets
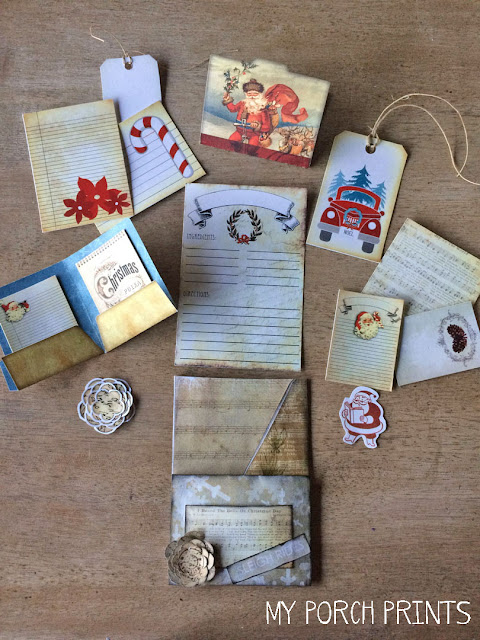
Next add your "goodies". These can be tags, small cards, mini folders, etc. You can also add lace, ribbons, buttons, tea bags, gifts, stickers, embellishments... whatever you want to fill up your pockets and "load" your envelope. All of my goodies came from My Porch Prints on Etsy.

Vintage Christmas Loaded Envelope Tutorial

Vintage Christmas Loaded Envelope Tutorial

I added a Christmas Recipe Card to my largest top pocket. I filled the smaller pockets with tags & folders. And the littlest pocket holds a tiny Santa and a layered flower. I glued "Sleigh Rides" to my tiny pocket as well and added another layered flower as an embellishment.

Vintage Christmas Loaded Envelope Tutorial

Vintage Christmas Loaded Envelope Tutorial

That's it! Now who's going to make a loaded envelope? Visit my Crafting Ideas Facebook Page and share your creations.


Friday, November 30, 2018

Christmas Wishes Printable: Free Download

Free Christmas Printable from My Porch Prints


Merry Christmas from My Porch Prints! 
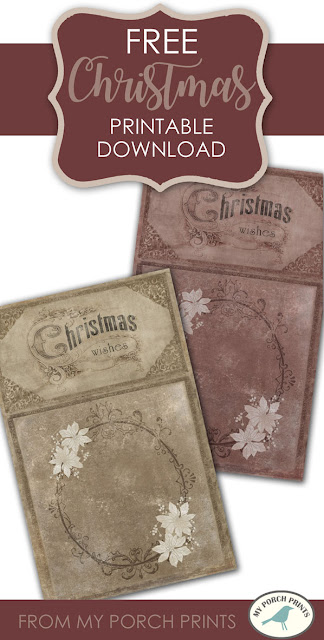
Here is a free download for you (at the bottom of this page). Use it in your crafty projects. Would work as a cute journal cover or part of a card-making project.

Happy crafting!


Follow Crafting Ideas by My Porch Prints on Facebook for lots of fun & beautiful paper crafting inspiration.

To download, click the image below, then right click and save it to your computer.
Visit my Etsy shop to see more printables.

COPYRIGHT
PLEASE NOTE:
 This image is not to be re-used in digital form (as in do not re-post it on your website or anywhere else or try to sell it in digital form).
You MAY PRINT & sell it as part of a journal or art project (please credit My Porch Prints).

Free Christmas Printable from My Porch Prints
Click to Download


VISIT MY ETSY SHOP for more downloads.


Days of December - Daily Journal

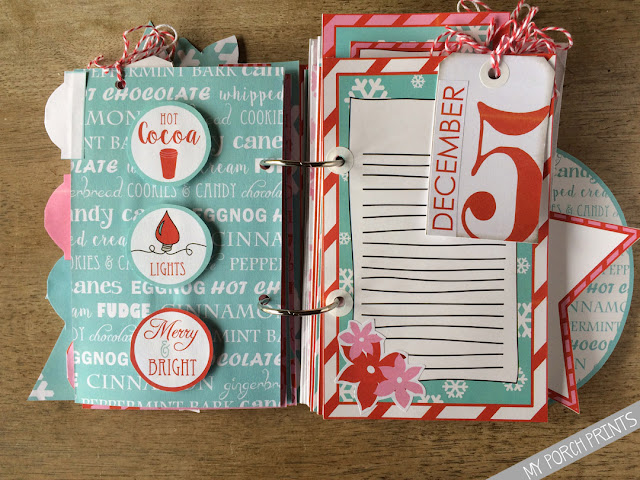
Days of December Daily Journal of Christmas Memories

Days of December - Daily Journal
Ah December. The whisper of soft snow flakes. The magic of twinkling lights. The promise of Christmas Day. But how to capture all of it?


This is my own version based on a design I created. You can buy the journal kit for this Days of December Journal here.

It makes a fun craft project. You can also use the kit to create cards, scrapbook pages and other fun projects. Get the kids involved with crafting, photos, recipes & more. 

Getting Ready
To begin, I printed & cut out all my journal pages and decorative elements. Next, I punched the holes for my binder rings. The kit comes with a handy hole punch guide so they'd all be lined up nicely.


A 1-inch circle punch comes in handy for punching out numbers and snowflakes.


Another handy thing to keep nearby is mounting tape. I use it to give dimension to my decorative elements to raise them up off the background page.


I spread all my elements and papers around my dining table so I could see what I had to work with. Then, I laid out each page to see where things would fit before gluing them.

Days of December Daily Journal of Christmas Memories

Days of December Daily Journal of Christmas Memories


Days of December Daily Journal of Christmas Memories

 When all my pages were finished, I bound them using binder rings.

Days of December Daily Journal of Christmas Memories

Days of December Daily Journal of Christmas Memories


Days of December Daily Journal of Christmas Memories

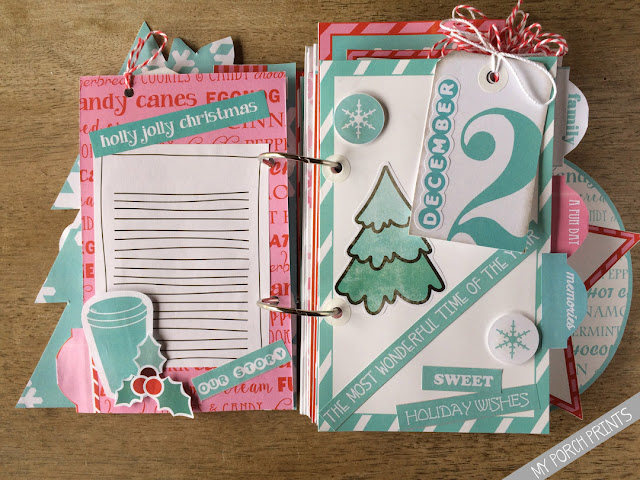
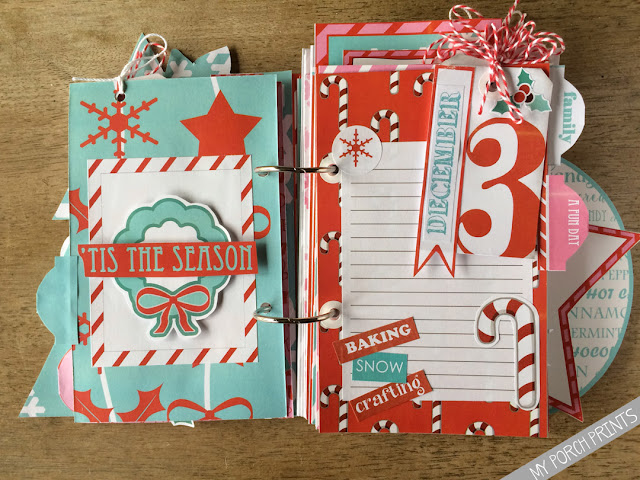
I used the number tags like daily calendar numbers, adding "December" to each one and tying them to my journal pages with string or bakers twine.

Days of December Daily Journal of Christmas Memories

Days of December Daily Journal of Christmas Memories

Days of December Daily Journal of Christmas Memories

Days of December Daily Journal of Christmas Memories

The kit includes these really cute recipe pages to record all the Christmas recipes our family will bake together!

Days of December Daily Journal of Christmas Memories

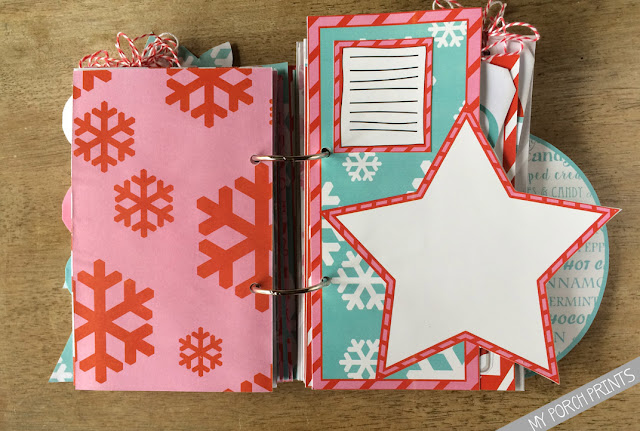
The kit comes with special divider pages in the shapes of a star, an ornament and a tree.

Days of December Daily Journal of Christmas Memories

Days of December Daily Journal of Christmas Memories

Days of December Daily Journal of Christmas Memories

Days of December Daily Journal of Christmas Memories

Days of December Daily Journal of Christmas Memories

Days of December Daily Journal of Christmas Memories

I can't wait to start counting down the memories and adding my own photos, recipes & journal entries! Get this printable kit and make your own Days of December journal.

Days of December Daily Journal of Christmas Memories
Tip: 
Print your papers on the back of your journal pages for a finished look, so the backs of your pages are as pretty as the fronts.

Some Special Supplies I Used:


Tuesday, January 2, 2018

How to Have FUN Taking Down Christmas Decorations


Every year it's the same. November hits... along with a hint of snow in the air.... and suddenly I'm all about Christmas. The Christmas train can't be stopped! The tree is up and sparkly. The fireplace is glittering. The halls are decked, baby! The world is aglow with the anticipation of Christmas morning!

Then, somehow, a month later, everything is bleak. The kids are gone back to school or work. The empty packages and wrapping are thrown away. And now the tree that brought so much joy is starting to look like a lot of work.

So, how can I re-capture the joy I felt putting all this stuff up? I can't, really. Nope. Plain and simple. Nothing beats the joy of anticipating Christmas!

But, I can refocus my energy on other things. Here's my guide to ENJOYING putting away Christmas decorations:

1. Put on some music. Christmas is over, and you can finally get Santa Baby out of your head! Use that i-tunes gift card or just turn on Pandora and get a good, upbeat station going. I like "80s pop". It takes me back to my childhood and makes me want to move!

2. Organize and trash it! That's right. This is your big chance to keep what you love and junk what you don't. I keep a few sentimental ornaments and throw away anything that I don't absolutely love. Or donate it, if it's in decent shape. I wrap lights around cereal boxes. Go to Walmart and get a couple of those plastic organizers they always put in place of the Christmas aisle. Use them to neatly put away ornaments. And grab a big plastic box for larger items like greenery, lights and small trees. Don't want to run to the store? Try these DIY organization ideas from Good Housekeeping.

3. Make some cocoa or coffee. And fru-fru it up with whip cream, sprinkles, etc. I like cinnamon and honey. Hey, it's not Christmas, but it's still winter, for crying out loud. It is currently below zero degrees as I type this! So, put on those fuzzy slippers or socks that Santa brought you and drink up!


4. Enlist help. Kids can get in on this cleaning action. Give them a task. Ask them to sweep or vacuum glitter and fake snow. Or get them to clean and organize their new toys while you take down the tree. Also, Hubby may not care one way or another about ornaments, but he still has muscles. I ask Hubby to carry boxes up and down the basement steps for me. He's such a champ about it! (Thanks, Hubby!) Or see if someone can make dinner while you un-decorate. Better yet, get pizza delivered! Call your sister or mom and make a day of it.


5. Laugh. It's easy to get depressed when the house is quiet and the sun is so tiny and shrunken it actually seems to be sucking vitamin D from your pale skin. Seeing the tree come down is tough. So, find a funny video (i.e., Tim Hawkins, FailArmy, Jim Gaffigan, etc.). Put it on while you work to keep your mood light.

6. Think of the future. Christmas may be over, but it will come again. And now you've cleared out the tree, you have space to re-decorate. Move some furniture around. Think about throwing a few touches of spring into your home. Buy some fresh flowers! Go out and find a bird nest (like this one my daughter and I found in the snowy woods. Don't worry. It was long-vacated and its occupants enjoying warmer climes!) Enjoy your newly-cleared out home and look forward to warmer days!


What do YOU do to make cleaning up Christmas more fun?
Comment here or on my Facebook page!
 

https://whatsonmyporch.blogspot.com/2017/12/update-your-home-for-new-year.html

Friday, December 22, 2017

Christmas at the Porch

Can you believe it's nearly Christmas? Where does the time go? I started decorating in early November. I used to wait until after Thanksgiving, but a month just isn't long enough for all the effort that goes into decorating, don't you think?

Here's a peek at Christmas at our lake house. Merry Christmas, everyone!

Christmas cubbies above my coffee bar.

Christmas coffee bar area

Christmas three-tiered tray.


Christmas three-tiered tray


Antique white and red truck with bottlebrush Christmas tree

Christmas centerpiece for the table

Our frosted Christmas tree


https://whatsonmyporch.blogspot.com/2017/12/decorate-christmas-bookshelf.html

Want MORE Christmas decorating ideas?
Check out my blog post on how to decorate Christmas bookshelves!