


My Etsy Shop: https://www.etsy.com/shop/MyPorchPrints
My Facebook: https://www.facebook.com/myporchprints
Have you ever transferred printed images to fabric? There are lots of different methods. One quick & easy way is to use Citra Solv. Today, I'll show you how to transfer bee images (from my Bee Mini Books Printable on Etsy) to fabric and use them to create an insert for your junk journal.
Materials:
- Citra Solv
- Toner Printer (Not ink, it won't transfer)
- Printed Bee Images
- Spoon
- Small Paintbrush
- Glass Cup
- Light Colored/White Fabric (nothing shiny, it needs to absorb)
- Distress Ink (If Desired)
- Cheesecloth
- Brown Kraft Paper
- Botanical Wildflower Printable

Step 1: Print Image BACKWARDS
I began by printing my image using a toner-based printer. Ink doesn't transfer. If you don't have a toner-based printer, you could try taking it to a printer or library and copying your image. Some copiers are toner-based.
It's important to print your image backwards so when you transfer, the words & images will look correct. You can use an image manipulation program for this (like Photoshop). Or, if you have Word, you can insert your image into Word, size it to fit the page and then choose "Rotate/Flip Horizontal".


Step 2: Tape Image
Next, cut your printed image as desired. Also cut your fabric to size. If it needs ironed, do that NOW. Place image upside down on fabric and tape into place. CAREFUL not to cover any of the image with the tape, or it won't transfer.

Step 3: Transfer Image
Pour a small amount of Citra Solv into your glass cup (not much!) and using your brush, apply the citra solve to your taped-down image. The image will show through the paper.

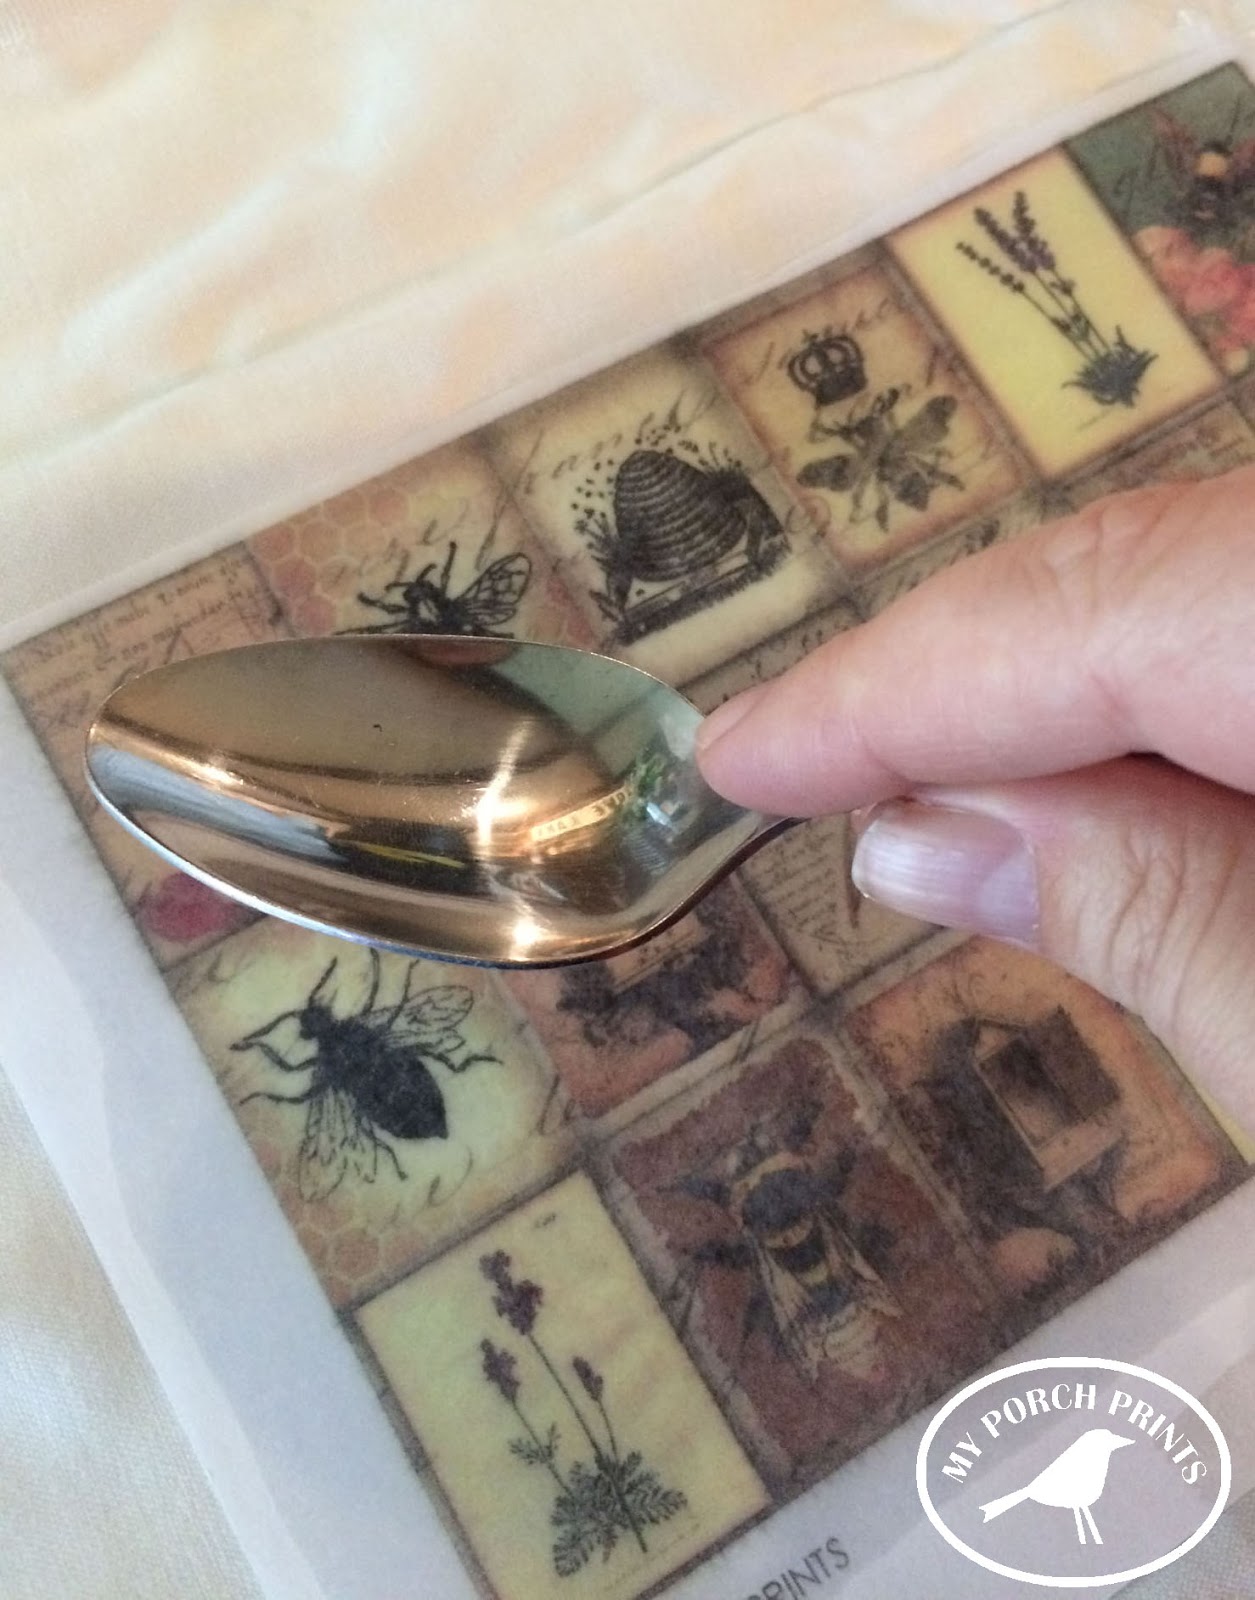
Step 4: Rub with Spoon
Hold your image in place with your hand, and use the back of your spoon to rub the image. This is how it will transfer to the fabric. You'll need to push pretty hard. Also, DO NOT MOVE the image or it will not transfer nicely. I like to work from the corner I'm holding with my hand all the way to the opposite edges.
Also, don't expect the image to transfer perfectly. It can be quite blurry depending on the fabric and how well it is transferred.

Step 5: Create Insert for Journal
Now that your image is transferred, you may want to wash your fabric. Definitely wash your hands as Citra Solv can irritate them. Once dry, you can begin cutting your images to use in your project.


Next, I tore pieces of brown paper & inked the edges using Tim Holtz Distress Ink and a makeup sponge.


I also cut pieces of cheesecloth and inked those.

I glued my brown paper, cheesecloth and printed bee images to a background as shown.
(Background image is from my Botanical Wildflowers Printable Kit.) You could also sew these.

Last, I added more of my transferred bee images to the top & bottom of my insert. All done!
Thanks for stopping by.
"Bee" sure to follow My Porch Prints on Etsy, Pinterest, YouTube & Facebook. :)


