Showing posts with label CitraSolv. Show all posts

Wednesday, May 8, 2019

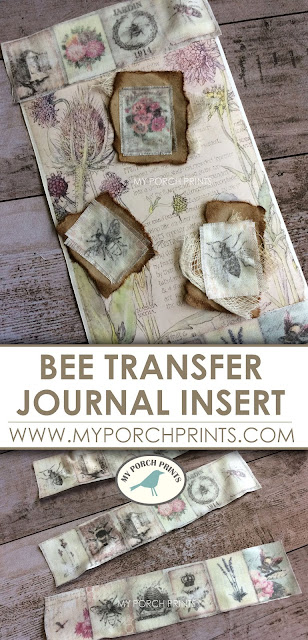
Bee Transfer Junk Journal Insert Tutorial

Bee Transfer Junk Journal Insert Tutorial from My Porch Prints

My Etsy Shop:  https://www.etsy.com/shop/MyPorchPrints
My Facebook: https://www.facebook.com/myporchprints


Have you ever transferred printed images to fabric? There are lots of different methods. One quick & easy way is to use Citra Solv. Today, I'll show you how to transfer bee images (from my Bee Mini Books Printable on Etsy) to fabric and use them to create an insert for your junk journal.

Materials:


Bee Transfer Junk Journal Insert Tutorial from My Porch Prints

Step 1: Print Image BACKWARDS
I began by printing my image using a toner-based printer. Ink doesn't transfer. If you don't have a toner-based printer, you could try taking it to a printer or library and copying your image. Some copiers are toner-based. 

It's important to print your image backwards so when you transfer, the words & images will look correct. You can use an image manipulation program for this (like Photoshop). Or, if you have Word, you can insert your image into Word, size it to fit the page and then choose "Rotate/Flip Horizontal".


Step 2: Tape Image
Next, cut your printed image as desired. Also cut your fabric to size. If it needs ironed, do that NOW. Place image upside down on fabric and tape into place. CAREFUL not to cover any of the image with the tape, or it won't transfer.


Step 3: Transfer Image
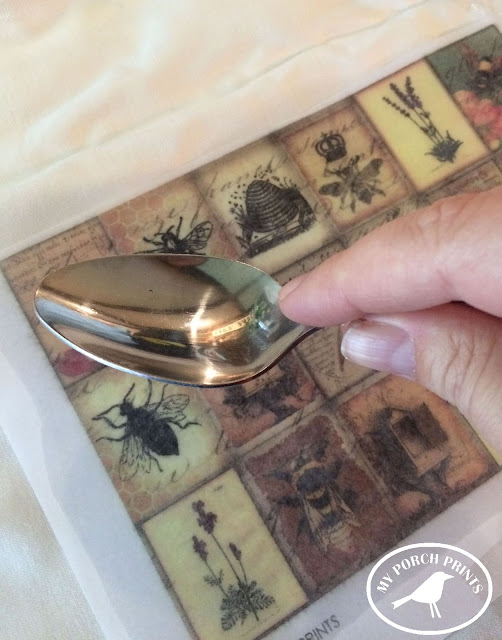
Pour a small amount of Citra Solv into your glass cup (not much!) and using your brush, apply the citra solve to your taped-down image. The image will show through the paper. 


Bee Transfer Junk Journal Insert Tutorial from My Porch Prints

Step 4: Rub with Spoon
Hold your image in place with your hand, and use the back of your spoon to rub the image. This is how it will transfer to the fabric. You'll need to push pretty hard. Also, DO NOT MOVE the image or it will not transfer nicely. I like to work from the corner I'm holding with my hand all the way to the opposite edges.

Also, don't expect the image to transfer perfectly. It can be quite blurry depending on the fabric and how well it is transferred.

Bee Transfer Junk Journal Insert Tutorial from My Porch Prints


Bee Transfer Junk Journal Insert Tutorial from My Porch Prints

Step 5: Create Insert for Journal
Now that your image is transferred, you may want to wash your fabric. Definitely wash your hands as Citra Solv can irritate them. Once dry, you can begin cutting your images to use in your project.

Bee Transfer Junk Journal Insert Tutorial from My Porch Prints

 I like to fray my edges to give it more of a worn, vintage look.

Bee Transfer Junk Journal Insert Tutorial from My Porch Prints

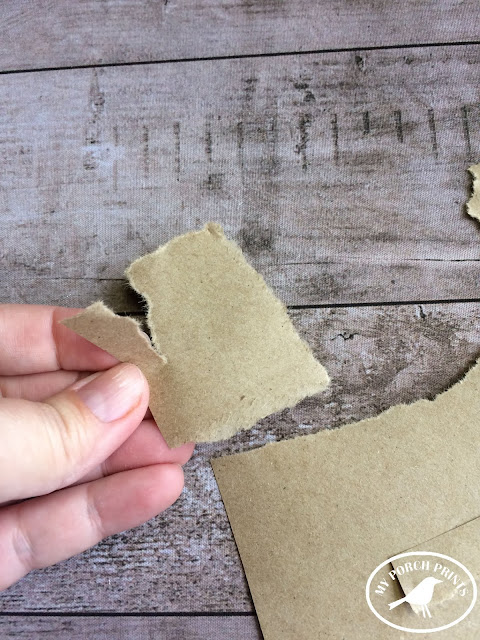
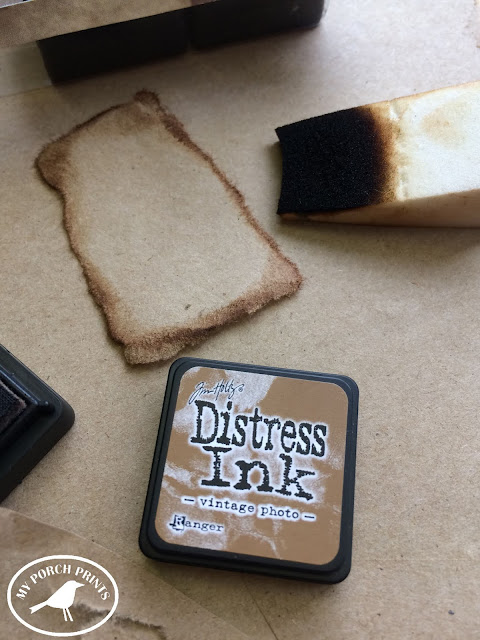
Next, I tore pieces of brown paper & inked the edges using Tim Holtz Distress Ink and a makeup sponge.
Bee Transfer Junk Journal Insert Tutorial from My Porch Prints

Bee Transfer Junk Journal Insert Tutorial from My Porch Prints

I also cut pieces of cheesecloth and inked those.

Bee Transfer Junk Journal Insert Tutorial from My Porch Prints

I glued my brown paper, cheesecloth and printed bee images to a background as shown.
(Background image is from my Botanical Wildflowers Printable Kit.) You could also sew these.

Bee Transfer Junk Journal Insert Tutorial from My Porch Prints

Last, I added more of my transferred bee images to the top & bottom of my insert. All done!
Thanks for stopping by.

"Bee" sure to follow My Porch Prints on Etsy, Pinterest, YouTube & Facebook. :)

Bee Transfer Junk Journal Insert Tutorial from My Porch Prints

Bee Transfer Junk Journal Insert Tutorial from My Porch Prints

Bee Transfer Junk Journal Insert Tutorial from My Porch Prints

Bee Transfer Junk Journal Insert Tutorial from My Porch Prints


Sunday, August 7, 2016

Fall Farmhouse Tea Towel Pillows


It's almost fall, ya'all! What better way to celebrate the season of cool breezes, crisp apples, colorful leaves and plump pumpkins than with some cozy farmhouse style pillows?

Step 1: Tea Towels
I bought some awesome white towels from Walmart in the kitchen towel section. They are Mainstays
brand Flour Sack Towels in white. The fabric has an awesome farmhouse look and feel. The first step is to IRON your towel. They are very wrinkly, which isn't a bad thing since the look I was going for was casual, but I wanted my image transfer to be crisp.

Step 2: CitraSolv
There is a handy, delicious smelling orange cleaner out there called CitraSolv. It is heavenly! And it's awesome for transferring inkjet printed images onto fabric! **This transfer method does not work with laser printers. Only inkjet. Grab a little glass jar and a small housepaint brush for this.

Step 3: Print your picture... backwards!
I always mess up this step. I printed the entire image on four different sheets of paper before I realized I had forgotten to flip it. I use Photoshop to create a document the same size as my pillow. (In this case, around 22x22 inches). Then I crop each section to fit an 8.5 x 11 sheet of paper and print them, line them up and tape them. I'm sorry if this is confusing. You may want to start with an image that can fit a standard sheet of paper... just don't forget to flip it backwards! If you don't have Photoshop, you can do this in MS Word by inserting Word Art, choosing Rotate and Flip Horizontal. You can do it with pictures, too.

Step 4: Transfer the image.
Once you have your (backwards) image place it on the tea towel so the ink is touching the fabric. Make sure it's centered. Tape the corners in place. Then lightly brush the CitraSolv onto the back of the image. Use a tablespoon to rub the image and transfer it to the fabric. After rubbing the entire image, gently lift it to be sure it transferred. It's very difficult to line it up again. I've never been successful doing it.


Step 5: Sew & stuff your pillow! And then repeat and make a few more! :)


The files for these designs are available on my Etsy shop:
 
https://www.etsy.com/shop/MyPorchPrints

Resize as needed and remember to FLIP them so they are backwards before you print! :)