Do you ever look at journal covers on Pinterest and think, "How do they do that?" I often find myself perusing beautiful, layered journals, wondering how people are so creative?! I imagine some crafty lady in a beautiful studio with shelves of pretty, decorative boxes labeled "papers" and "embellishments" and "lace". She carefully chooses each item: vintage, tea-stained papers and little metal charms. And somehow, magically, a junk journal cover is born.
Okay, I know it's not quite as fantastic as that. How do I know? Because my craft studio is my dining table. And my shelves of boxes are sprawled across numerous cabinets & closets in my home. And labels? Ha ha. They would all have to say, "junk" on them because I'm not the most organized person.
So, how do we mere mortals create beautiful layered journal covers? With tutorials and kits! Ha ha! Seriously, though, I created a pretty little printable kit which you can find in my Etsy shop (My Porch Prints). And I also made this tutorial. So, follow along, and together we'll make some lovely layers worthy of Pinterest!
List of Supplies/Printables:
- Layered Junk Journal Cover Kit (Etsy)
- Tim Holtz Ornate Plates
- Distress Ink
- Cheesecloth
- Bulb Safety Pins
- Metal Key Charms
- Various Lace & Ribbons
- Craft Supplies (Glue, Scissors, Etc.)
So, first I cut out a cardboard piece that will serve as my journal cover.* I'm not actually creating an entire journal today, just the cover. If you want a junk journal tutorial, click here. I also cut out all my printables.*You can also create a journal first, and then attach these printables to the cover.
I chose the words I wanted to use from my printable kit and carefully tore them out, then inked the edges.
Next, I rounded the corners of my background paper and inked it as well. Then I applied glue, spreading it with a brush and glued my paper to my cardboard. This serves as my background, kind of like a canvas for my layers.
I wanted a lace element, so I added this to the edge of my journal with glue.
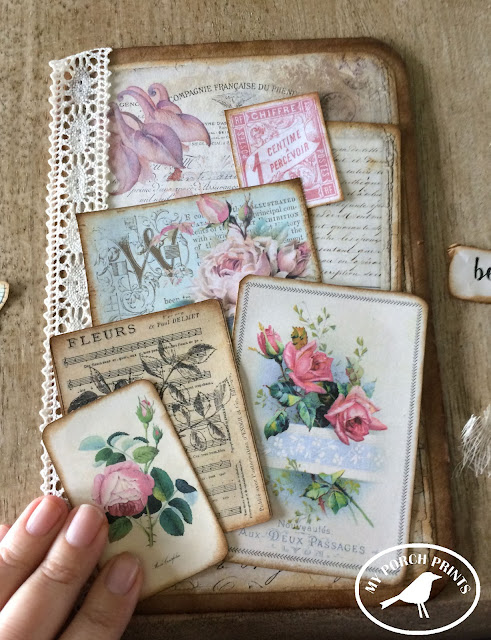
Now it was time to start layering. I inked all the edges of my printable elements and then began placing them on my journal cover background to get an idea of how it would look when it was all finished.
I think the key to layering is not to worry about covering up the layer underneath. I always think, "But I can't cover up this pretty thing! It will ruin it!" Nope! It really is okay to cover up one layer with another. Trust me.
Begin with tall or large items first.
It's okay if items hang off the edges a little.
I inked bits of cheesecloth and used them behind small pieces to add interest, texture & dimension.
To add my journal title, I chose the word "imagine" and cut it out. Then, I placed it behind my book plate and pressed gently. This created indentations in the paper, which I used as a guide when cutting out my title word. I glued the title word to my journal and attached my bookplate. You can use the fasteners provided or glue.
Last, I added a small key charm, attaching it to my lace as shown. I also threaded some pink ribbon through the lace holes.
And that was it! The printable kit is designed so the colors and pieces go together for easy layering. Enjoy!


No comments:
Post a Comment
Note: Only a member of this blog may post a comment.