Friday, November 21, 2014

Christmas at What's On My Porch

Hey all! The cold. The snow. And it's only November! Still, who can resist decorating for Christmas when it's so Christmasy outside?! I think this is the earliest our family has ever had our tree up!

We splurged on a real tree this year. I thought it was a GREAT idea until I remembered it wasn't even Thanksgiving yet. And somehow we'll have to keep this thing alive for another month and half. No idea how we'll keep it watered while we're out of town for Thanksgiving. Oh, the joys of wishful thinking.

When I decorate for Christmas, I like to do it ALL in a day. I make politely implore Hubby to drag up four or five boxes of "Christmas Stuff" from the deep, dark, spidery recesses of the Underhouse. Then I sift through it all, picking out items that will go with my theme (and a few favorites that always go up, theme or not). Once everything is up (5-6 hours later). I pack up the rest and send it back to the basement. At least, that's how it's supposed to work. The boxes are still upstairs for some reason.


This year's theme was "Woodland" but my daughter said it reminded her of the North Pole. So, now it's "North Pole Woods". Browse through these pics of my house for some Christmas inspiration! Enjoy!

A basket full of lights, balls, pinecones and bows is EASY and pretty!


Hang ornaments from a chandelier with some ribbon. The matching color unifies these so they're not too gaudy.

I cup up some old faux pine garland and made it into individual wreaths for all my windows!


Mini tree=thrift store. And "JOY" letters were purchased at Walmart and painted by ME! :)

Fill a wire basket with lights, faux pine garland, and mini-books and presents wrapped in vintage sheet music! So cute!


I made these graphic stockings myself. *Except the far left stocking, my youngest daughter made hers herself! You can see more about these here.


This little bird has made his way into our Christmas tree since my teenagers were babies!


My old "junk" ladder is all done up for Christmas!

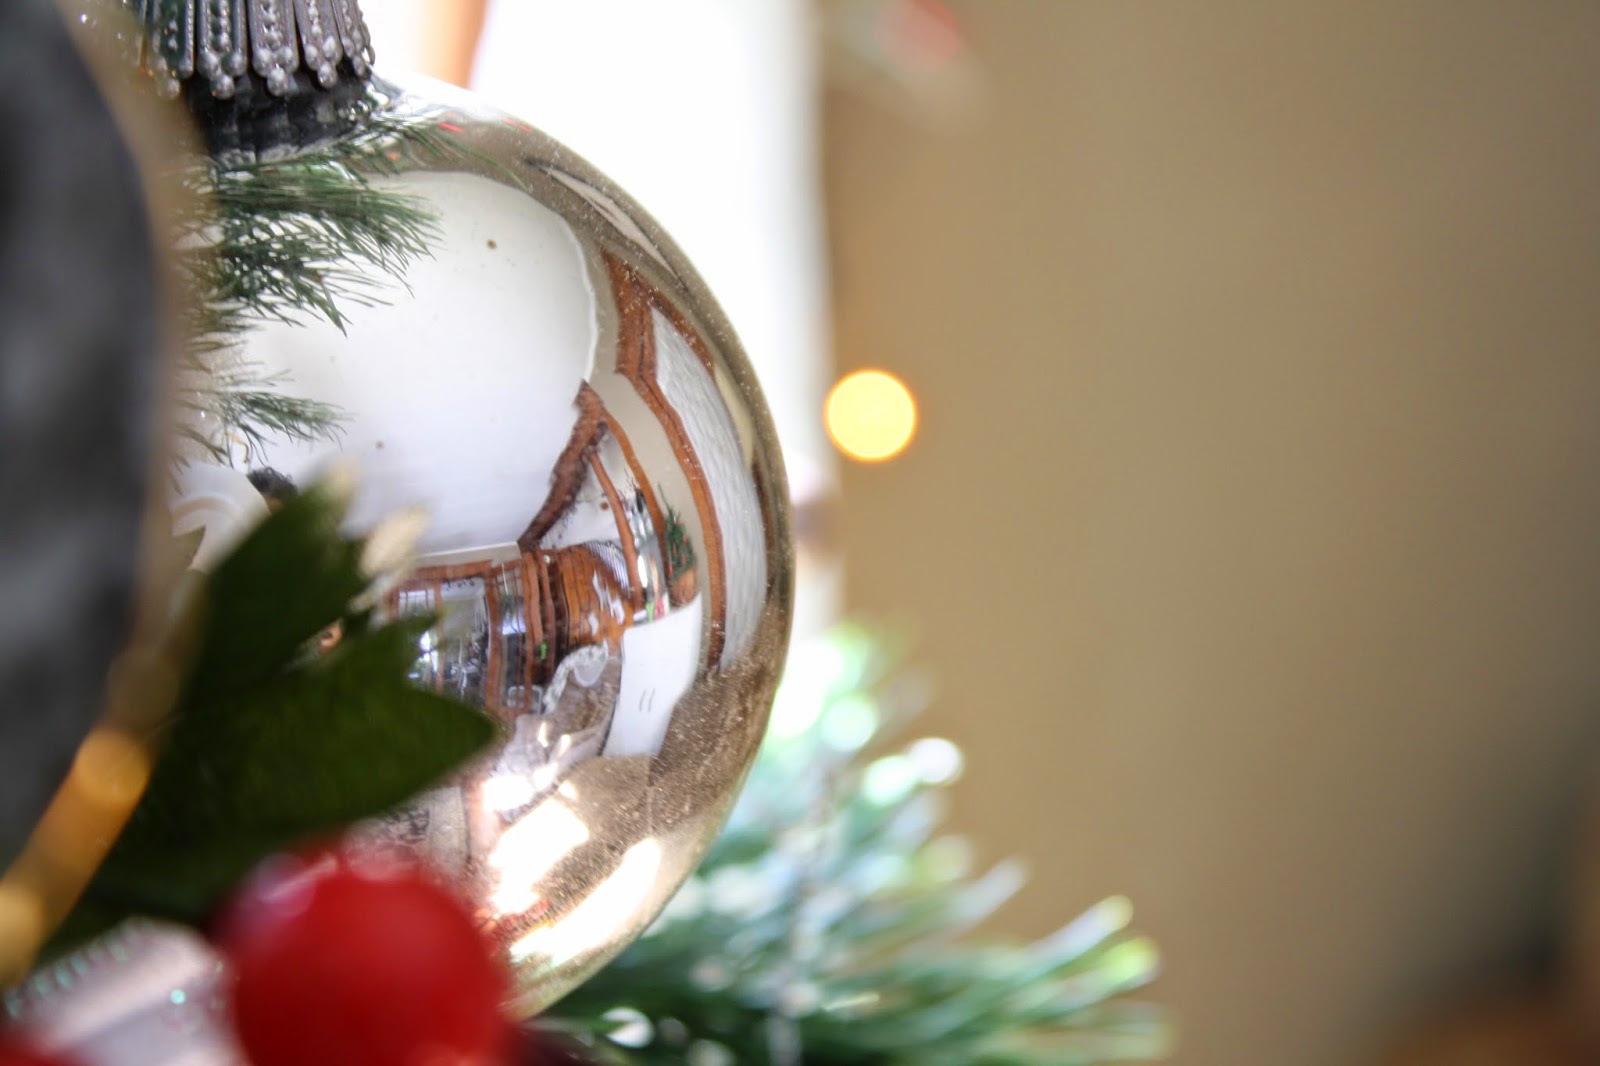
An old silver tea set, mercury glass ornaments, pine boughs from our tree, cones, and a splash of red berries make a pretty centerpiece... all fit nicely into a shabby wood tray.
 
Everything in this picture was a secondhand purchase: tree, lantern, suitcase, bunny... even the cabinet and old window in the background. I LOVE thrift stores!

This bunny piggy bank is PERFECT for our North Pole Woodland theme!


Wednesday, October 22, 2014

Decorate A Vintage Ladder!

Hey Porch fans! The cooler weather makes it harder and harder to get any big projects done, but it doesn't mean I can't still have a little fun!

Today's easy-peasy project is to decorate an old ladder! Hubby picked up this dumpster-find for me, and I LOVE it! It's just a weathered vintage wood step ladder, but it has so much decorating potential!

For autumn, I chose an assortment of baskets and filled each with autumny goodness: a colorful leaf garland, pumpkins, even shredded brown paper. It all works so great together!

It would look great with REAL leaves, pumpkins, apples, etc., too!

Can't wait to change out my ladder for the seasons. Up next: CHRISTMAS! ;)


Monday, October 13, 2014

Depression-Era Hutch Makeover

I scored this sweet depression-era hutch recently and gave it a fabulous makeover! Check out this photo-heavy post:

BEFORE: She was so dark and brown, not bad, but scratched up. I just knew a coat of white paint and a little distressing would really bring out her curvy details!

AFTER! This hutch is lighter, brighter and full of chippy charm!


Before & After!
 

Saturday, September 20, 2014

Autumn At My House 2014

Here's a look at how I decorate for autumn in my own house! I hope you are inspired! Enjoy!
The space above my computer printer cabinet is all prettied up for fall! I found an old drawer and painted it white, then used it like a shelf to hold pumpkins, apples and my homemade chalkboard.

This cabinet was a $5 find at our church fundraiser sale. It was brown and dirty, but a few appliques, a coat of paint and a couple of pendant pulls transformed it! I simply added a small bunch of autumn leaves to my sewing drawers to "autumn-up" this space.

Old thrift store bottles and jars make great "potions". A few dollar store cobwebs (and raven) and some mini apples make my candlesticks and vintage tea set look a whole lot spookier!

This vintage suitcase was another thrift store find. Only $3!!! It looks great all dressed up for fall atop my cabinet.

Here's a close up of this paper pumpkin made from the pages of an old song book.

This hutch was a $30 Craigslist find! I removed the doors (and by "I" I mean Hubby removed the doors). Then I painted it white and distressed it. It makes a beautiful TV hutch! A sprinkle of fall leaves and a pinecone and pumpkin add the
autumn look.


This was another thrift store find. This bookshelf was painted in green camouflage. A coat of simple white transformed it into the perfect backdrop for my lanterns and other knick knacks. A few pumpkins, gourds, pinecones and apples jazz it up for fall.

The "Love Grows" sign was hand-painted by me. The wood was from the barn on my dad's farm. On the back, I've written the names of our family members and will pass it on to my children. Some red and a white pumpkin add a touch of autumn here.

Our staircase paneling is beautiful, but so dark! I lightened it up with my handmade Fruit of the Spirit sign and a rag garland, dressed up for fall with some apples and twigs.

Our cat, Pudge, stalks birds from the window above this handmade "Nevermore" sign.


This shelf makes a great display area on my porch! Two-tone baskets, fall leaves and an apple garland add texture and color for fall!


Summer still lingers here with my pink impatiens.

Friday, September 12, 2014

Vanity Makeover (and a fall rag garland)

I found this amazing antique vanity at a thrift store. The price was great. And then I found out they were having a furniture sale... everything HALF OFF! I picked it up and tried to walk it right up to the cash register myself. About three feet into this endeavor, my purse slipping off my shoulder and customers staring at me like I was insane... I decided to accept a man's offer to take it to the back door for me. But I watched him. CLOSELY.

It was already a visually interesting piece, but I knew I could coax out all the details with a few layers of white paint, so I got to work. Originally, I wanted to pain the inside drawers with a pop of blue or maybe red, but I decided not to last-minute. I left them natural wood.

It turned out GORGEOUS. It even came with an awesomely huge mirror. I wanted to keep it for myself, but alas--we junk-junkies already have antiques coming out of our ears and can't keep every huge piece of vintage furniture we find. So, I sold it. Sadly.

And, of course, I only thought to take photos of it at a sale out in the sun covered in junk, so you're not really getting the full effect, but trust me. It was beautiful. Sigh.


Side note: I have been very into rag garlands lately and decided to make one that is fall-themed. Be inspired!

Saturday, August 23, 2014

Time Flies When You're Faux-ing Clocks!


I have always been fascinated with clocks. There is something sort of mysterious about trying to measure time, and clocks themselves are just amazing... the tiny pieces all working together, the timeworn faces, the metal and glass and gears. Clocks are beautiful!*

*Unless they are plastic and some kind of funky color like turquoise or mauve and have faux embroidered birds printed on them. Then they're just ugly. But don't these clocks deserve to be beautiful, too? I think YES!

Step 1: Find Ugly Clocks & Tear Apart
So, I found two aesthetically-challenged clocks at the thrift store and vowed to make them look GOOD. I began by disassembling these lovely ladies. I thought it would involve a screwdriver. It did. But not in the way I imagined. You see there were no screws holding this clock together... just plastic tabs. So, I used my flathead screwdriver to pop the plastic tabs out of their sockets and thus was able to remove the clock faces. Next, I pulled off the clock hands, careful not to break them as they were made of the finest plastic!

Step 2: Spray Paint
After that, I spray-painted the outside black. In hindsight, I probably could have left well enough alone. After all, black is classy! But I thought, "Ooooh, wouldn't an old rusty clock be SO cool?" So, I decided to faux-rust these babies. It was a long process, and didn't turn out as completely awesome as I'd hoped, but I still like it okay, and from a distance it kinda, sorta looks rusty, right?
 
Step 3: Rustify!
To rust-up my clocks, I sponged on a layer of brown acrylic, then another layer, only this time I used the sponge brush to pull at the paint and create a kind of rust-like texture. When they were dry, I used a combination of colors and brushes (see photo) to create more rust "texture" with orange-browns, coppers, and a hint of blue and white. If you tackle a similar project and love the idea of rust, I say go for it! You can always spray paint it black again if it doesn't look right.


Step 4: Facetime
Next, I needed some new faces for my clocks. Nothing says vintage like Roman numerals! I found a coolio clock face online and used Photoshop to make it the size I wanted (measuring the plastic clock face covers as my template). You could potentially do this in other programs, probably even Word. We don't have a color printer, and I didn't really want to go with black and white for my faces, so I decided to use some old scrapbook paper as a background for my clock faces. I think they look adorable!

Step 5: In Which I Glue Fake Paper Hands Onto My Clock
Now it was assembly time! I glued the clock faces over the old ones, then put the little hands back on. Of course, one set of hands were way too modern and ugly, so I glued some faux ends to my clock hands (yes, they're made of paper, what of it?).

I reassembled my clocks and am pretty happy with the results! They are much improved and for three bucks (total for both!) I'm feeling like this makeover was totally worth the... time. :)