Friday, May 23, 2014

Markets & Shows: A How-To Guide for your Booth


I just finished doing my second ever market booth/stall. And while it is fresh in my mind, I wanted to share my experience with all the first-timers out there who are thinking of selling their wares at a market or show.

First of all, a little background: What's On My Porch is my part-time, home-based business. I spend the warmer months junking for items to fix up and sell - mainly furniture and home decor. As I was growing this business, I received an offer from a nearby shop asking if I'd like to be part of their Spring Market - a gathering of vendors selling everything from furniture to jewelry and goat's milk soap to alpaca rugs. Yes, seriously.


I thought, "This is a great opportunity!" So I junked like I'd never junked before, went into a furniture-refinishing frenzy and ended up with LOTS of items to sell. Along the way, I made lots of mistakes but also had lots of triumphs. Here are a few nuggets of wisdom I have to pass on to you:

1. Get Ready

You will need plenty of inventory, yes. Whether you're selling handmade jewelry or candles or big ole furniture, you  need stuff to sell. But you also need ways to DISPLAY those items. Think outside the box. Pinterest is chock-full of ideas for this. For instance, hang your jewelry on a potted tree-branch. Use vintage furniture (wink, nudge) - like a chippy dresser to display your cupcakes. Price tags are also a good idea. If you sell beauty accessories, bring a MIRROR. Or buy one from me. :)


2. Get Ready Some More

You have items and a way to show them off, now you need a few more things. If your show is outside, you NEED a canopy. Yes, need. The sun is merciless and so is the rain. Wind can END you. So, anchor your canopy with a couple cinder blocks or bricks. Be prepared for the weather. You also need a cash drawer or pouch. I keep my prices in dollar increments. No messing around with a roll of quarters for me! Also: calculator, blankets, chairs, SNACKS, more snacks, water, sunscreen, a book or i-pad, etc. If you have access to electricity, bring a string of white lights. Paper/Markers. You want to make "Sold" signs and mark whether or not that person paid. (Hint, if you mark it SOLD, they should have paid.) Nobody wants to haul a dresser around while they're shopping. Save it. Mark it as sold. And write that person's contact info down.


3. Haggle Happens

People expect a little haggling at a fair. Often they will bring a pile of items up to you and offer $___ for the whole pile. I'm usually a little flexible, especially if someone is buying a pile.

Hint: Don't shout at people. I let people peruse at their leisure. No pressure. If someone seems interested I might say, "Feel free to make me an offer on that." But that's all. I don't like to be badgered when I'm buying items. If I want it, I buy it. If not, then being harassed by a seller is not going to change my mind.


4. Decorate Your Booth

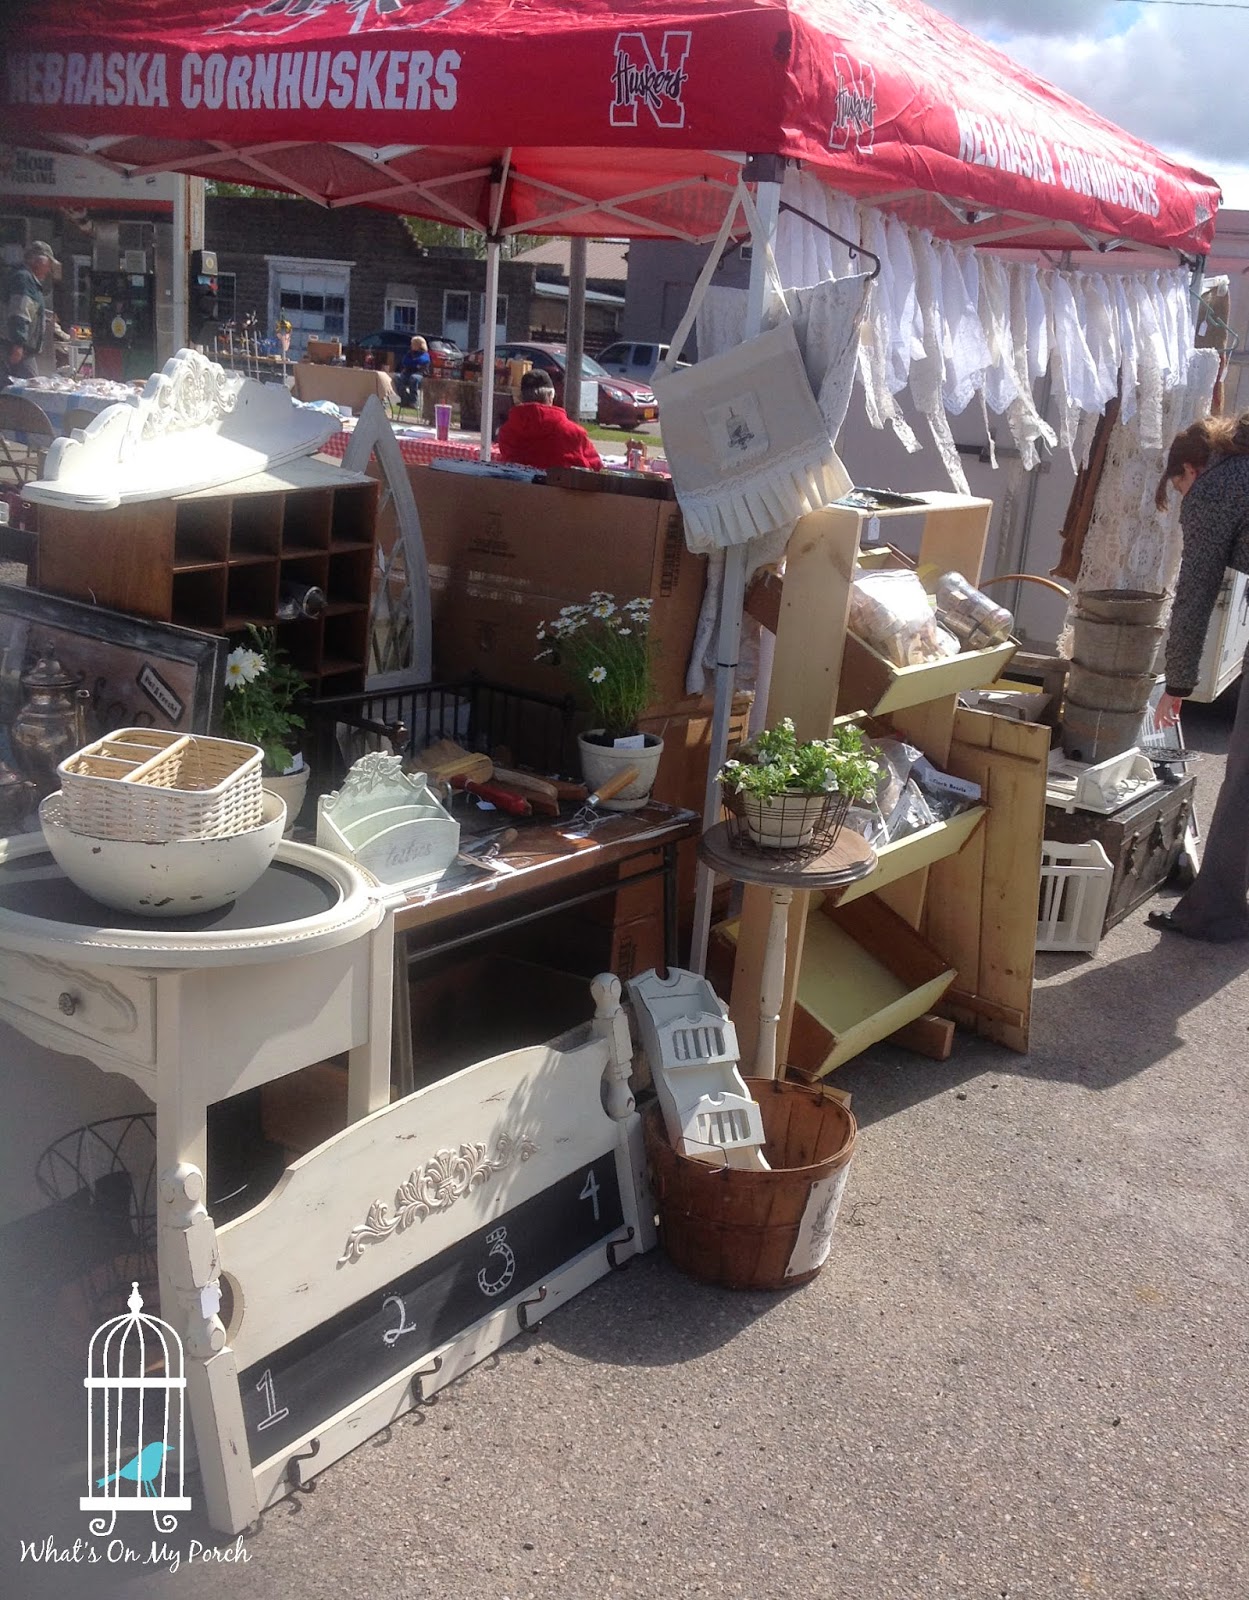
Make it pretty and keep in theme with what you are selling as well as the season. My market had a "spring" theme. I came with pots of flowers with little signs saying "for display only." Also, I made a pretty lace garland to draw attention and decorate my red Nebraska Cornhuskers canopy which brings me to...


5. Disasters Happen, Don't Freak Out

We could not find our regular canopy and were forced to use alternative options: mainly a big red one advertising a sports team from a rival state. Yay. We got a little flack for it, but we laughed it off, and hey... It kept the rain and sun off, so I was happy. If you face similar dire circumstances, remember it's only STUFF. If the wind blows over your glass display, it will suck. You will want to cry. But try to keep a smile on. People will think you are brave, and that's better than hearing you blurt out a nasty word in front of a soccer mom and her brood of little ears.


6. Pricing

This is so tricky. I usually keep my prices pretty reasonable. You can get an idea by walking around the fair and seeing what others are pricing their items for. Also, keep in mind the market. Mine was in smalltown Iowa. These are quilting ladies, moms, farmers... We don't usually sell $8,000 coffee tables here. It's more like sixty bucks, max.


7. Bring a Buddy

Help is invaluable. I was lucky enough to have my kiddos and hubby to help me through. This could not have happened without them. I can't lift furniture alone. I can't load and unload a truck myself. And when you have to go to the little girls' room... you really need someone to watch your money drawer for you.


8. Finally, Have Fun

Bad things will happen. Good things will happen. But your attitude makes all the difference. Try to relax. Hopefully you'll make a little cash and have some stories to share. Like I did. :)

Thursday, May 22, 2014

Shabby Scrap Cloth Garland

You can make this shabby scrap cloth garland! It's easy and fun and gorgeous. I used mine to decorate a booth for a vintage market, but I might just have to re-use it as a window valance!


First, you find some scraps of fabric. You might already have some, but if you're like me, they are fairly useless and in a knot in the bottom of the sewing drawer. So, I went to a local thrift shop and bought some inexpensive lace curtains to mix in with my scraps. Then I just cut them into strips of varying lengths.


Here it is hanging up at my sale booth!
I used a pretty white rope to string them up. My scraps are spaced out, but you could really bunch these together for a fuller look!

Don't tie them in knots. Rather, use a kind of slip knot. (I'm sure it has a name, but I don't know what it is and even if I did you probably wouldn't know what it meant.) You fold the scrap in half to make a loop, then you place it over the rope and pull the two loose ends through the loop to hook it on. Repeat about seven gazillion times and voila! A pretty shabby garland for your home... or, in my case, to try to cover up the fact that you couldn't find your regular canopy for your booth and had to substitute with a bright red sports-themed canopy.

I love the way this garland turned out, don't you? :)


Wednesday, May 7, 2014

Desk Makeover With French Wreath Graphic


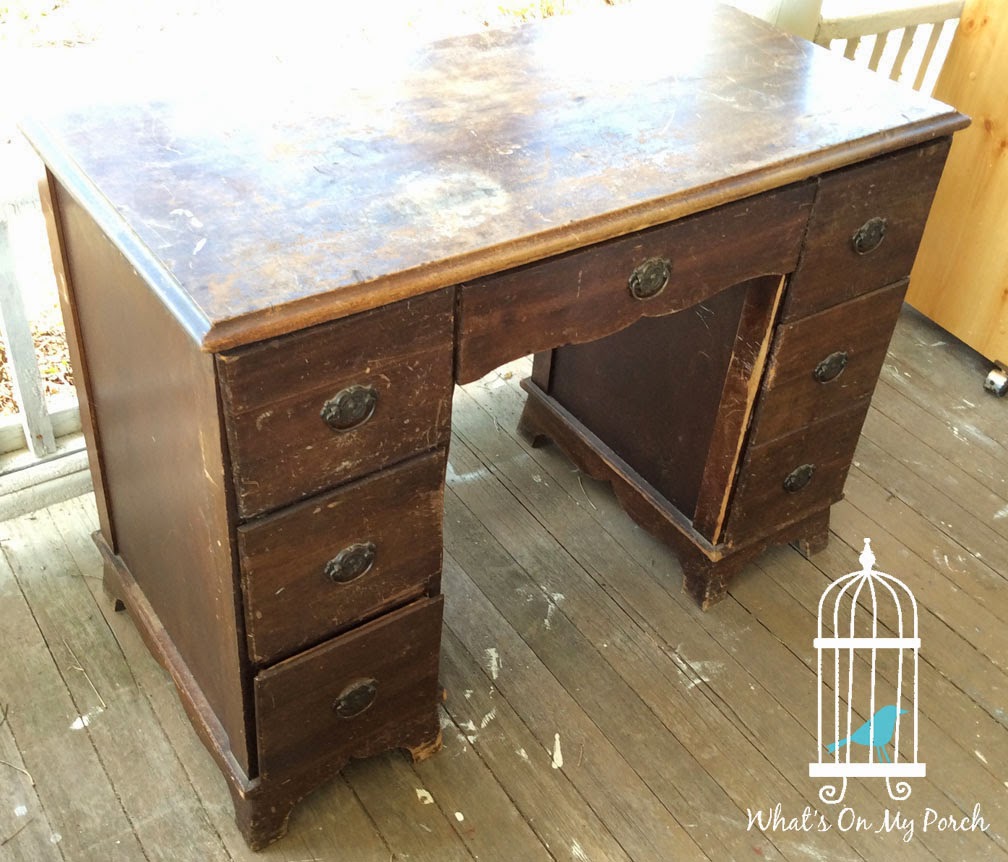
Hubby picked up this desk for me. It was a Craigslist find. I wasn't sure what exactly I was going to do with it. I only knew that it was abused and needed love. :)


I began by sanding the top down to the bare wood. It wasn't hard. The finish was practically begging to come off. I didn't sand out all the imperfections though. I like them. Next, I primed/painted the bottom portion of the desk (hardware, too!), then sanded the edges for a rough/chippy look. Finally, I stained the bottom (over the paint), wiping it away to leave behind an antique sheen.


On top, I did a white wash of watered-down latex paint. When it was dry, I also stained over that. It gives the top that driftwood look.Then I traced the graphic on and painted it. 
Thank you Graphics Fairy (see link in sidebar).

 
Here it is with the left side "distressed" so you can see the difference.

I think it turned out gorgeous. Could be used as a desk, vanity or even a TV stand! Lots of shabby-chic, cottage loveliness!


Tuesday, May 6, 2014

Chair & Foot Stool

Pretty chair and stool makeover! I found both of these beauties at the thrift store. They don't exactly match, but the color and grain sack theme tie them together.

For the stool, all I had to do was tighten the legs with some wood glue and sew this pretty, shabby tuft for the top. I basically sewed a rectangular pillow (adding some pre-made graphic patches). Then I stuffed it and tufted it by sewing on buttons. I attached it to the stool using a few upholstery tacks.


 The chair I primed/painted and distressed with a sanding block. Then I sewed some graphic pillows, even adding a pretty graphic to an existing cushion.


 They make a fine pair! Don't you think? :)

Wednesday, April 30, 2014

Headboard Coat Rack

I love Pinterest. Without it, I would have to come up with creative stuff all on my own. Which I could do, but half the time my ideas never turn out the way I picture them in my mind. That's where Pinterest really shines! You can look at the "after" photo of a project and decide if it's worth the time. That's how I discovered this idea to take an old twin bed headboard and turn it into a beautiful coat rack. 

The first step was to find a headboard that would work. Not all headboards are suitable for this. I really wanted something pretty with lots of mouldings and curves, but unfortunately our local thrift store didn't have any headboards like that. Instead, I bought a plain old wood headboard with hopes that I could pretty it up later.

I had Hubby cut off the legs, then I primed it with Zinsser primer--a favorite of mine. It means I don't have to sand a piece to get the paint to stick. Next, I did a few coats of satin Walmart brand country white interior latex paint. 

 
After it was all dry, I used a sanding block and wallpaper scraper to give the headboard a chippy, vintage feel. I love all things chippy! Finally, I brushed on some Minwax Walnut Stain/Sealer and wiped it off with one of Hubby's old shirts. It leaves just enough stain behind to give an antique finish while also adding a layer of sealant for protection.

The most inspired part of this makeover was embellishing the painted piece. I added a wood applique to the top (actually Hubby did, using a nail gun). I also decided to fill in the open space with a chalkboard (just a piece of cut wood and some chalkboard paint). Finally, I bought a few inexpensive hooks and BOOM! This pretty piece was done! Now, who's going to try this?


Monday, April 28, 2014

Apple Basket, Table, Bins

Here are a few projects I've been working on lately.

First up, is an apple basket. I decided to spruce up this vintage basket with a cute little French graphic from the Graphics Fairy (see link in sidebar).


Next, was a drop leaf table. I had already given it a makeover, but wanted to add just a little something more. So, using another Graphics Fairy graphic, I painted the image in a light, subtle buttery yellow, then sanded it away to give it a faded, shabby look.


Finally, during our town spring clean-up day, hubby and I found a bunch of old drawers. Hubby used a few to build me these fabulous junk bins. I LOVE them!


Tuesday, April 22, 2014

Adventurers Suitcase

I've seen so many cute little painted suitcases on Pinterest, and I finally decided to take a crack at it. Unfortunately, I don't have any chalk paint, so I used primer and latex/acrylic.

This old guy was sitting around the thrift store just waiting for a home, so I snagged him up. After painting him gray, I added the words and painted the hardware.

I think this guy turned out very cute and is ready to find a new home!


Friday, April 18, 2014

Make Your Own 221B Baker Bag: Sherlock Purse

Make Your Own Sherlock Bag
I've been working on several cool furniture projects for an upcoming Spring Market. Unfortunately,
most of those are still unfinished.

However, I did find time to finish one project, not furniture but something else I've wanted to do for a looooong time: a Sherlock Holmes purse!

I'm a bit of a geek, especially when it comes to books/movies, and I recently came across an Etsy shop that sells bags that look like Sherlock Holmes' door.


So cool! I wrote to the guy and asked him about them and found out they are just flat, two-dimensional pictures. There is no real hardware on the bags: no coolio door knocker, no numbers. I probably should have realized that right away, but I geeked out over it and thought maybe it had actual hardware included. Nope.

I decided in order to be truly cool, I needed a purse with actual hardware. Then, I remembered that Tim Holtz makes a mini lantern.

From Amazon


Thus was born my 221B Baker bag! I bought the bag at Goodwill. It seemed like a good size and had a nice, flat black back that made a perfect canvas for my "door." Then I found a black fabric belt to criss cross over the purse and create the illusion of panels intersecting. After much searching, I found a shop on Etsy that sells small metal numbers and letters. I painted them with gold acrylic, then did a light misting of black spray paint to make them look old and weathered. I also ordered a pendant pull on Etsy that resembled the actual door knocker from Sherlock.

I assembled it all by fastening the hardware on and sewing/gluing the belt to the purse. Finally, I tucked the battery pack to my lantern inside the purse pocket and allowed the lantern to hang outside the door. The final result is just awesome! At least for a geeky girl like me. :)