Showing posts with label create. Show all posts

Tuesday, April 14, 2020

Toilet Paper Roll Tags for a Junk Journal

Toilet Paper Roll Pocket Tags for a Junk Journal from My Porch Prints

Toilet Paper Roll Tags for a Junk Journal
Hello and welcome to the Porch! So, right now (spring 2020) we are in the midst of the COVID-19 epidemic, and for a few weeks it was almost impossible to find toilet paper. Anywhere. Suddenly all anyone was talking about was toilet paper, toilet paper, toilet paper. It got a little scary.

So, I decided to issue a crafting challenge on my Facebook Group (Not a member? Join the fun here!). The challenge was to turn all this toilet paper negativity into something positive by creating a craft project from toilet paper rolls. This is my own answer to the challenge. I hope you love it!

I began with two toilet paper rolls, one of which I cut up into little pieces and stared at for about half an hour. Then I cut it up some more and threw the the pieces away. LOL! Attempt 2 meant I was down to just one TP roll, so I had to break into an almost-empty paper towel roll and cut it to size. This gave me 3 toilet paper-sized rolls which I proceeded to smash flat.

Flattening My TP Rolls
Getting them flat was a challenge all on its own. I used my bone folder which helped a tad, but those suckers still wanted to pop back up into their roly poly roundness. So, I used the old dollar bill method. You remember? When your dollar bill wouldn't fit in the pop machine so you'd drag it along the edge of a table or some other flat, hard surface until it straightened out? Yep. That's what I did.


Next, I used Tim Holtz Distress Ink in Vintage Photo Color and inked the edges of my TP rolls.


And I decided I would attach them to a journal page. This one is from my Faded Roses Journal Kit in my Etsy shop.

Toilet Paper Roll Pocket Tags for a Junk Journal from My Porch Prints

Making the Pockets for the Tags
Using that same printable kit and my Rose Ledger Cards, I found some pretty ephemera pieces and cut them to fit on top of my TP rolls. I rounded the corners using my corner rounding punch and inked the edges as well.

Toilet Paper Roll Pocket Tags for a Junk Journal from My Porch Prints

Then I sewed the ephemera pieces onto my TP rolls. I had planned to leave one end open to slide the tag into but quickly realized I would need some very skinny tags to fit inside the TP rolls or behind the ephemera pieces, so I came up with a new plan....

Toilet Paper Roll Pocket Tags for a Junk Journal from My Porch Prints

Toilet Paper Roll Pocket Tags for a Junk Journal from My Porch Prints


My new plan was to sew zig-zag style up the left edge to attach the TP rolls to my junk journal page. Then I also sewed zig-zags to attach in between the TP rolls, securing them to the journal page and also creating the "pocket" that the tag would slide into. I know. It's confusing. So, the tags don't actually fit INSIDE the TP rolls, they fit BEHIND them.

Toilet Paper Roll Pocket Tags for a Junk Journal from My Porch Prints

Making the Tags
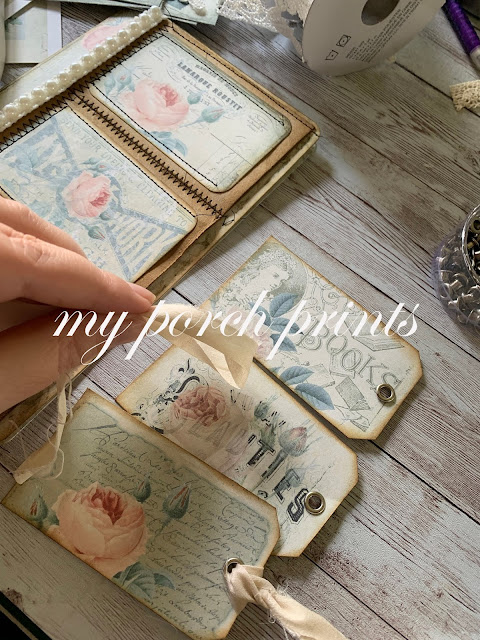
I used more ephemera to create some horizontal tags. I just cut them to size and cut off the corners to make a tag shape.

Toilet Paper Roll Pocket Tags for a Junk Journal from My Porch Prints


Then I used my eyelet punch to add some holes and finished the tags off with some distress ink and a little sari silk ribbon.

Toilet Paper Roll Pocket Tags for a Junk Journal from My Porch Prints

Toilet Paper Roll Pocket Tags for a Junk Journal from My Porch Prints

All Finished!
For a final finishing touch, I added a bit of pearl bead trim. And that was it. After all that work, I was pooped. :)


Toilet Paper Roll Pocket Tags for a Junk Journal from My Porch Prints

Toilet Paper Roll Pocket Tags for a Junk Journal from My Porch Prints


Saturday, February 22, 2020

How To Start Your Own Crafting YouTube Channel (For Beginners)

how to start your own crafting channel on youtube for beginners

How To Start Your Own Crafting YouTube Channel (For Beginners)
Do you enjoy crafting? Do you enjoy watching crafting tutorials on YouTube? Have you ever wondered if YOU could make crafting videos that others might enjoy watching? You can! It's really easy to get started. Here are a few ideas and tips for beginners.

Getting A YouTube Channel
First, you need a YouTube channel. There's plenty of info on the Internet about how to do this, so I won't bother repeating it, but here is a link to get your started.

Equipment: The Basics
You don't need lots of fancy equipment and software to make a simple crafting video. However, there are a few basics that will make the process easier and make your videos prettier.

1. Your Phone
2. Good Lighting
3. A Background
4. Video Editing Software (not necessary, but handy)

So, let's talk a little about these.

Making Videos With Your Phone
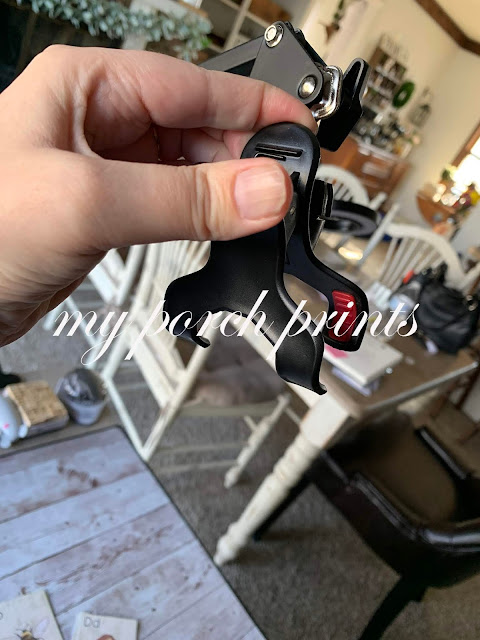
For beginners, a phone is a perfectly adequate way to begin making videos. Most phones today are more than capable of putting out quality video. However, you'll need to mount the phone so your hands are free for crafting. For beginners, I recommend a simple mount stand like this one:


It clamps to the edge of your desk and is easy to move and manipulate. Your phone goes into the squeezable clamp and can be positioned over your work space for easy video-making. Below are some photos of the one I use.

Desk clamp to hold your phone while making videos

desk clamp for phone videos

Lighting Your Videos
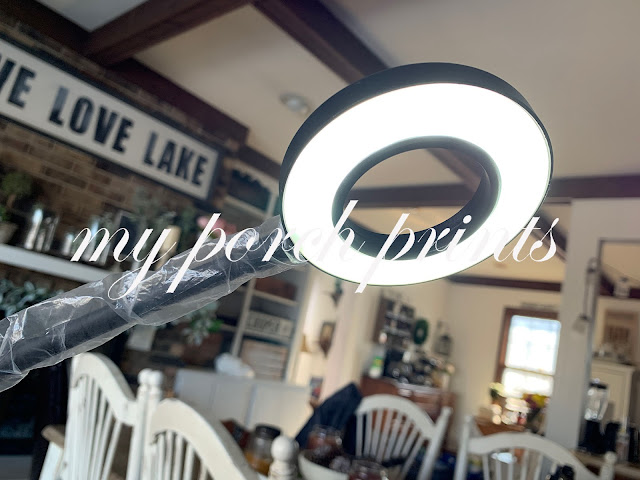
Ideally, I recommend window light for pictures and videos (not direct sunlight). It's soft and natural and always looks good. However, a window isn't always an option. If that's the case, it's good to have at least one bright light source to simulate window lighting as much as possible. An easy way to get some extra light on your work space is to use something like this ring light.


It has a few different settings for warm/cool and level of brightness, plus it's cheap and easy to use. Just clamp it to the side of your desk, plug it into your computer USB port and you're ready to go! Here's a look at how I set mine up on my desk (below).

desk clamp ring light for phone videos

desk clamp ring light for youtube videos

A Nice, Clean Background
Next you'll want a good background for your videos. As a crafter, it's okay to use a craft mat, but if you want to do a flip-through of a pretty junk journal or other project you've created, why not use a nice background? I prefer clean "wood" backgrounds or a similar look. Whatever you choose, make sure it doesn't compete for attention with the project you're trying to showcase. Simple is usually better.

For my desk background (see pics below), I used faux wood wallpaper on the back of my craft mat. See a tutorial video for this here.

pretty wood background for youtube videos

pretty wood background for crafting videos with alphabet cards

Get these Alphabet Cards from My Porch Prints on Etsy.

Video Editing Softare
If you're new to making videos, you don't have to use software. You can just record your video and upload it to YouTube. (Click here for how to upload a video to YouTube.)

However, if you have an iPhone, you can use iMovie software (free for your phone from the Apple app store) to edit your videos and do fun stuff like speeding up/slowing down your video, adding titles, filters, music and more. I won't go into all that, but if you're curious, here's an article I found about it.

So, now you have your phone mounted to your desk with a nice ring light and a pretty background... time to shoot your first crafting project and share it with the world!


Click links on this page at your own risk, as I can't guarantee the safety of any links that go to other pages.

Thursday, January 24, 2019

Seamstress Sewing Pocket Card Tutorial


How to create a pocket card for a junk journal

Seamstress Pocket Card Tutorial *Contains Affiliate Links
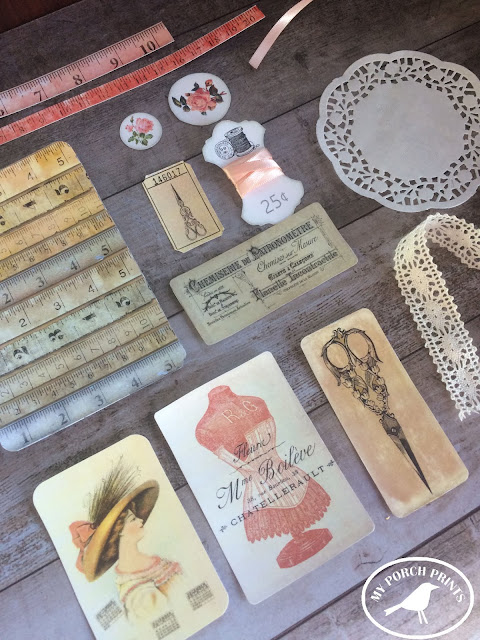
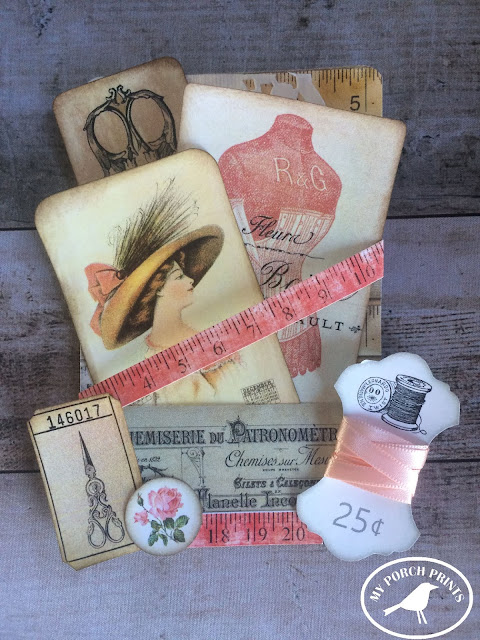
This adorable pocket card is easy to make! It was created using the "Seamstress" Scrap Pack Printable from My Porch Prints on Etsy.

I began by printing my Scrap Pack and cutting out the elements I wanted to use for this project.

Seamstress Sewing Pocket Card Tutorial from My Porch Prints

The elements I chose included various cards & tape measures as well as a large ruler card. I also used pink ribbon which I wrapped around one of the ribbon spools, and a small doilie.

Seamstress Sewing Pocket Card Tutorial from My Porch Prints

To create my pocket, I chose a smaller card and applied glue to three sides as shown, leaving the top open.

How to make a layered card for your junk journal

I attached this card to my large ruler card, making my pocket.

Seamstress Sewing Pocket Card Tutorial from My Porch Prints

Next, I chose a colorful tape measure piece and attached it at an angle, folding the sides around to the back of my card. This adds extra support for holding things in my pocket.

Seamstress Sewing Pocket Card Tutorial from My Porch Prints

I attached my ribbon spool to one side of my pocket as shown.

Ribbon Spool Printable

 Next, I glued my small doilie to the top corner of my card.

Seamstress Sewing Pocket Card Tutorial from My Porch Prints

I decided I wanted a bit more color at the bottom of my card, so another piece of my colorful tape measure.
Seamstress Sewing Pocket Card Tutorial from My Porch Prints

Next, I attached one of the vintage style tickets and also layered it with a flower circle.

Seamstress Sewing Pocket Card Tutorial from My Porch Prints

Seamstress Sewing Pocket Card Tutorial from My Porch Prints

To give my cards a little more interest & dimension, I used Distress Ink to darken the edges, applying it with a makeup sponge.

Seamstress Sewing Pocket Card Tutorial from My Porch Prints

And that's it! A quick & easy pocket card that works great on its own or as part of a larger junk journal or art project!

How to create a pocket card for your junk journal

How to create a pocket card for junk journal

Seamstress Sewing Pocket Card Tutorial from My Porch Prints

Seamstress Sewing Pocket Card Tutorial from My Porch Prints

Thursday, January 17, 2019

"Mysterious Woman" Junk Journal from My Porch Prints

Mysterious Woman Journal from My Porch Prints
*Contains Affiliate Links

Mysterious Woman Journal 
She walks in beauty like the night...
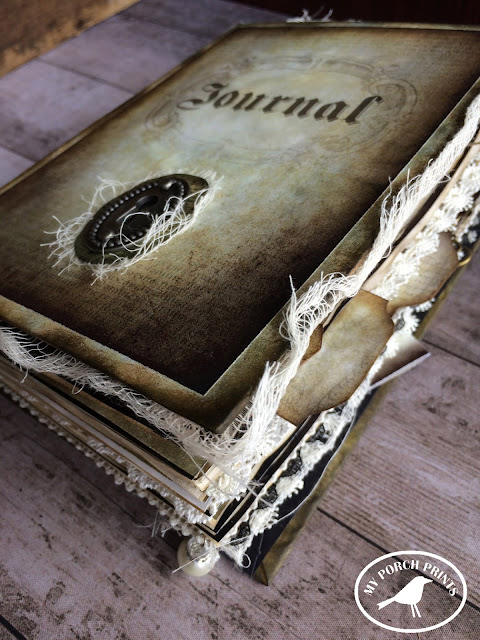
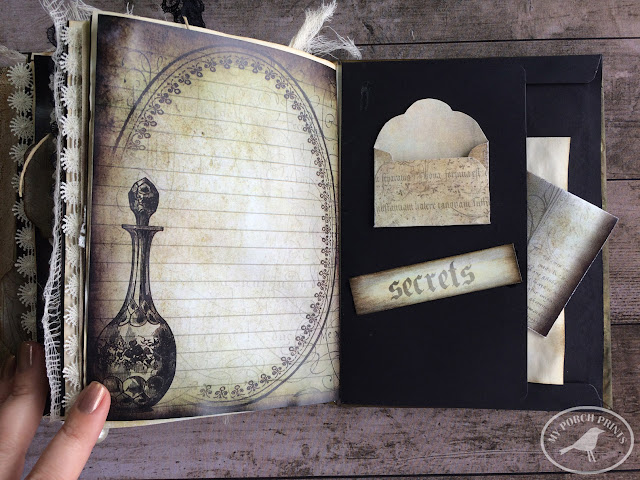
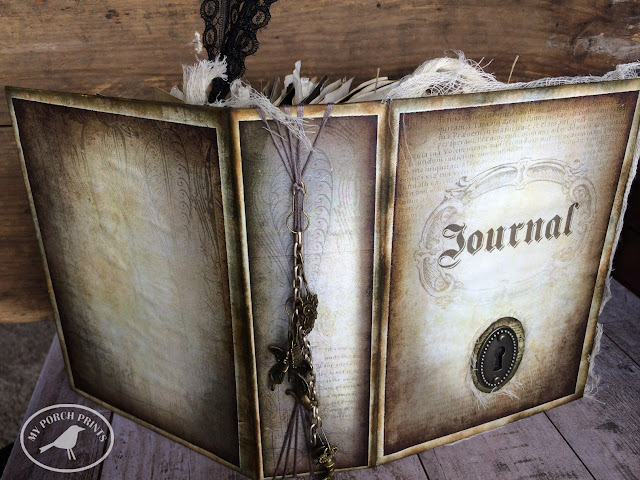
This stunning journal was made using the "Mysterious Woman" Journal Kit from My Porch Prints on Etsy. It's pages are filled with dark beauty and images that evoke feminine mystery: a key, a mirror, a tea set, a dress form, scissors, clocks & more!
Be intrigued...

Some items used in this journal:

MYSTERIOUS WOMAN JOURNAL KIT

TIM HOLTZ KEYHOLES

CHARMS

BULB SAFETY PINS

CHEESECLOTH

CHIFFON FLOWERS

SARI SILK RIBBON

Mysterious Woman Journal from My Porch Prints

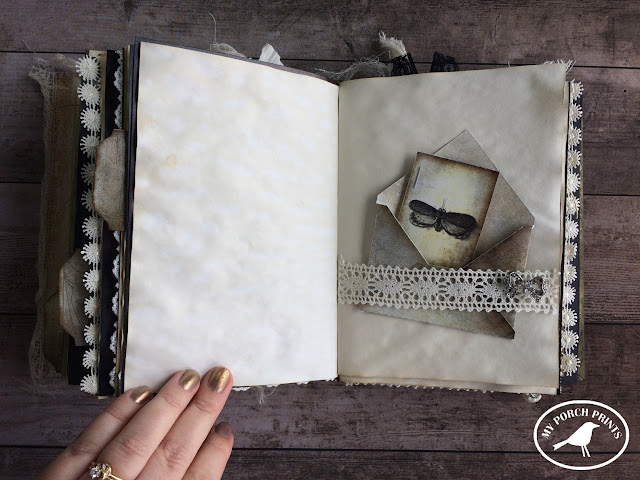
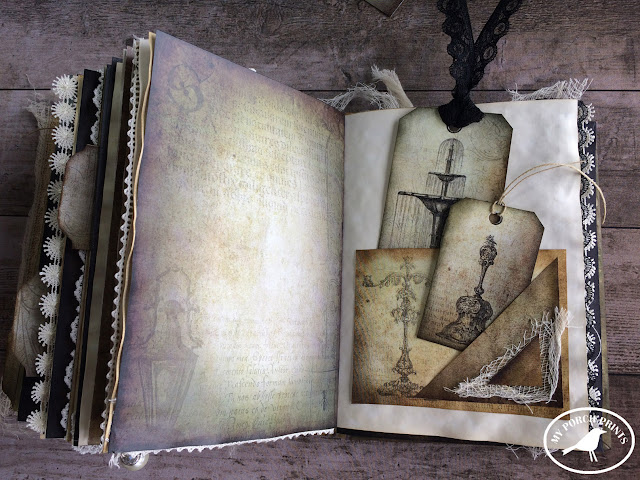
I used cheesecloth inside the front cover and a black chiffon flower. For the tags, I used cheesecloth, twine, lace & sari silk ribbon.

Mysterious Woman Journal from My Porch Prints

Some of the pages are coffee-dyed copy paper. I cut them to 5x7, dipped them in a tray of coffee and then set them individually on cookie sheets and baked them at 300 for a few minutes.

Mysterious Woman Journal from My Porch Prints

Mysterious Woman Journal from My Porch Prints

Mysterious Woman Journal from My Porch Prints


Mysterious Woman Journal from My Porch Prints

Mysterious Woman Journal from My Porch Prints

Mysterious Woman Journal from My Porch Prints

The binding is a simple twine binding. I added charms using a chain & bulb safety pins (see links at the top).

Mysterious Woman Journal from My Porch Prints

Mysterious Woman Journal from My Porch Prints

See a video flip-thru on YouTube

Want to make your OWN junk journal?
JUNK JOURNAL TUTORIAL