Thursday, January 24, 2019

Seamstress Sewing Pocket Card Tutorial


How to create a pocket card for a junk journal

Seamstress Pocket Card Tutorial *Contains Affiliate Links
This adorable pocket card is easy to make! It was created using the "Seamstress" Scrap Pack Printable from My Porch Prints on Etsy.

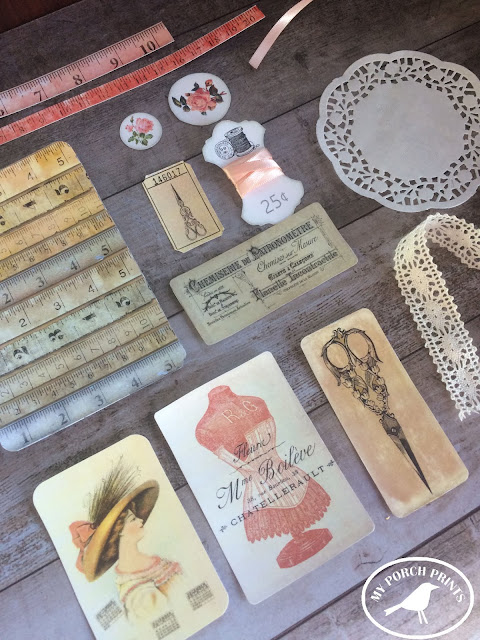
I began by printing my Scrap Pack and cutting out the elements I wanted to use for this project.

Seamstress Sewing Pocket Card Tutorial from My Porch Prints

The elements I chose included various cards & tape measures as well as a large ruler card. I also used pink ribbon which I wrapped around one of the ribbon spools, and a small doilie.

Seamstress Sewing Pocket Card Tutorial from My Porch Prints

To create my pocket, I chose a smaller card and applied glue to three sides as shown, leaving the top open.

How to make a layered card for your junk journal

I attached this card to my large ruler card, making my pocket.

Seamstress Sewing Pocket Card Tutorial from My Porch Prints

Next, I chose a colorful tape measure piece and attached it at an angle, folding the sides around to the back of my card. This adds extra support for holding things in my pocket.

Seamstress Sewing Pocket Card Tutorial from My Porch Prints

I attached my ribbon spool to one side of my pocket as shown.

Ribbon Spool Printable

 Next, I glued my small doilie to the top corner of my card.

Seamstress Sewing Pocket Card Tutorial from My Porch Prints

I decided I wanted a bit more color at the bottom of my card, so another piece of my colorful tape measure.
Seamstress Sewing Pocket Card Tutorial from My Porch Prints

Next, I attached one of the vintage style tickets and also layered it with a flower circle.

Seamstress Sewing Pocket Card Tutorial from My Porch Prints

Seamstress Sewing Pocket Card Tutorial from My Porch Prints

To give my cards a little more interest & dimension, I used Distress Ink to darken the edges, applying it with a makeup sponge.

Seamstress Sewing Pocket Card Tutorial from My Porch Prints

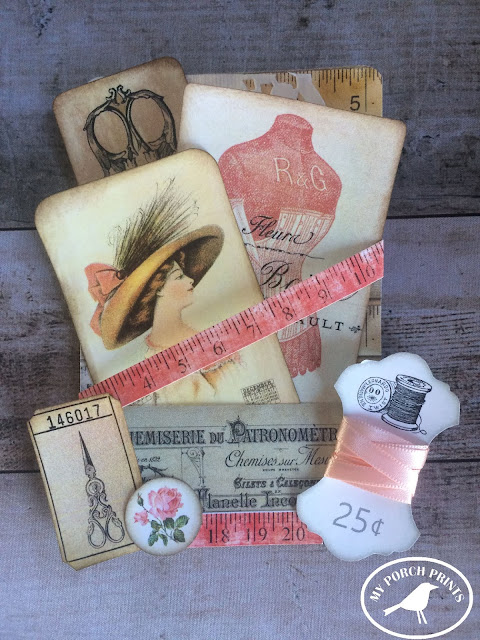
And that's it! A quick & easy pocket card that works great on its own or as part of a larger junk journal or art project!

How to create a pocket card for your junk journal

How to create a pocket card for junk journal

Seamstress Sewing Pocket Card Tutorial from My Porch Prints

Seamstress Sewing Pocket Card Tutorial from My Porch Prints

Thursday, January 17, 2019

Freebie Friday: Bird Postcards

Freebie Friday: Printable Bird Postcards from My Porch Prints


My Etsy Shop:  https://www.etsy.com/shop/MyPorchPrints
My Facebook: https://www.facebook.com/myporchprints

Freebie Friday: Bird Postcards

Hello crafters! It's Friday, and that means freebies here on the Porch!

Today's freebie is a vintage style postcard with a bird image. It comes in two varieties. Use these for junk journals, card-making, whatever you like!

Enjoy!

Follow Crafting Ideas by My Porch Prints on Facebook for lots of fun & beautiful paper crafting inspiration.


To Download
Click the image below, then right click and save it to your computer.
Visit my Etsy shop to see more printables.

PERMISSIONS & COPYRIGHT
PLEASE NOTE:
 This image(s) is not to be re-used in digital form (as in do not re-post it on your website or anywhere else or try to sell it in digital form).

You MAY PRINT & sell it as part of a journal or art project.Freebie Friday: Printable Bird Postcards from My Porch Prints
Want more freebies? Use the Search bar. Just type in the word "freebie".
And be sure to check out my other blog posts & tutorials, too!


"Mysterious Woman" Junk Journal from My Porch Prints

Mysterious Woman Journal from My Porch Prints
*Contains Affiliate Links

Mysterious Woman Journal 
She walks in beauty like the night...
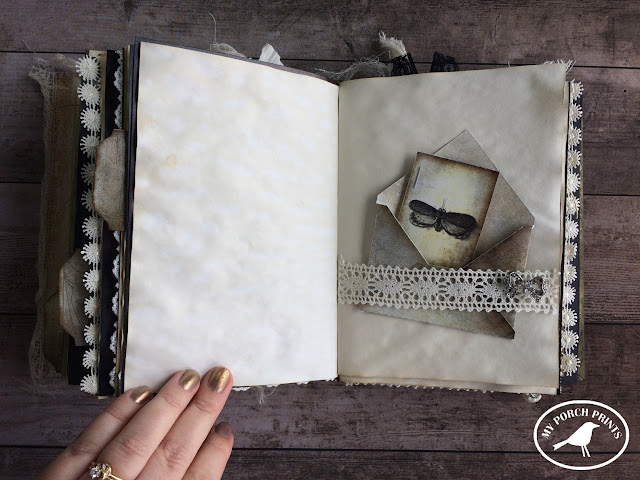
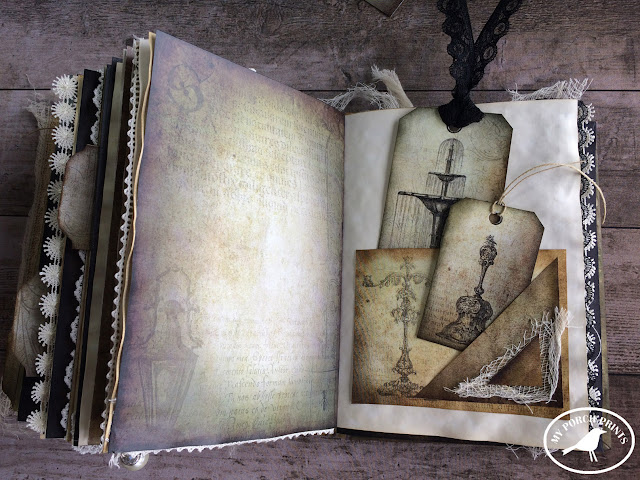
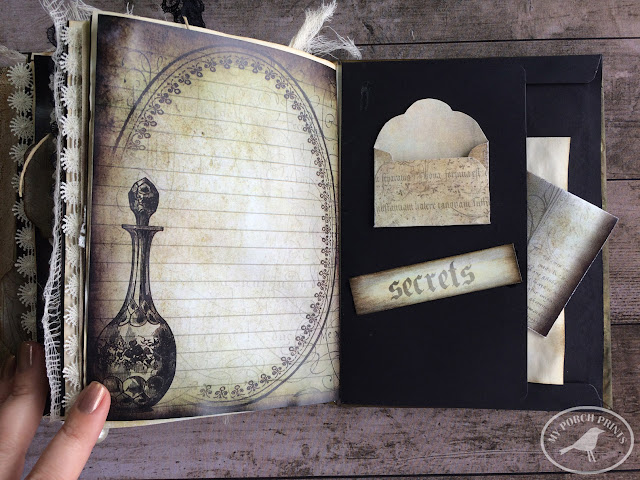
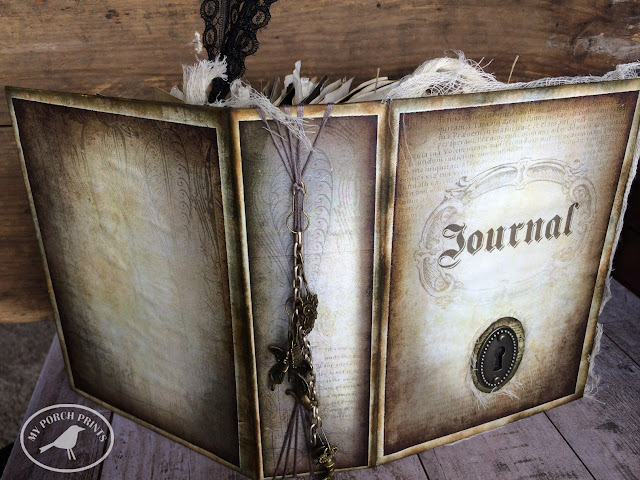
This stunning journal was made using the "Mysterious Woman" Journal Kit from My Porch Prints on Etsy. It's pages are filled with dark beauty and images that evoke feminine mystery: a key, a mirror, a tea set, a dress form, scissors, clocks & more!
Be intrigued...

Some items used in this journal:

MYSTERIOUS WOMAN JOURNAL KIT

TIM HOLTZ KEYHOLES

CHARMS

BULB SAFETY PINS

CHEESECLOTH

CHIFFON FLOWERS

SARI SILK RIBBON

Mysterious Woman Journal from My Porch Prints

I used cheesecloth inside the front cover and a black chiffon flower. For the tags, I used cheesecloth, twine, lace & sari silk ribbon.

Mysterious Woman Journal from My Porch Prints

Some of the pages are coffee-dyed copy paper. I cut them to 5x7, dipped them in a tray of coffee and then set them individually on cookie sheets and baked them at 300 for a few minutes.

Mysterious Woman Journal from My Porch Prints

Mysterious Woman Journal from My Porch Prints

Mysterious Woman Journal from My Porch Prints


Mysterious Woman Journal from My Porch Prints

Mysterious Woman Journal from My Porch Prints

Mysterious Woman Journal from My Porch Prints

The binding is a simple twine binding. I added charms using a chain & bulb safety pins (see links at the top).

Mysterious Woman Journal from My Porch Prints

Mysterious Woman Journal from My Porch Prints

See a video flip-thru on YouTube

Want to make your OWN junk journal?
JUNK JOURNAL TUTORIAL


Friday, January 11, 2019

Freebie Friday: Vintage Sheet Music

Freebie Friday: Vintage Sheet Music Printable Download Paper

Freebie Friday: Vintage Sheet Music
Hello crafters! It's Friday, and that means freebies here on the Porch!

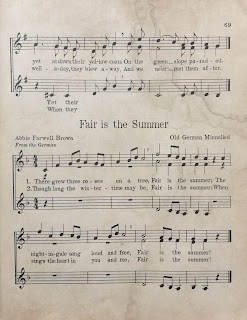
Today's freebie is a vintage sheet music download! Many of the titles have to do with seasons. Use these for junk journals, card-making, whatever you like!

Enjoy!

Follow Crafting Ideas by My Porch Prints on Facebook for lots of fun & beautiful paper crafting inspiration.

To Download
Click the image below, then right click and save it to your computer.
Visit my Etsy shop to see more printables.

PERMISSIONS & COPYRIGHT
PLEASE NOTE:
This image(s) is not to be re-used in digital form (as in do not re-post it on your website or anywhere else or try to sell it in digital form).

You MAY PRINT & sell it as part of a journal or art project.


Freebie Friday: Vintage Sheet Music Printable from My Porch Prints

Freebie Friday: Vintage Sheet Music Printable from My Porch Prints

Freebie Friday: Vintage Sheet Music Printable from My Porch Prints

Freebie Friday: Vintage Sheet Music Printable from My Porch Prints

Freebie Friday: Vintage Sheet Music Printable from My Porch Prints

Freebie Friday: Vintage Sheet Music Printable from My Porch Prints

Freebie Friday: Vintage Sheet Music Printable from My Porch Prints

Freebie Friday: Vintage Sheet Music Printable from My Porch Prints

Freebie Friday: Vintage Sheet Music Printable from My Porch Prints


Thursday, January 10, 2019

Summer Garden Journal Cover Tutorial


Summer Garden Junk Journal Cover Tutorial from My Porch Prints

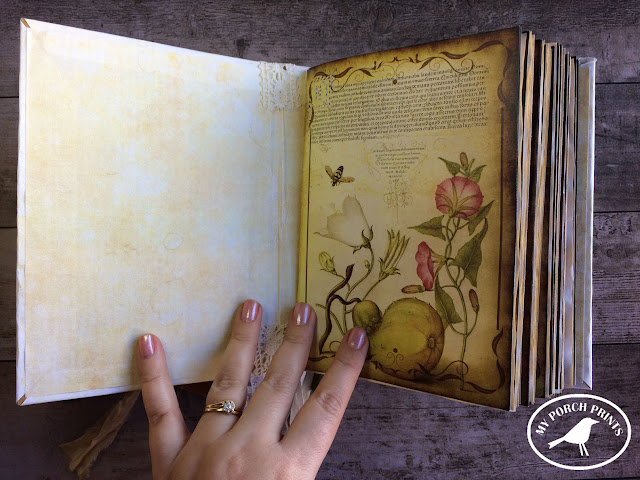
Ah summer! The warm breezes, the smell of green growing things, the lazy buzz of insects. Capture your own little slice of summer in this Summer Garden Journal Kit!

Here is a quick tutorial on how to make the cover of this journal.

You will need:

Cut Your Box
The journal pages in this kit are 5x7 inches. So I cut my box slightly larger than the pages and added a 2-inch spine as shown.


Summer Garden Junk Journal Cover Tutorial from My Porch Prints

Print Papers
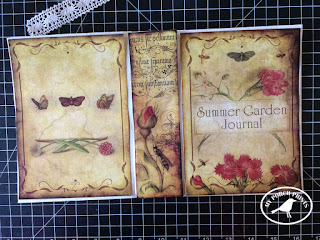
To cover the outside of the journal, you'll need to print 2 sheets (8.5x11) of the printable papers that come in this journal kit. You could also use your own paper if you like. Cut off the white edges and overlap the papers slightly, then adhere them together with glue, using a brush to smooth the glue before attaching.


Glue the paper to the outside of your journal cover using glue & a paintbrush to smooth it.


Smooth the paper, working from the center of your spine to the outside edges of your cover, pushing the air bubbles out. Don't worry if it's a little wrinkly. These will usually work themselves out as it dries.


Flip your cover over and cut off excess paper and the corners as shown. Leave a border of 1/2 to 1 inch as shown.


Also, cut triangular notches on either side of your spine.


Apply glue, using a brush to smooth, and fold the flaps over as shown.


Summer Garden Junk Journal Cover Tutorial from My Porch Prints

Once all the flaps are folded, print 2 more sheets of printable papers and glue them together like before.


Place the seam in the center of your journal inside the spine. This will help to hide it.


Fold the paper at the edges of your journal and then cut where the folds are.


Again, smooth your glue with a brush on the inside of your journal cover and then place your paper over the glue, smoothing from the spine outward toward the journal edges.


When glue is dry, gently fold up the sides of your journal, working slowly to stretch the papers and create creases.

Your Journal Cover
Next, cut out your journal covers & spine. Attach them as before, using a brush to smooth out the glue and then gluing the papers to the front & back covers and spine as shown.

Summer Garden Junk Journal Cover Tutorial from My Porch Prints

If desired, use lace to cover the spine. Attach with glue.

Summer Garden Junk Journal Cover Tutorial from My Porch Prints

Summer Garden Junk Journal Cover Tutorial from My Porch Prints

And that's it! You have a completed journal cover. Now you can add your pages & embellishments.

Summer Garden Junk Journal Cover Tutorial from My Porch Prints

Summer Garden Junk Journal Cover Tutorial from My Porch Prints
Get this Garden Mini Book in my Etsy shop. 


Summer Garden Junk Journal Cover Tutorial from My Porch Prints

Summer Garden Junk Journal Cover Tutorial from My Porch Prints

Summer Garden Junk Journal Cover Tutorial from My Porch Prints

Summer Garden Junk Journal Cover Tutorial from My Porch Prints

Summer Garden Junk Journal Cover Tutorial from My Porch Prints

Summer Garden Junk Journal Cover Tutorial from My Porch Prints

Want to make a tassel like this one? Here is a video tutorial to show you how.
And here is a video tutorial for how to make this garden journal.