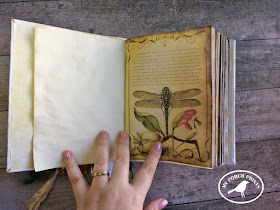
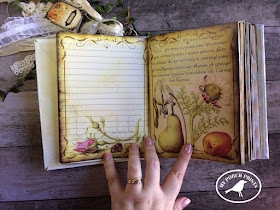
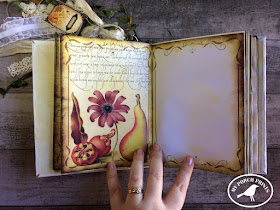
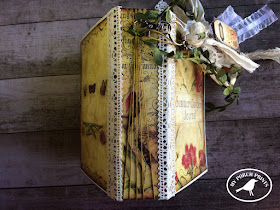
Ah summer! The warm breezes, the smell of green growing things, the lazy buzz of insects. Capture your own little slice of summer in this Summer Garden Journal Kit!
Here is a quick tutorial on how to make the cover of this journal.
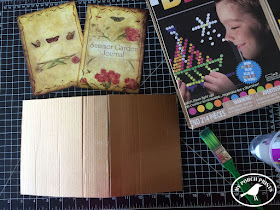
You will need:
- Cardboard Box
- Scissors, Glue, Paintbrush
- Lace if desired
- Summer Garden Journal Kit from My Porch Prints on Etsy
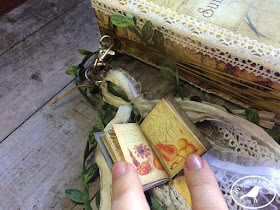
- Summer Garden Mini Books, if desired
- Green Leaf Ribbon, if desired
Cut Your Box
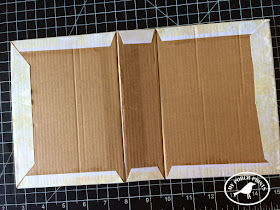
The journal pages in this kit are 5x7 inches. So I cut my box slightly larger than the pages and added a 2-inch spine as shown.
Print Papers
To cover the outside of the journal, you'll need to print 2 sheets (8.5x11) of the printable papers that come in this journal kit. You could also use your own paper if you like. Cut off the white edges and overlap the papers slightly, then adhere them together with glue, using a brush to smooth the glue before attaching.
Glue the paper to the outside of your journal cover using glue & a paintbrush to smooth it.
Smooth the paper, working from the center of your spine to the outside edges of your cover, pushing the air bubbles out. Don't worry if it's a little wrinkly. These will usually work themselves out as it dries.
Flip your cover over and cut off excess paper and the corners as shown. Leave a border of 1/2 to 1 inch as shown.
Also, cut triangular notches on either side of your spine.
Apply glue, using a brush to smooth, and fold the flaps over as shown.
Once all the flaps are folded, print 2 more sheets of printable papers and glue them together like before.
Place the seam in the center of your journal inside the spine. This will help to hide it.
Fold the paper at the edges of your journal and then cut where the folds are.
Again, smooth your glue with a brush on the inside of your journal cover and then place your paper over the glue, smoothing from the spine outward toward the journal edges.
When glue is dry, gently fold up the sides of your journal, working slowly to stretch the papers and create creases.
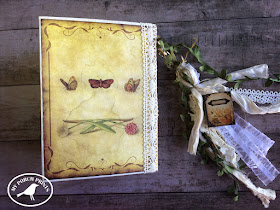
Your Journal Cover
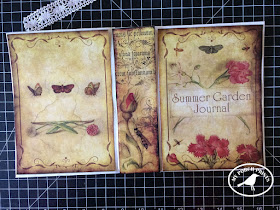
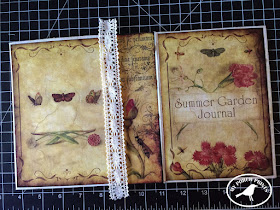
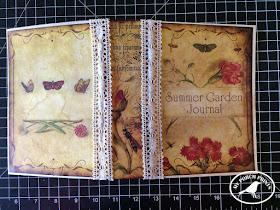
Next, cut out your journal covers & spine. Attach them as before, using a brush to smooth out the glue and then gluing the papers to the front & back covers and spine as shown.
If desired, use lace to cover the spine. Attach with glue.
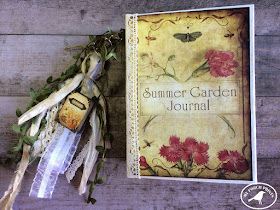
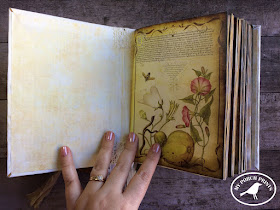
And that's it! You have a completed journal cover. Now you can add your pages & embellishments.
Get this Garden Mini Book in my Etsy shop.
Want to make a tassel like this one? Here is a video tutorial to show you how.
And here is a video tutorial for how to make this garden journal.






No comments:
Post a Comment
Note: Only a member of this blog may post a comment.