*Contains Affiliate Links
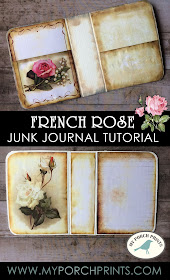
French Rose Junk Journal Tutorial
Part 1: Making A Cover
Hello Crafters! Today we're making a journal from a cardboard box and the French Roses Journal Pages from My Porch Prints on Etsy. In this first part, I'll show you how to make the cover. The pages & assembly will come in Part 2.
Find A Box
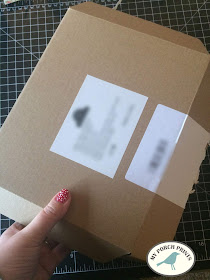
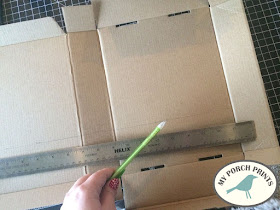
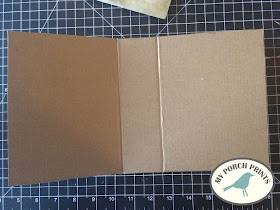
Start by finding a box. A really easy solution is to use a cereal or cracker box. They tend to already have a journal shape. I used a leftover Christmas box. It was already close the size I wanted and was just begging to be transformed into a junk journal. I opened my box and cut it to the dimensions that would work best with my journal pages: 5x7 inches. I actually cut the box just a smidge larger so that my cover would extend over my pages a bit.
Cut Your Box
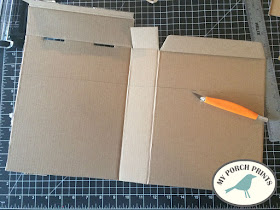
Next, I opened up my box and cut it to the size I wanted using a craft knife.
Paint Box
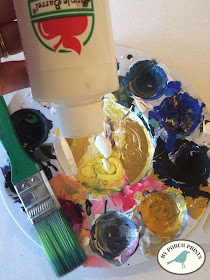
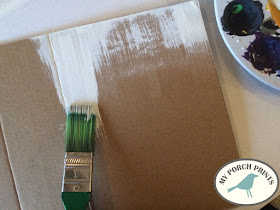
I decided to paint my box white. This is not necessary. There are LOTS of options here. You could cover your box with paper or fabric. Or leave it plain brown if it has no printing or stickers on it. But I opted to paint mine white.
Round The Corners
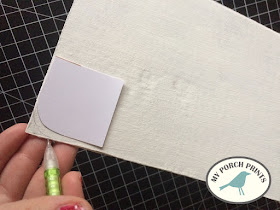
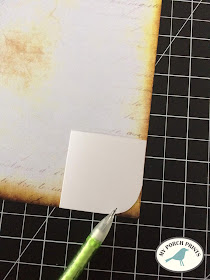
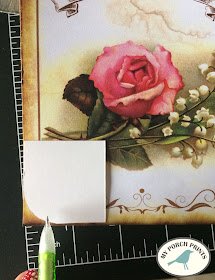
Another optional choice is to cut your corners and round them off. I like the way this looks, but again totally optional. If you want consistent corners, make a template from a piece of paper or cardstock and trace.
Front Cover
I decided to use one of my printable journal pages as a cover: plain with some coffee stain markings and script around the edges. I liked the simple look and it leaves me lots of room for decorating options. I cut the corner in a curve to match my cover.
Spine & Back Cover
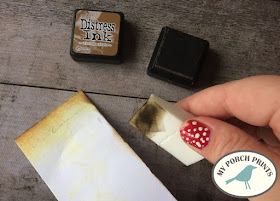
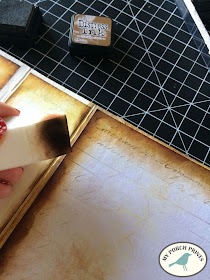
I also cut pieces of journal pages to fit my spine & back cover, leaving a bit of border around the edges. This left the spine with an unfinished look, so I inked the edges with Distress Ink and a make-up sponge to give the paper a more finished look.
Glue The Cover
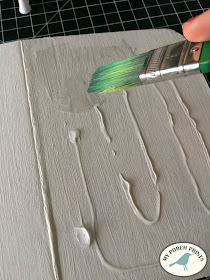
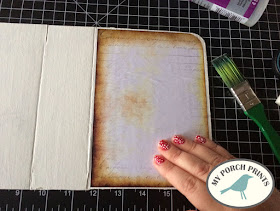
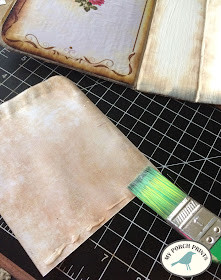
To attach the paper to my cover, I applied glue on the journal cover and spread it using a paint brush. This helps keep the paper from bubbling too much.
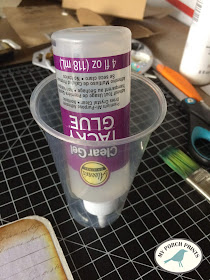
TIP: If your craft glue is running low, use a cup to hold it upside down. This will keep the glue ready at the tip!
Ink Journal Edges
Once my papers were applied to the outside cover, I opted to ink the white edges. I thought it gave it more of an antique feel. I also applied ink to the edges of the INSIDE cover.
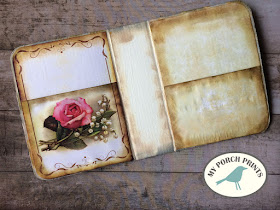
Inside Cover Pocket
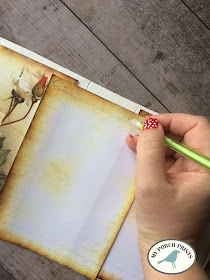
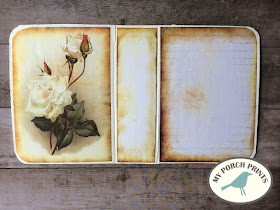
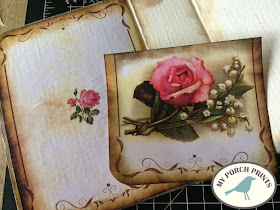
Now it was time to do the inside cover. I wasn't sure exactly what to do for this. Finally, I decided just to use more journal pages and create pockets for holding tags, etc. I rounded the corners to match. After gluing a page inside the cover, I cut a second piece to cut and form a pocket.
Gluing Pockets
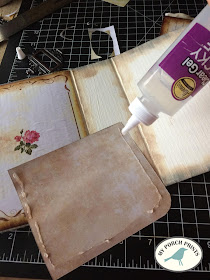
I only applied glue to three sides of my pocket, leaving the top open. Then I spread it with a brush.
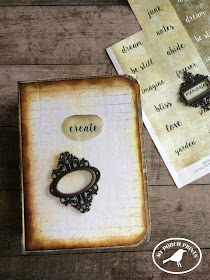
Cover & Bookplate
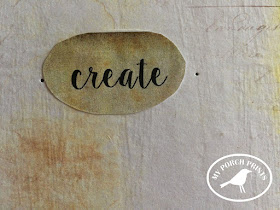
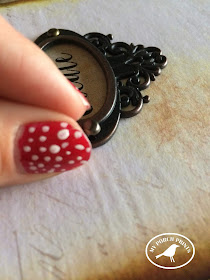
For the cover, I decided to use a Tim Holtz Ornate Plate and the word "Create". The words come from a free printable. I started by cutting out my word & gluing it with a craft glue stick to my journal.
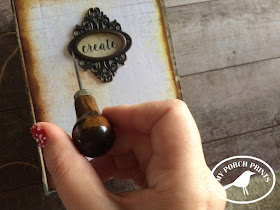
Next, I placed the book plate over the word and marked the holes with an awl from a bookbinding kit. This requires a light hand. Be careful not to damage your pages on the other side.
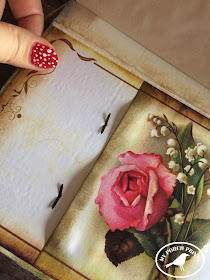
Finally, I added the fasteners. They show on the opposite side, but I'm planning to use some embellishments to cover them later.
In Part 2, I will talk about adding pages & binding to your journal.


No comments:
Post a Comment
Note: Only a member of this blog may post a comment.